Easily Create Personalized Teacher Gifts with Your Cricut Machine
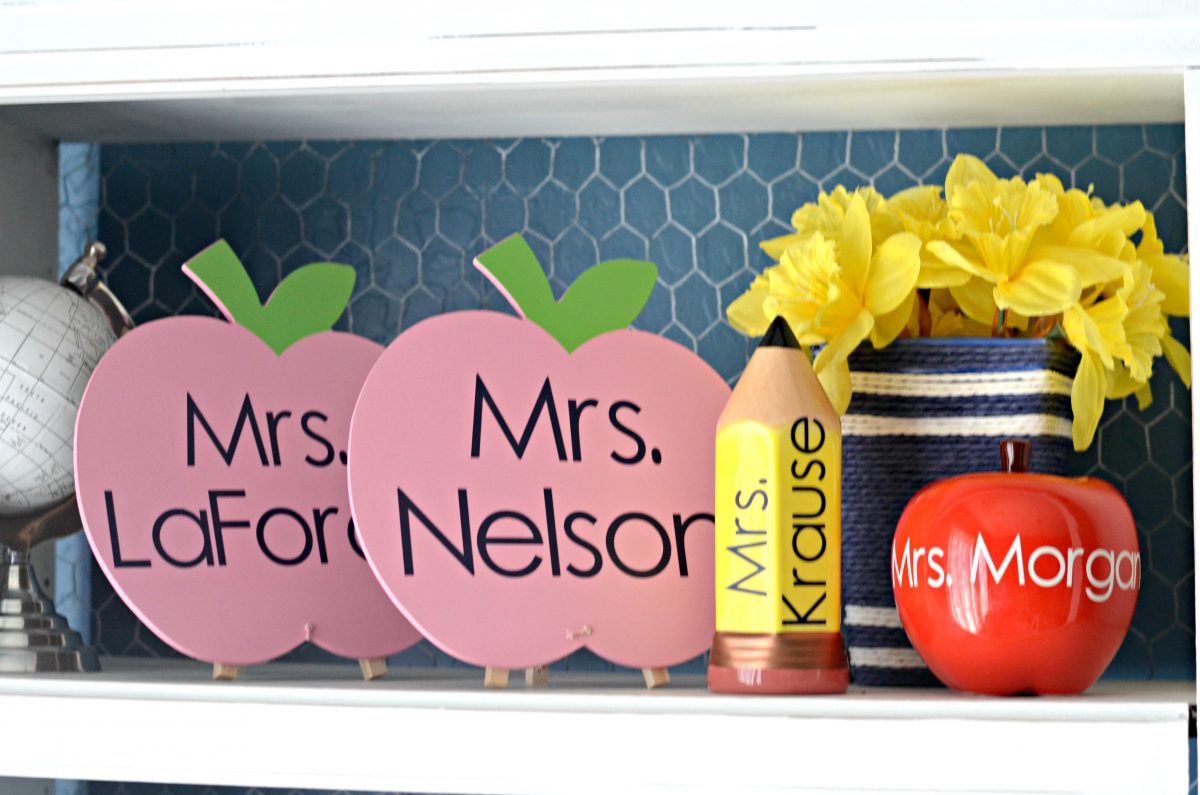
Ever wonder how easy it is to personalize gifts using vinyl?
It’s actually a pretty simple process to cut lettering with your Cricut Machine out of adhesive vinyl and apply it to hard surfaces using transfer tape. The possibilities are endless with all the DIY personalized gifts, crafts & home décor projects you can accomplish!
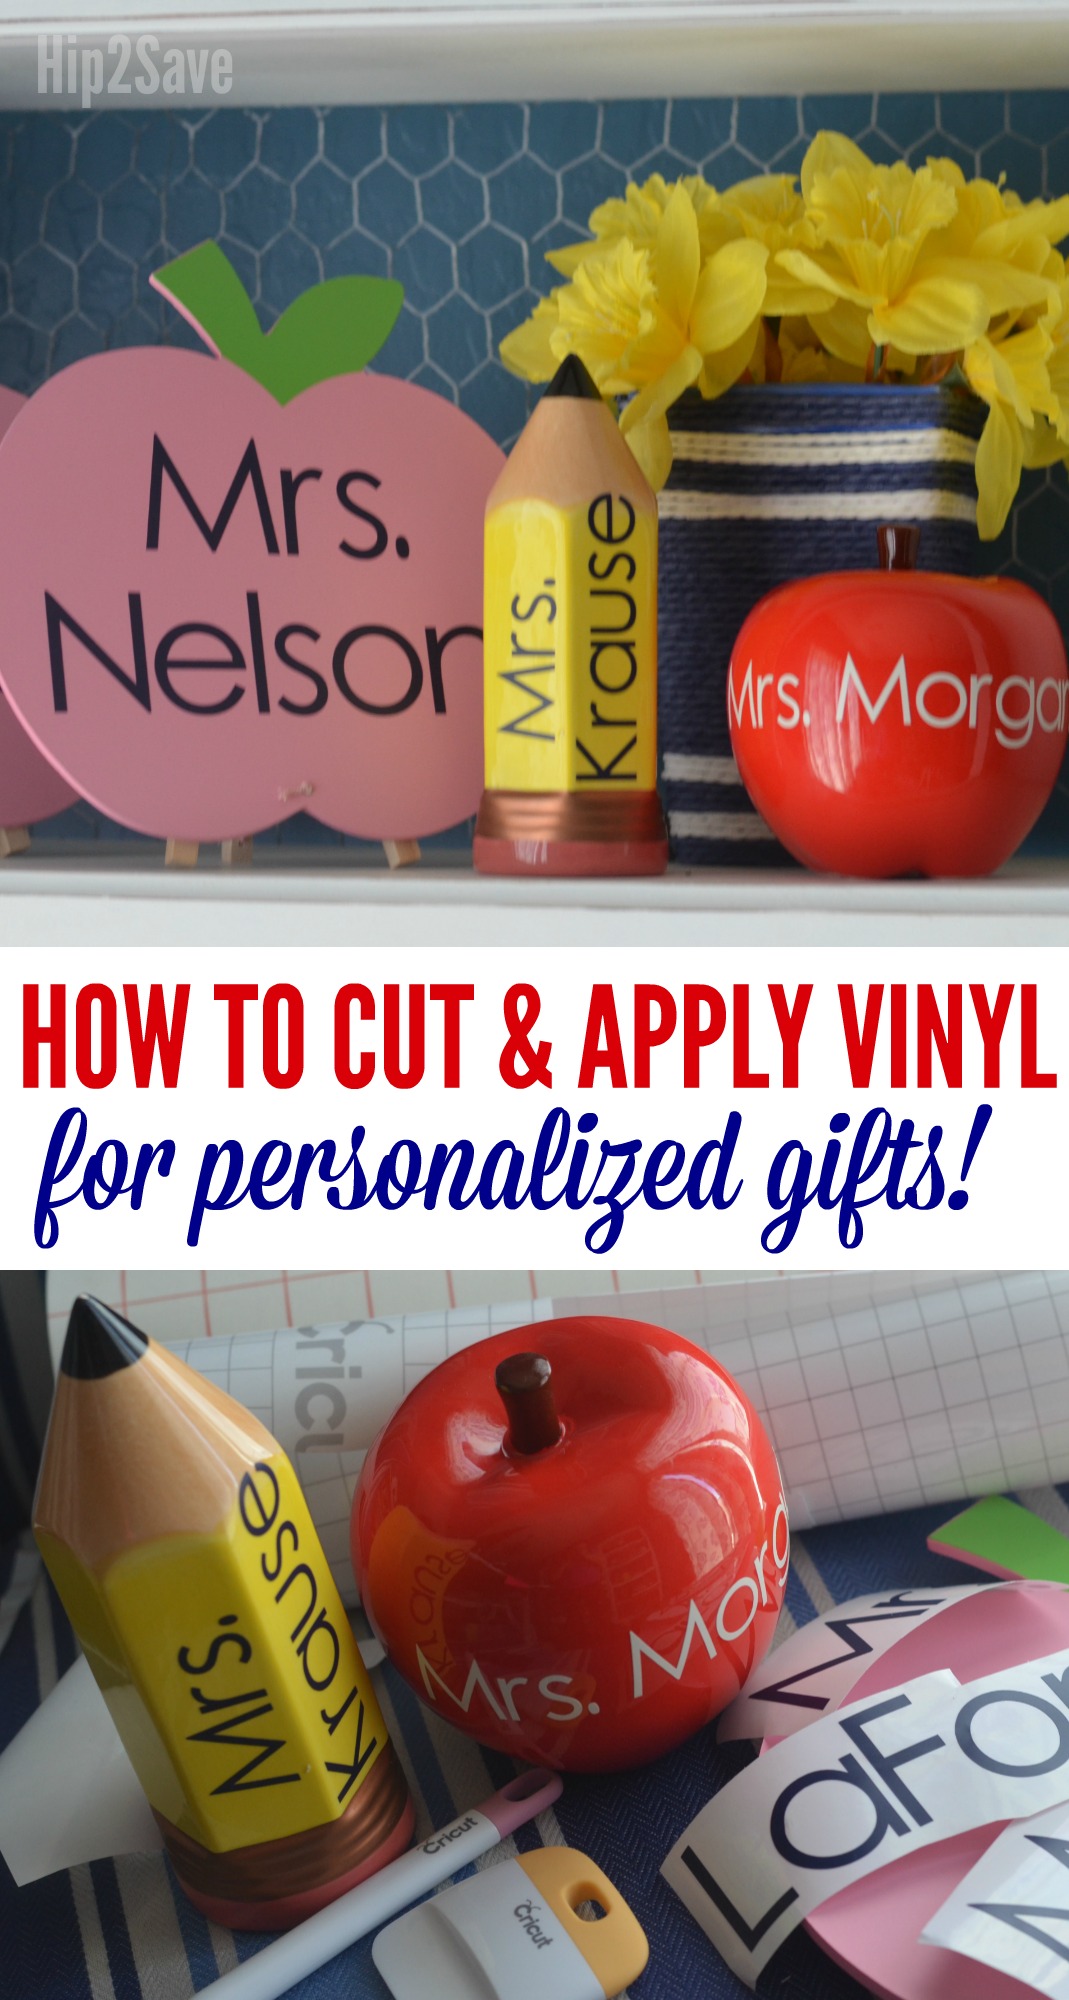
I recently embellished these cute items I scored a few months ago on clearance at Target’s One Spot for just $1 each. This week, I added names to give as part of my Teacher Appreciation gifts.
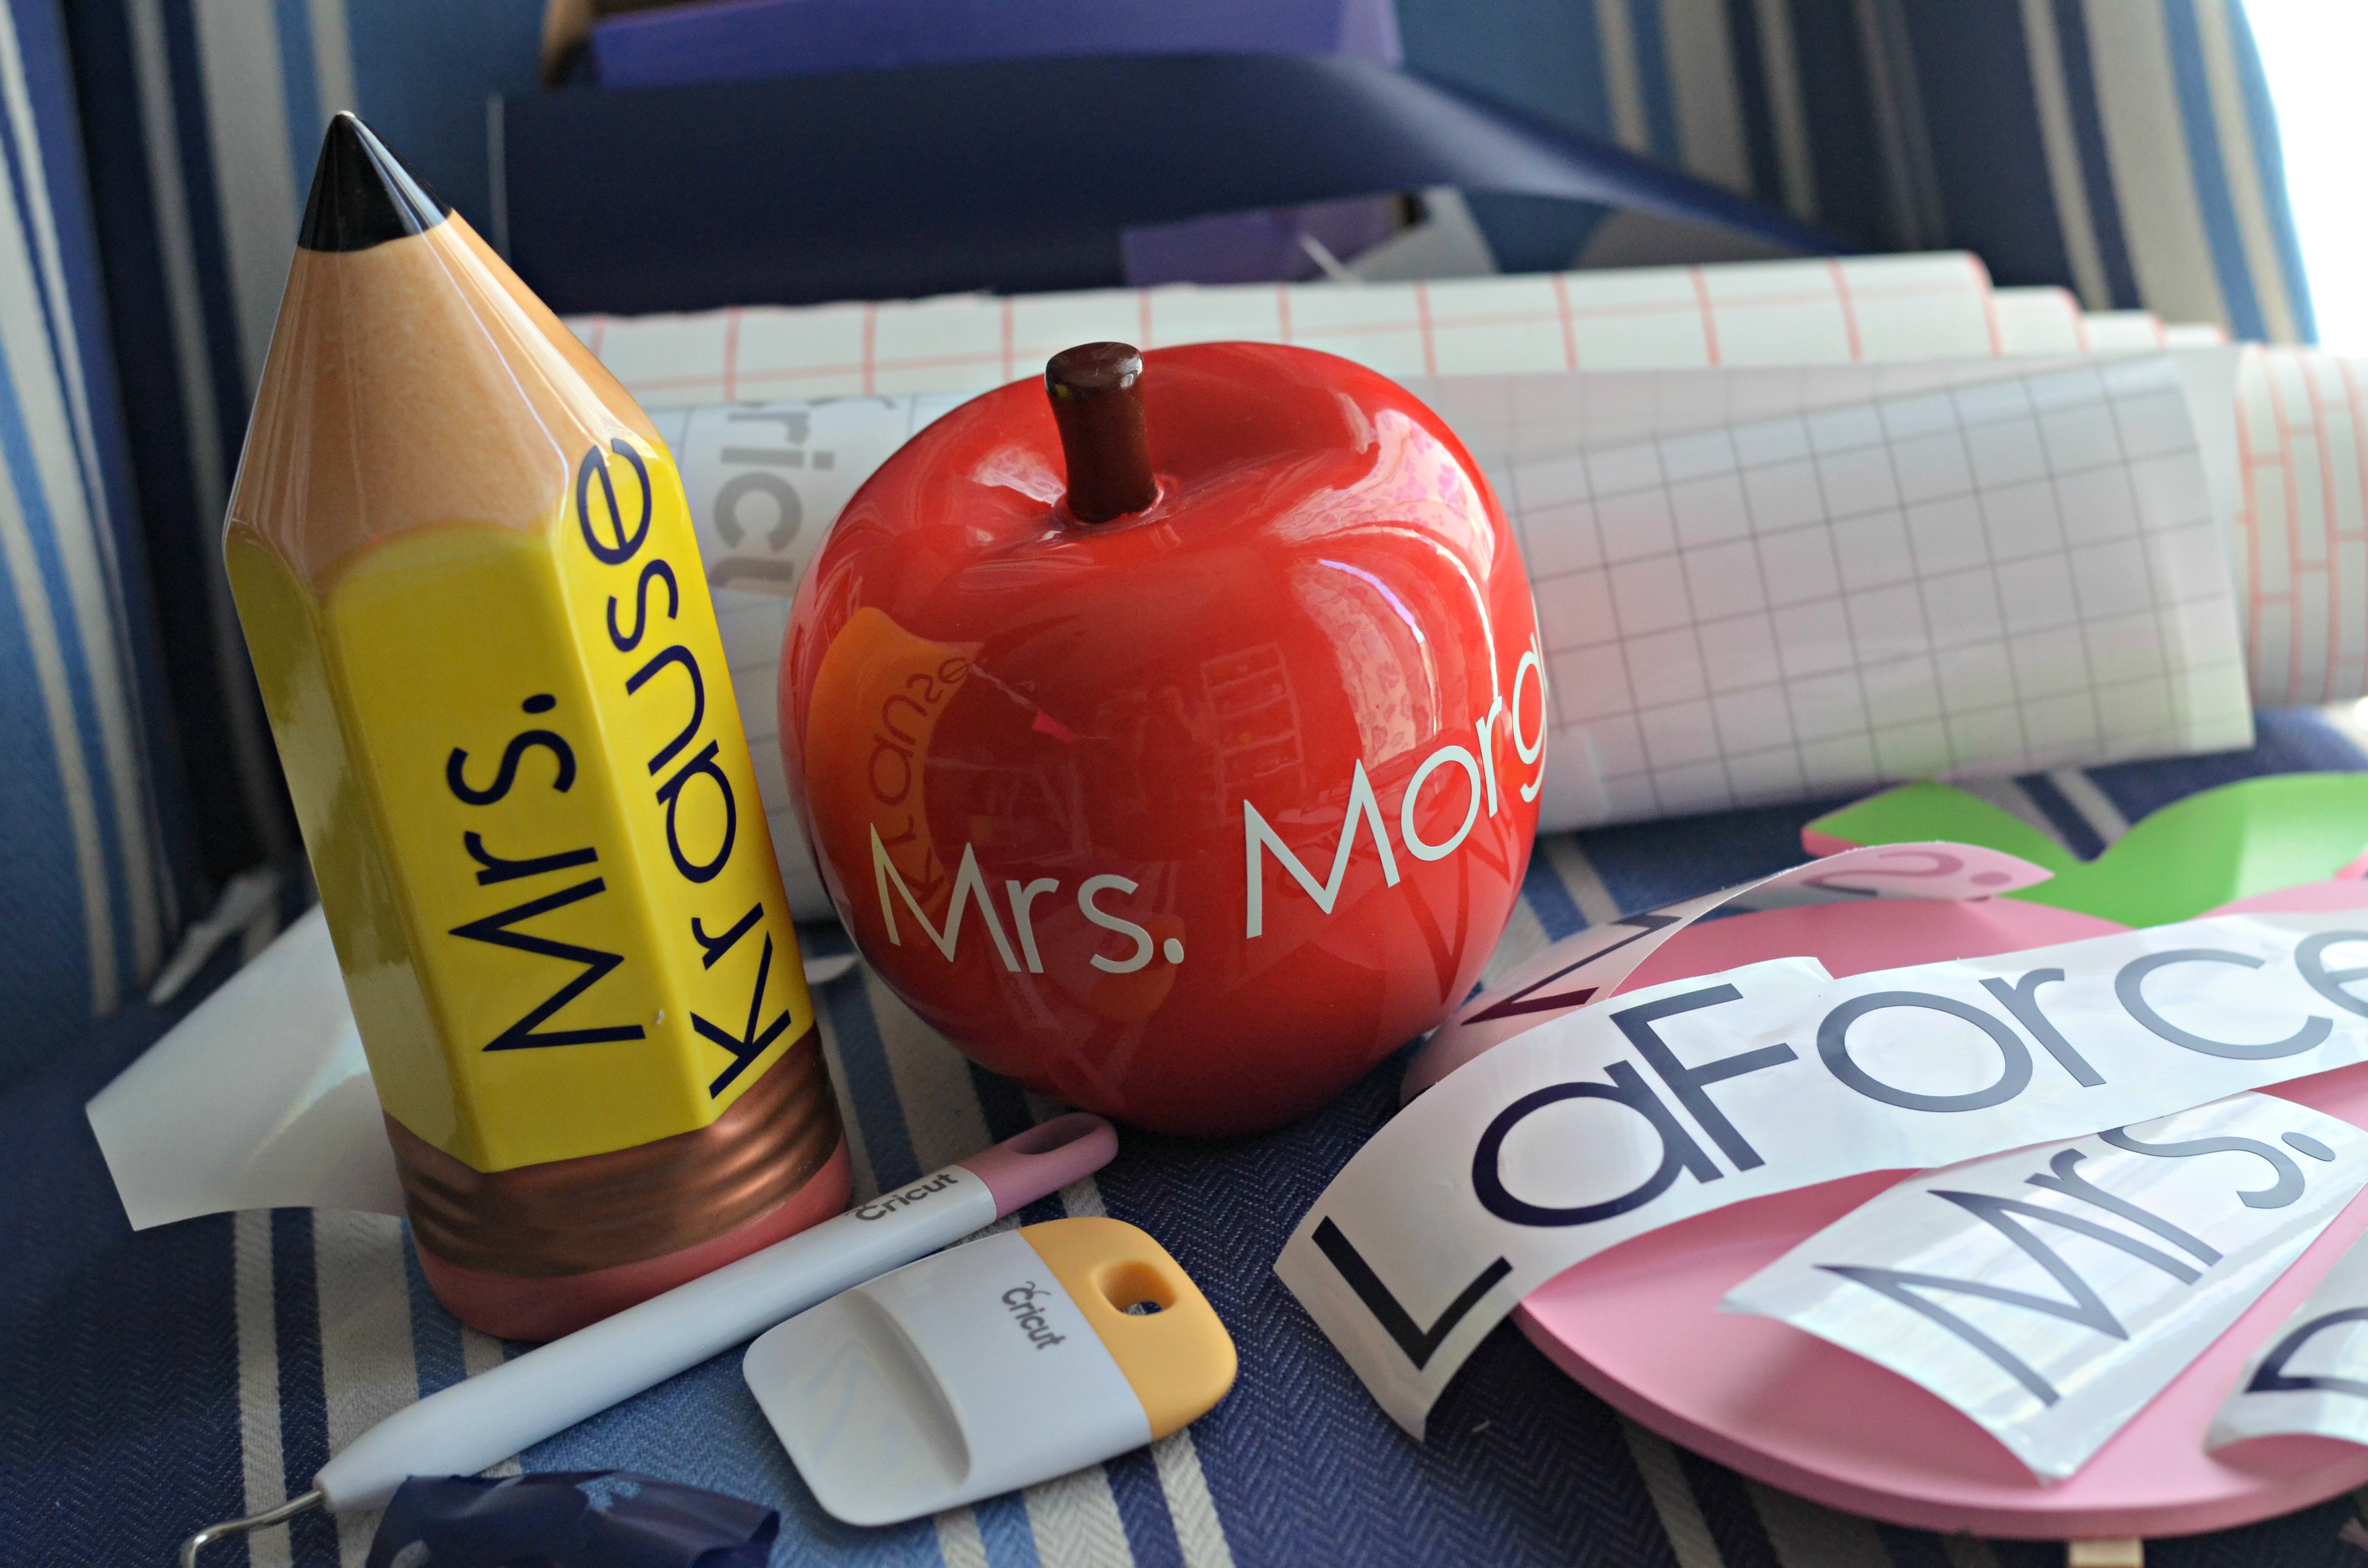
How to Cut & Apply Vinyl
Supplies Needed:
- Cricut Vinyl in desired color
- Cricut Transfer Tape
- Cricut Explore Air – don’t miss this hot bundle offer!
- Cricut Standard Grip Cutting Mat
- Cricut Weeding Tool
- Cricut Scraping Tool
Directions:
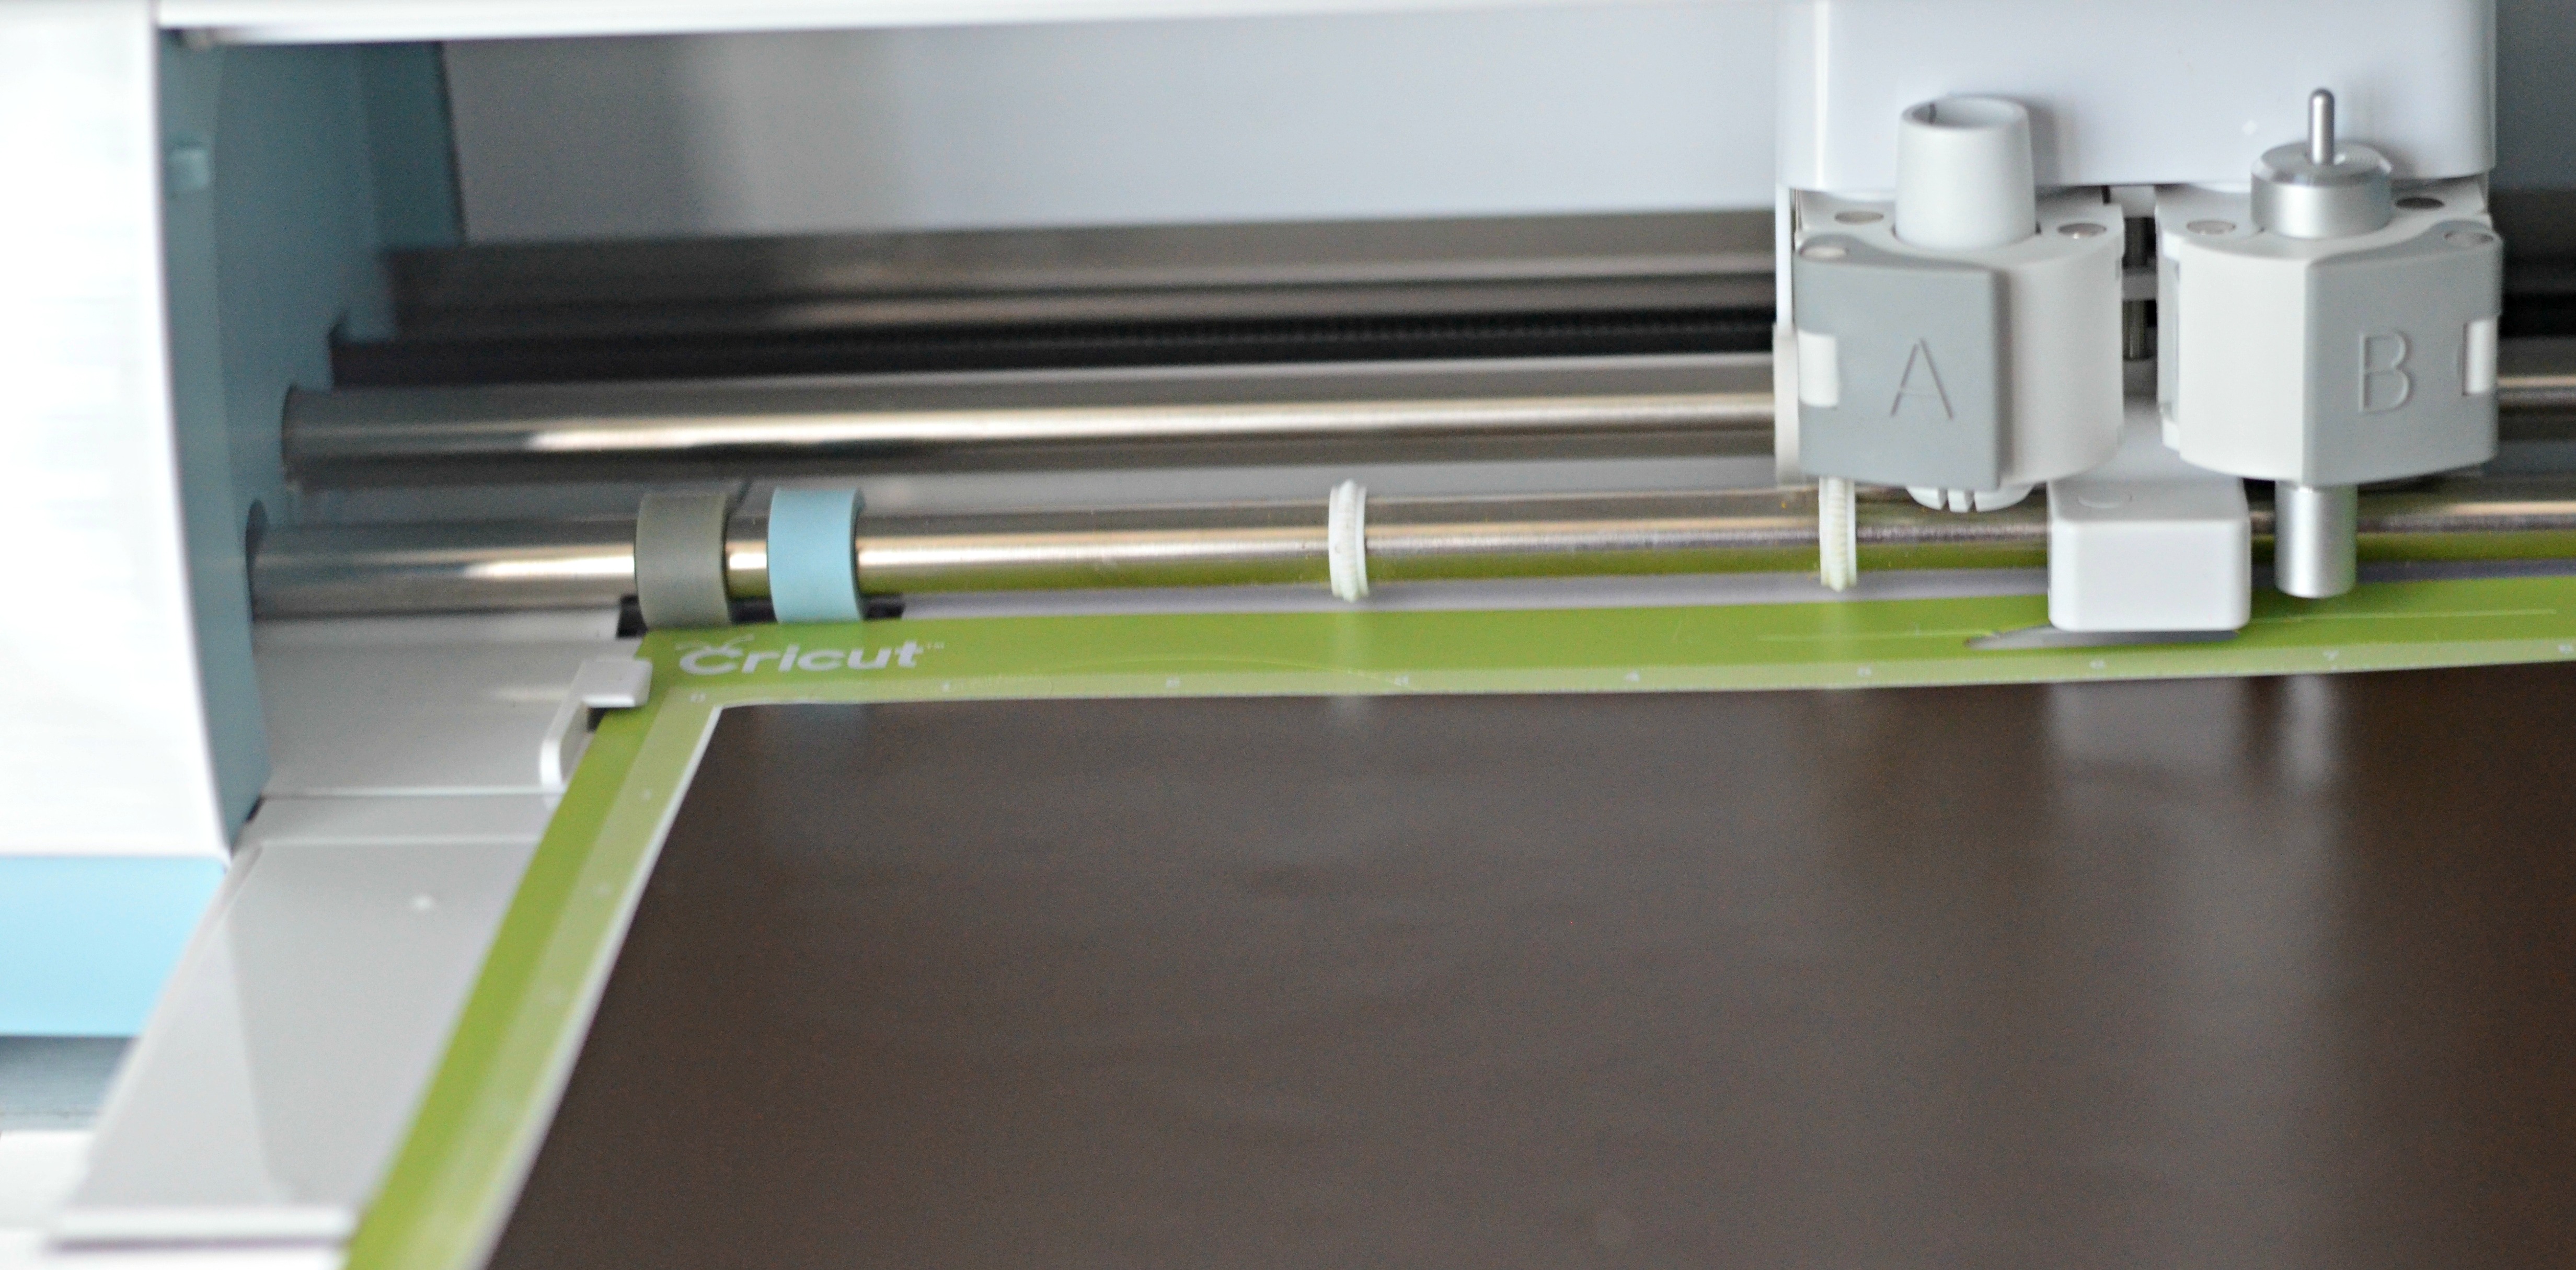
Cutting Vinyl with a Cricut Machine
- Place vinyl (liner side down) onto Cricut cutting mat.
- Select text and desired size in Cricut Design Space.
- Turn Dial to the Vinyl Setting on machine.
- Follow prompts to LOAD mat & CUT image.
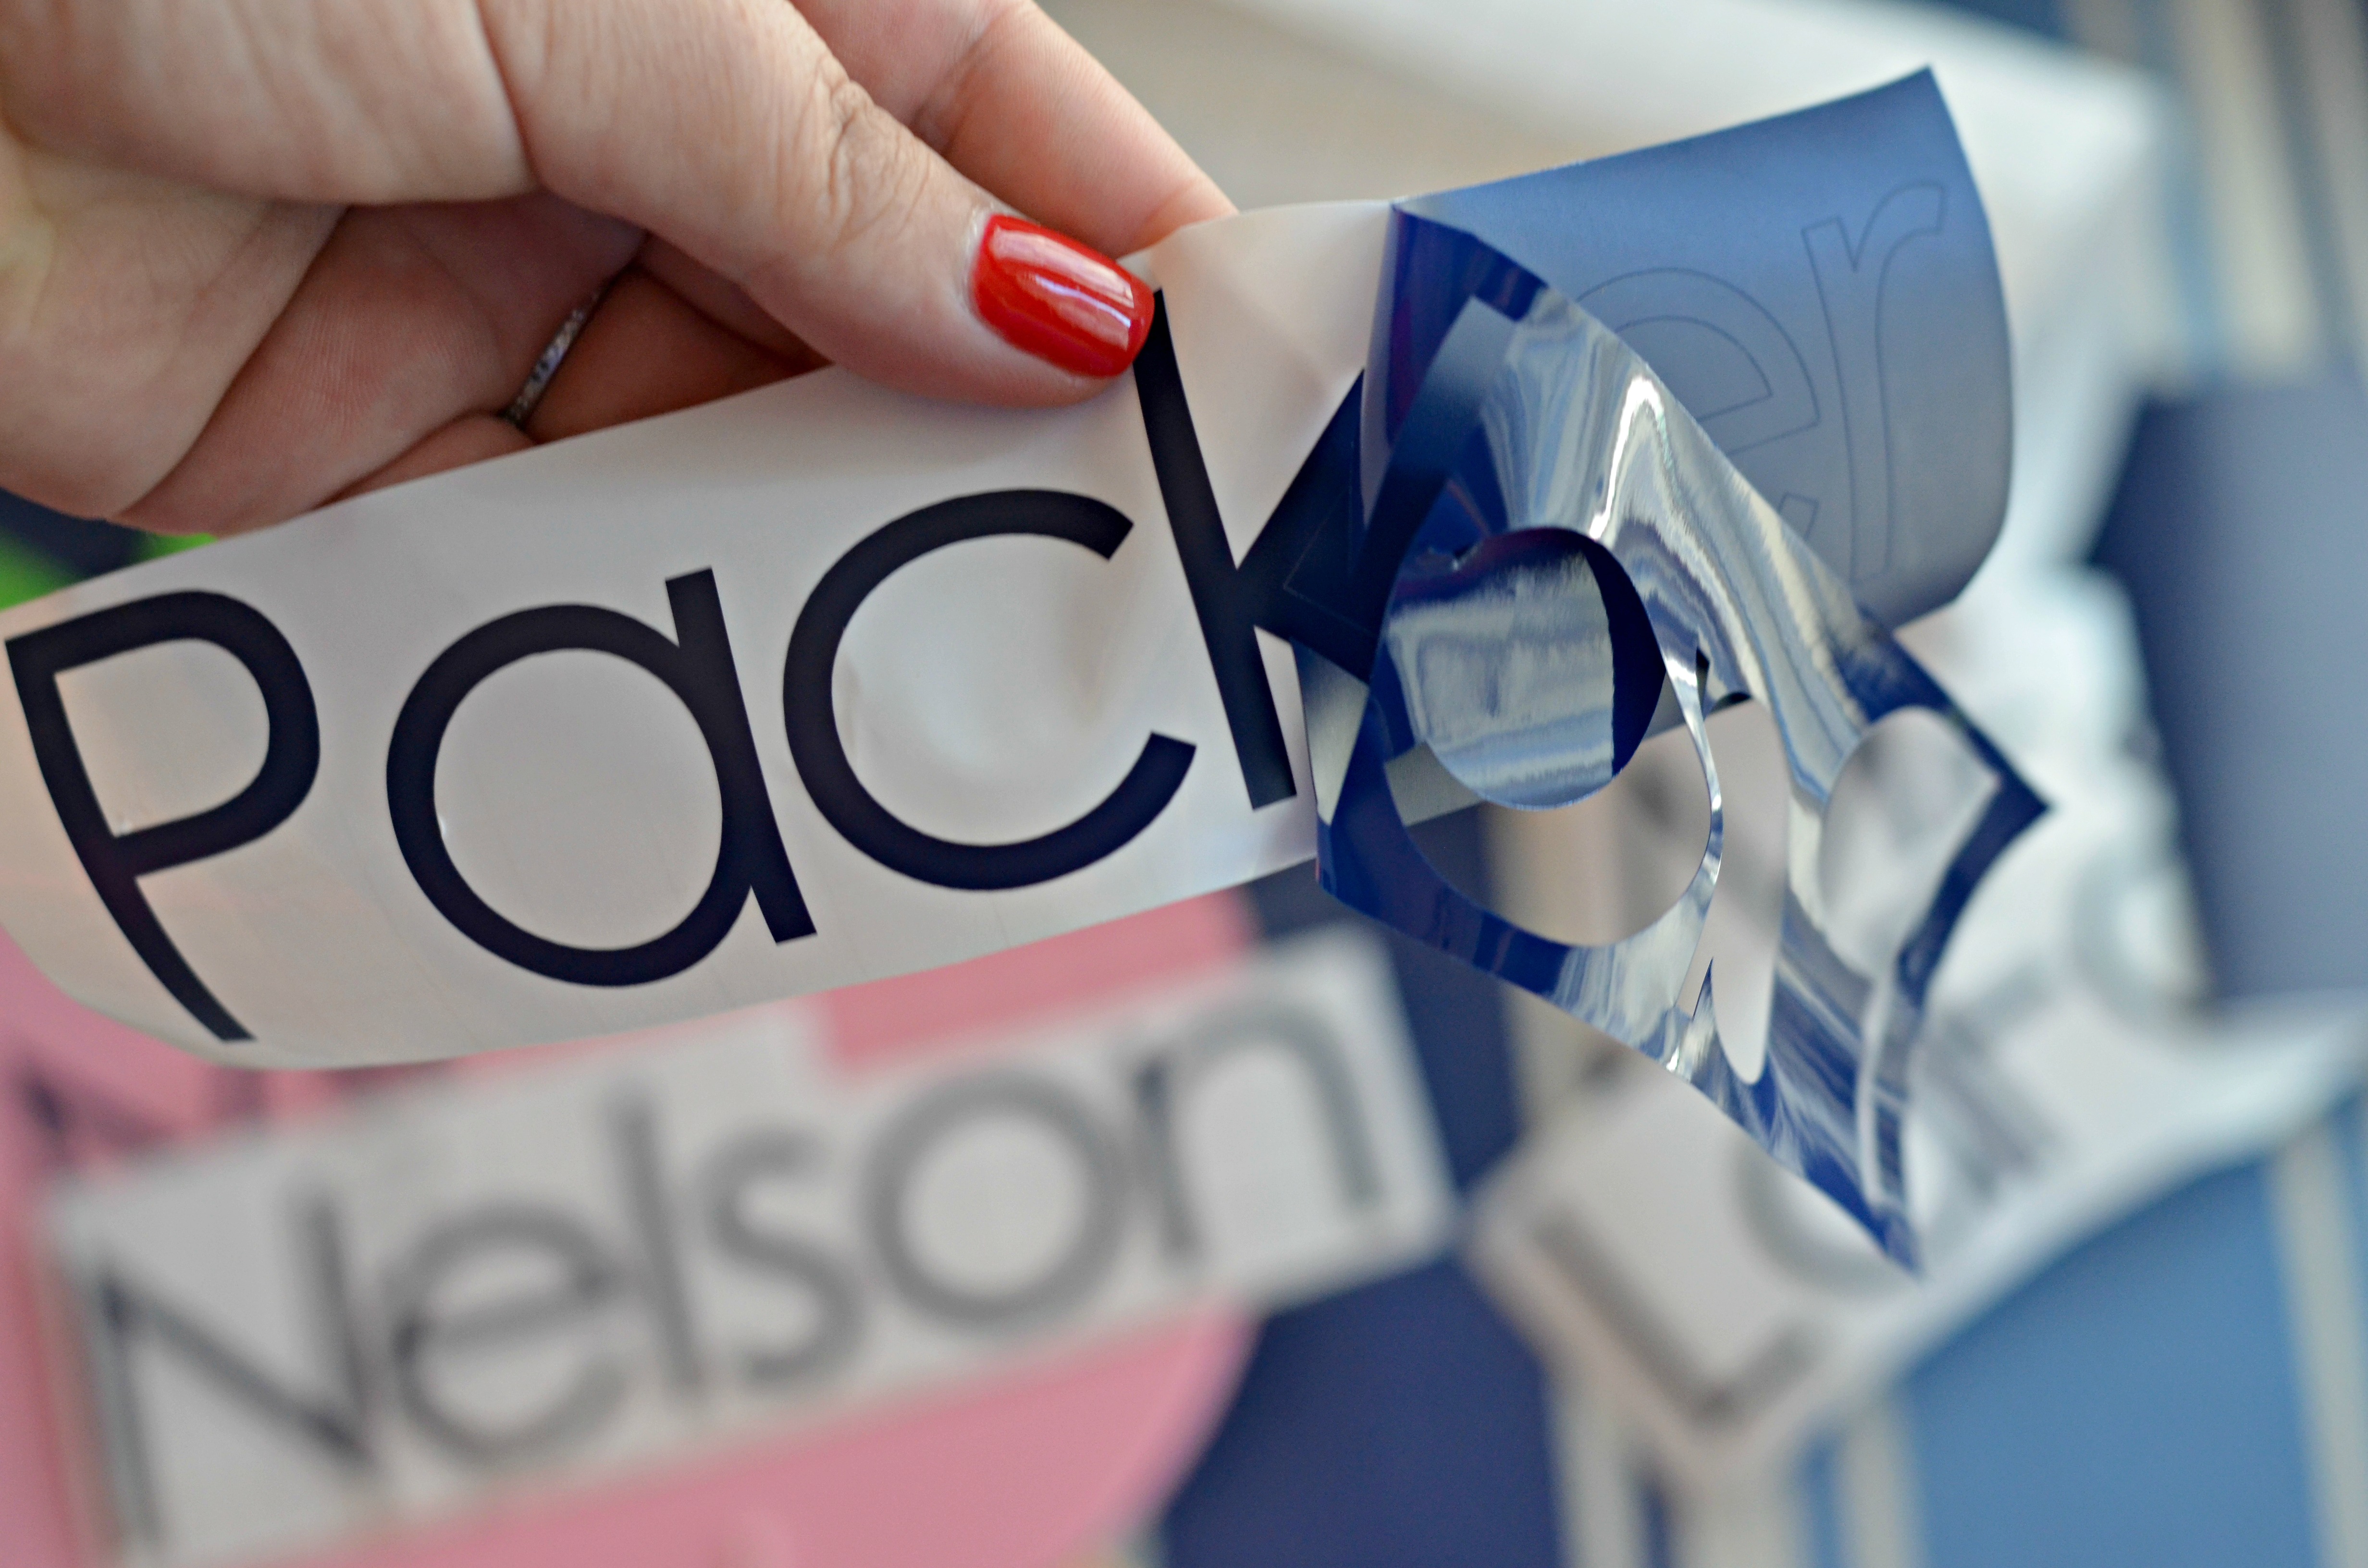
Using Cricut Transfer Tape
- Remove the portion of vinyl you don’t want on your project, known as the negative pieces, by using the “weeding” tool to pull the pieces off.
- Cut a piece of transfer tape the same size as your vinyl lettering and remove the transfer tape liner.
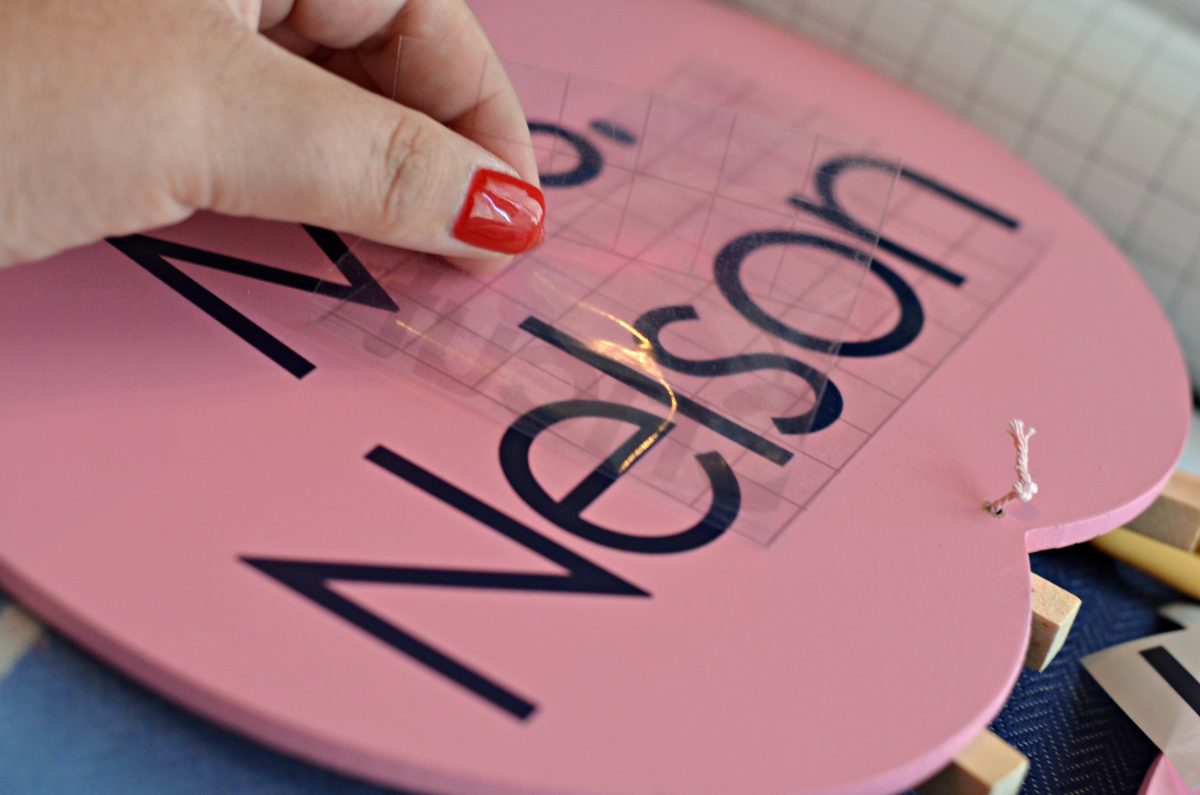
- Gently place the transfer tape (adhesive side down) over the top of lettering. To prevent bubbles, start in the center and move out toward the edges. Use a Cricut Scraper tool or craft stick to smooth out.
- Peel away the vinyl liner at a 45-degree angle. If the vinyl does not separate from the liner, simply burnish the transfer tape onto the vinyl and peel away again.
Application
- Make sure your project surface is clean and dry. Carefully place the transfer tape with vinyl lettering onto your project how you would like them to appear.
- Press transfer tape onto the surface, starting in the center and moving out toward the edges. Use a craft stick or Cricut Scraper tool to smooth out lettering.
- Peel the transfer tape away from the vinyl at a 45-degree angle. If the vinyl sticks to the transfer tape, simply press the vinyl onto the surface again with scraper tool. Then continue to peel the transfer tape away from the vinyl.
[/h2s_coupon]
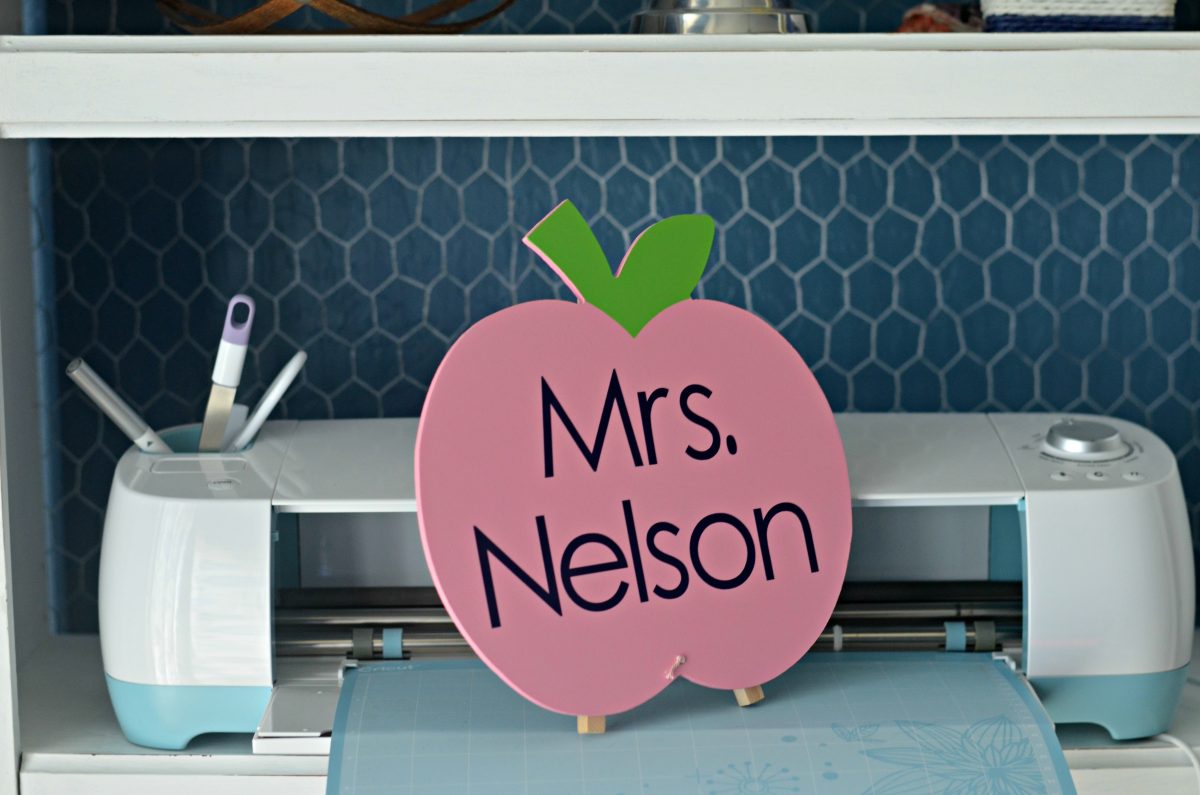
These small projects turned out so cute and I can’t wait to give them away! Vinyl is such a great way to personalize ordinary items!



What font did you use?
Century Gothic – but I adjusted the lettering spacing a little closer together.
I want a Cricut so bad, but I’m so intimidated to invest and then not know what I’m doing! Thanks for the tutorial-it’s pushing me to make take the leap and buy it!
I can relate! Especially after trying the silhouette in the past and not being able to load the mat lol
This was easier to learn for me. I’d encourage you to check out the Cricut Facebook support group or even watch tutorials online to get a feel even before buying. You can ask people questions and get inspiration.
Also these videos are Helpful. 😀
https://help.cricut.com/video-tutorials
Sometimes you just got to do it and commit to it. You tube taught me everything! I just decided one day I’d learn how to make shirts
and got on YouTube The same for making cups and other vinyl projects. I’ve taken off and even create large birthday stand ups for my kids birth day parties.
You might be able to find classes. Our local scrapbook store gives classes.
Clear contact paper works great when applying vinyl and is SO much cheaper than transfer tape!
Great tip! Thanks Elizabeth 👍
Thanks for the awesome tip! Just used it and worked like a charm. I’m going to have to stock up on contact paper from the dollar tree.
Ive had mine since Dec and have only made 5 items. I made a mug for my DD male teacher but I cant get it to curve.
I wish that I had more time to create because it is a great tool. I have an Easy Press on the way for MD. Theverytging!
Should say Thanks for everything Hip team!!
Elizabeth where do you get clear contact paper? Thanks for the advice!!!
I am torn between buying a Cricut and a Silhouette? Which one is better?