DIY Rae Dunn Inspired Halloween Decorations & Home Decor
Love Rae Dunn home items?
I love this simplistic farmhouse style font traditionally featured on ceramic mugs, plates, canisters, and bowls from designer Rae Dunn.
They’re so pretty and fun, but they’re also a little hard to find in-store – and can sometimes be found on re-sale apps and websites for much higher prices. While just one large ceramic bowl can cost as much as $90 online, I just customized 11 gorgeous Halloween items for only $36 (including the price of the items!). Yes, really! 🙌
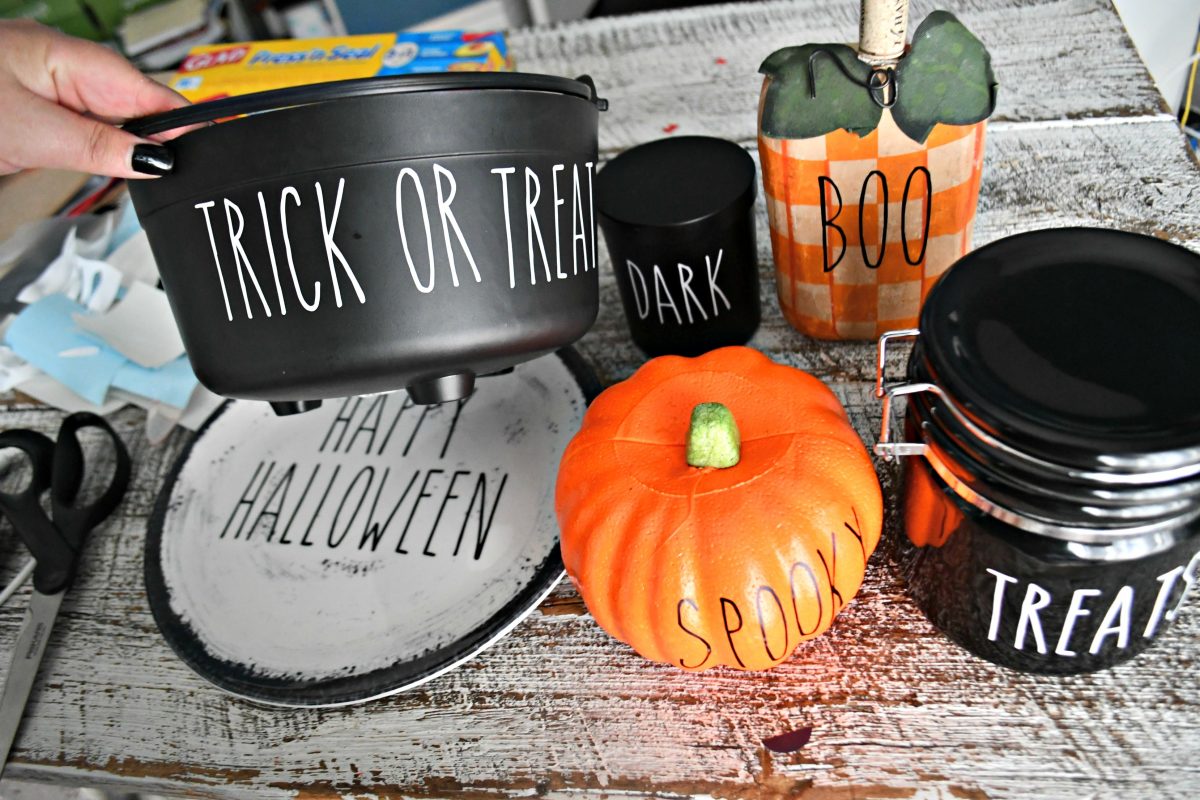
In addition to the massive cost savings of making my own DIY Rae Dunn labels, I also like the versatility of designing words for items that may not even be available to purchase (like pumpkins and candles). The possibilities are endless!
Let’s DIY it!
Today I’m sharing how you can DIY similar items on the cheap using a vinyl cutting machine like a Circut or Silhouette! I love incorporating Rae Dunn’s style into seasonal decor crafts, and it’s so easy to emulate this fun look for your own Halloween decor for a very reasonable price.
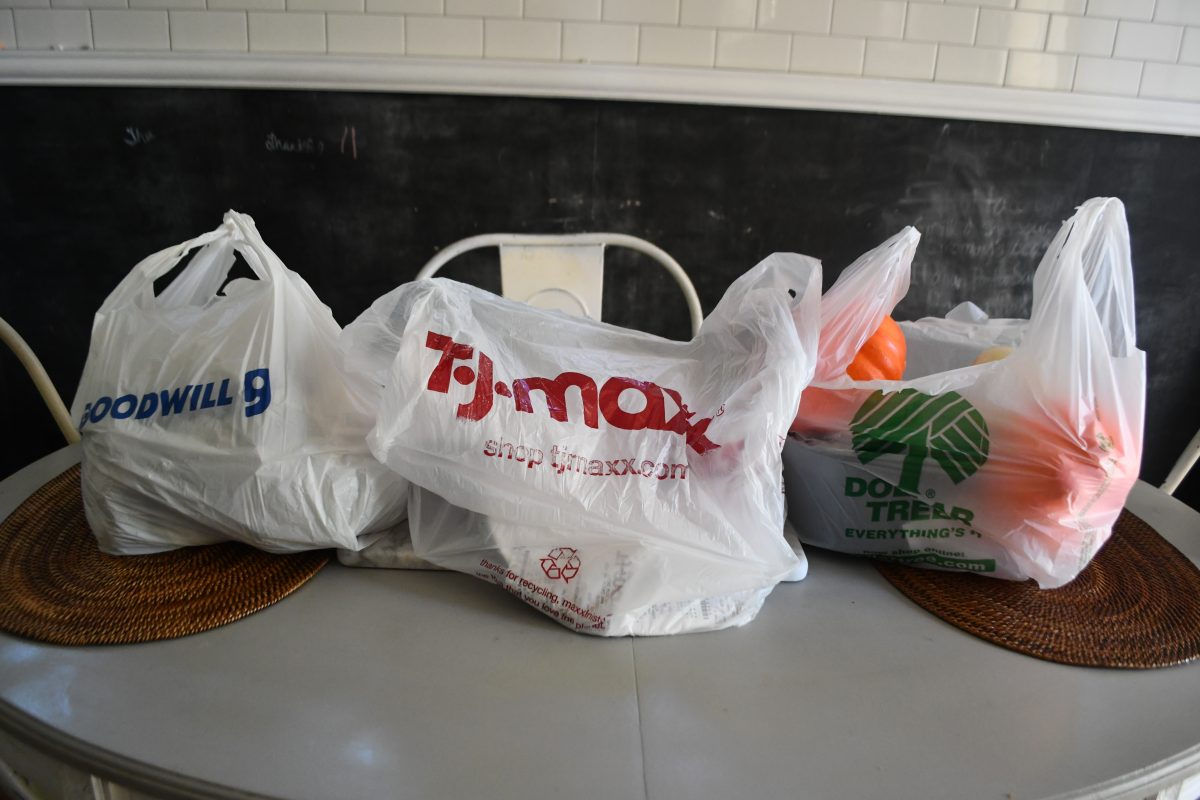
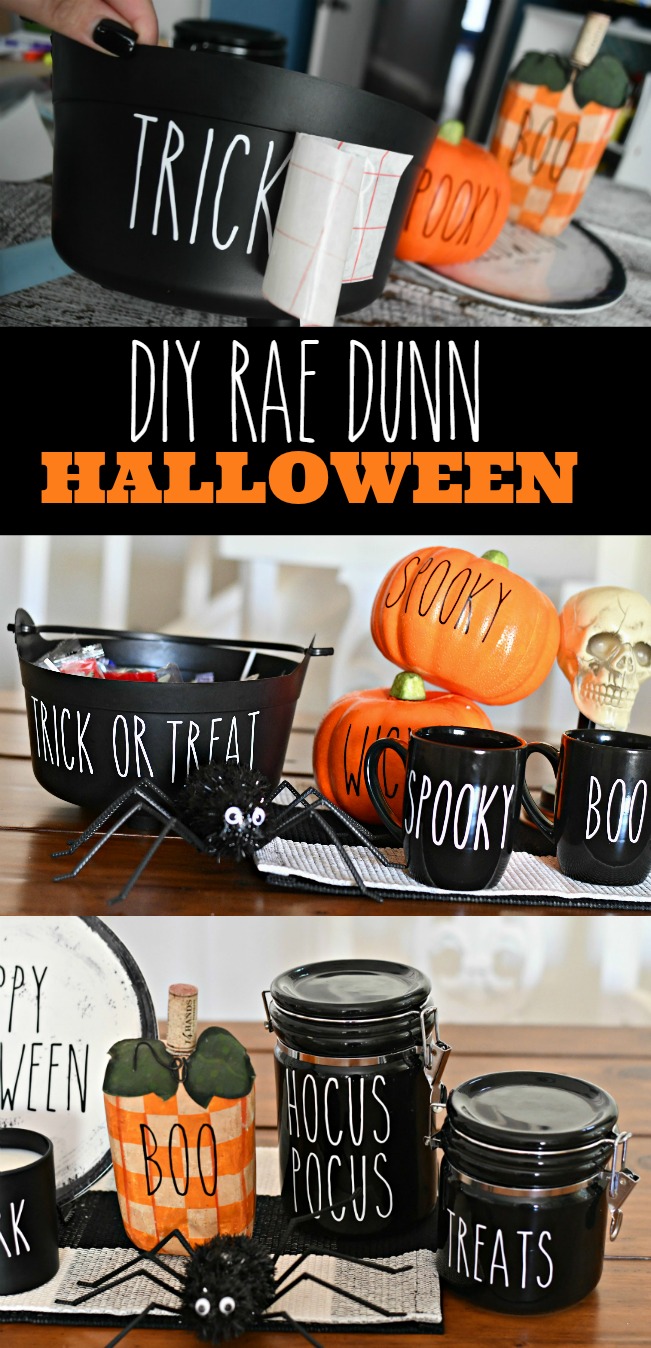
The first step is to gather items you think it’d be fun to add Halloween decals to, like mugs, plates, candles, canisters, bowls. pitchers, etc. You can start by going through your home to find items that could work, including Halloween decor you may already have on hand that could use a makeover! I visited Goodwill, Dollar Tree, and TjMaxx to find inexpensive items for my project.
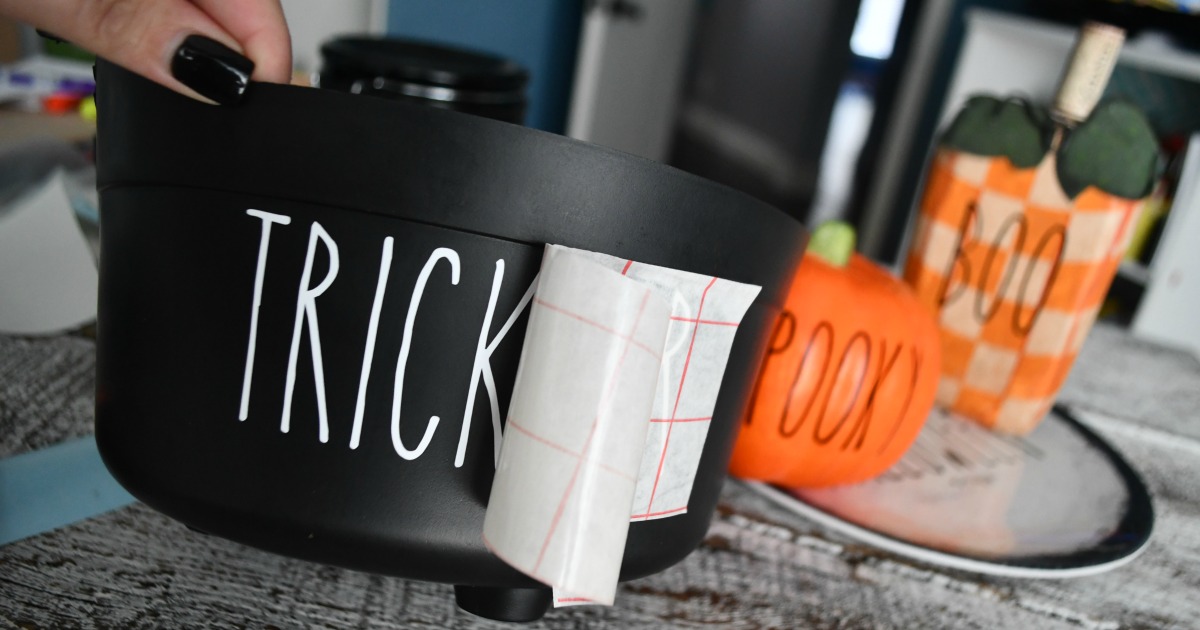
DIY Rae Dunn Halloween Decor
Supplies Needed:
- outdoor vinyl such as Oracle 651, in black, or white
- vinyl cutting machine like a Cricut or Silhouette
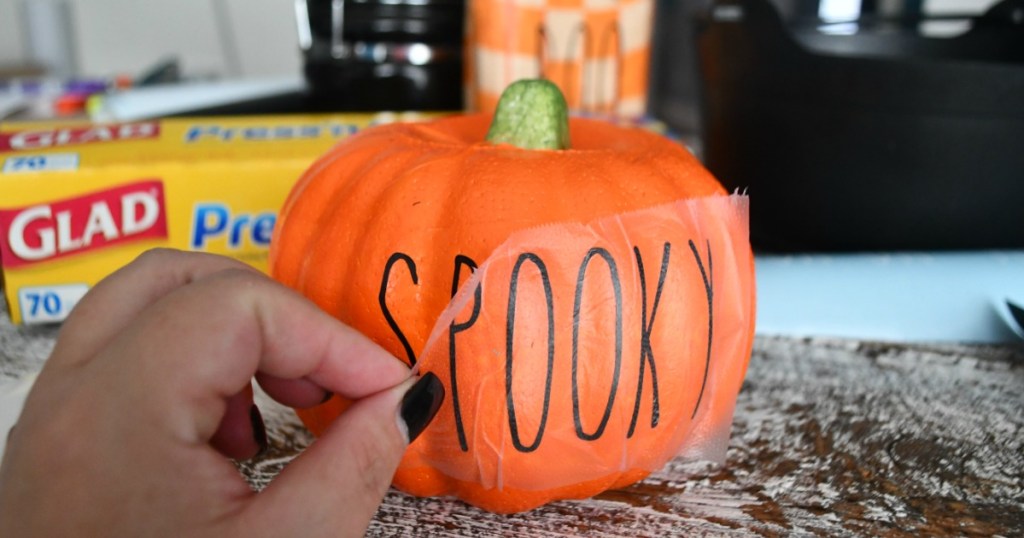
- transfer tape or Glad press and seal
- cups, bowls, pumpkins, etc. to embellish
Directions:
- Download the free font from dafont.com called “The Skinny”. Open your design software and type out desired Halloween related words for decor. Make sure to size them to fit your items.
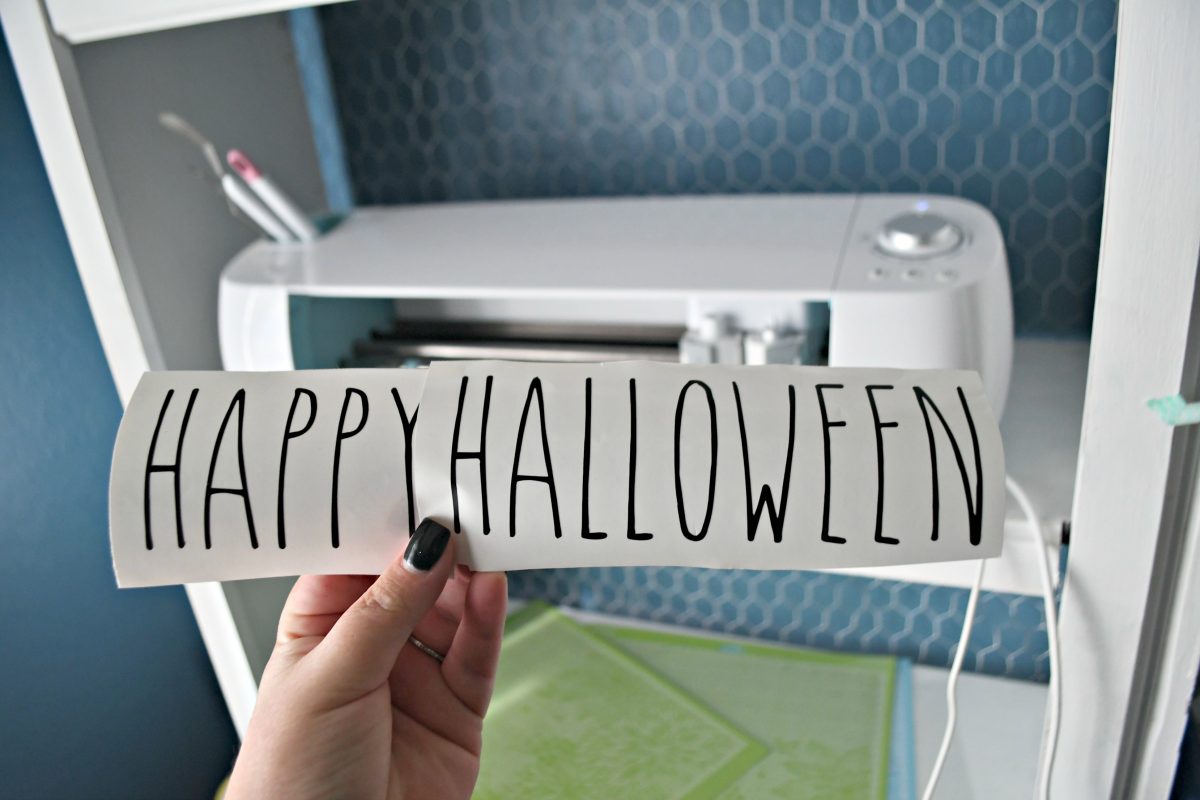
- Cut lettering using vinyl and weed out the excess vinyl.
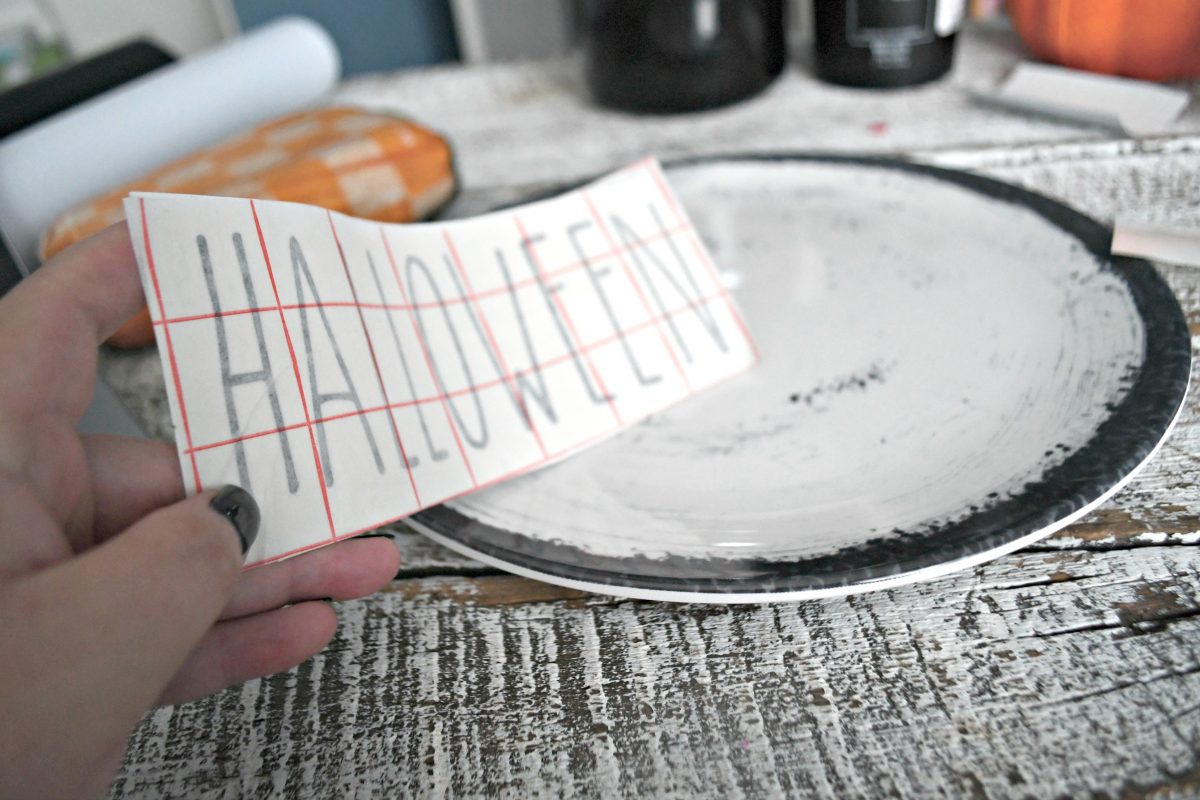
- Rub transfer tape on top of the lettering so it “transfers” to the tape. Note: For pumpkins and anything curved or round, I recommend using Glad Press and Seal to transfer.
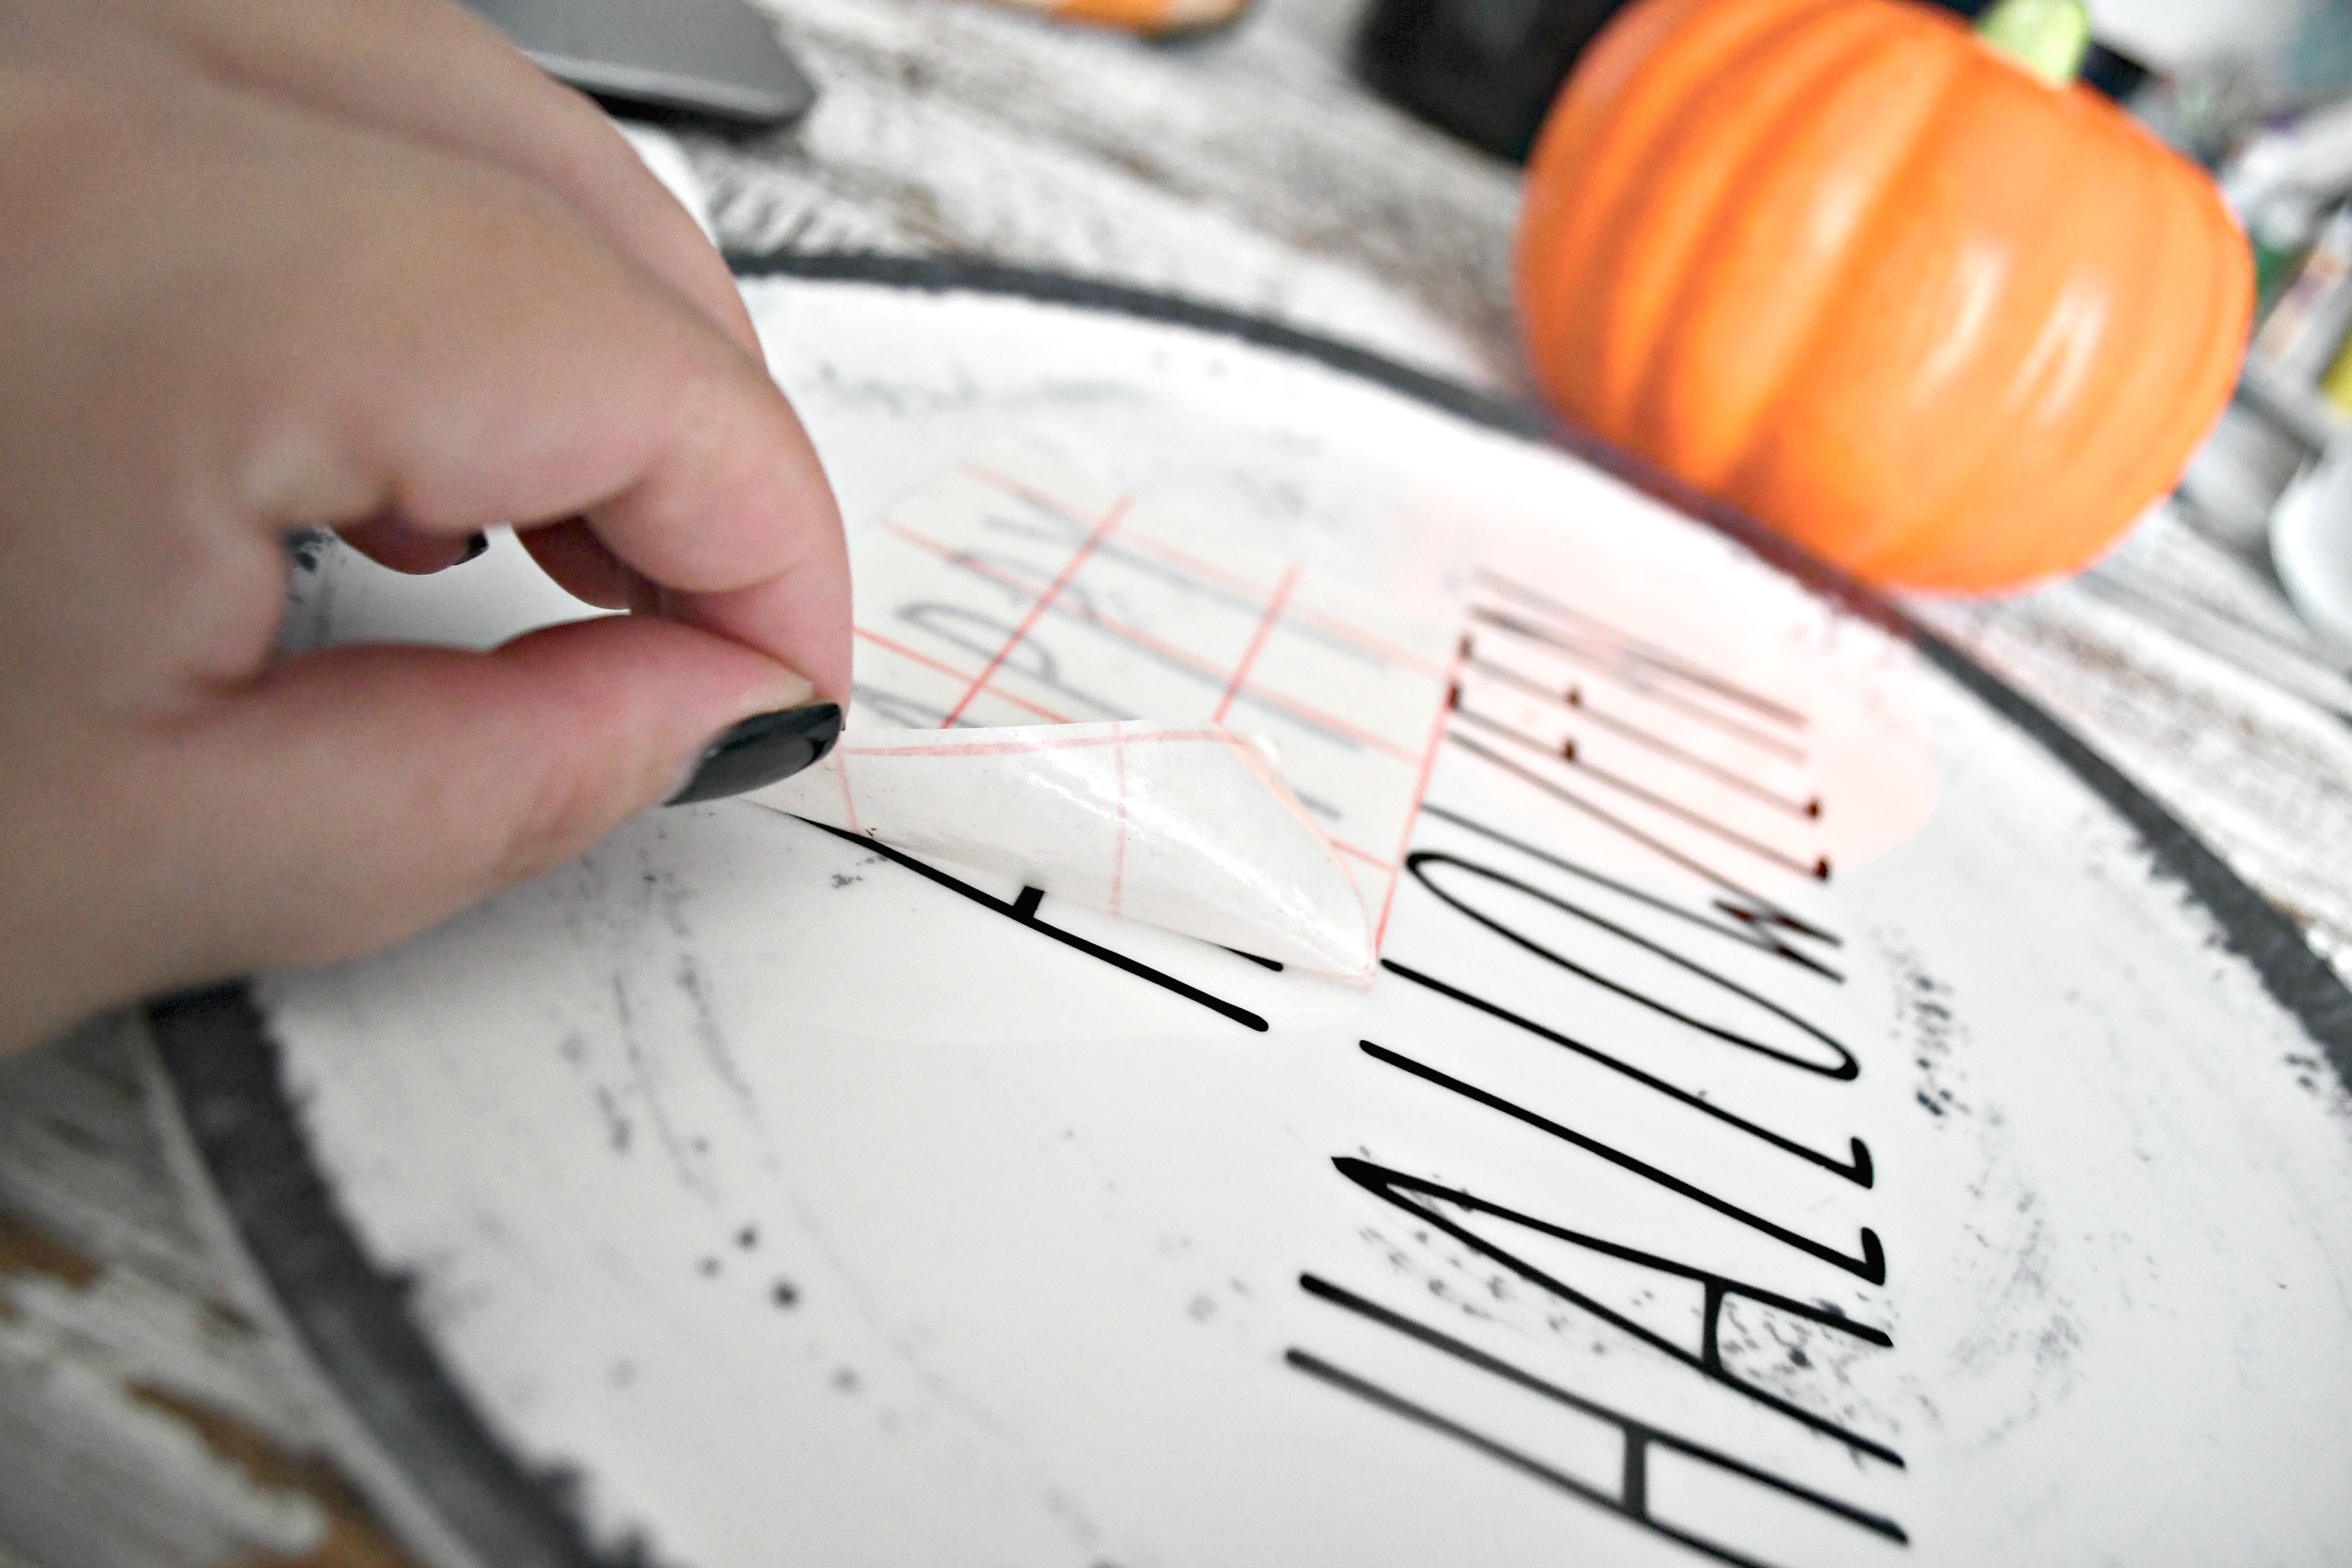
- Place the lettering on the item, rub the decal, and pull back on the tape, making sure the letters adhere to the item.
1. Dollar Tree Finds Makeover: Total Cost $5
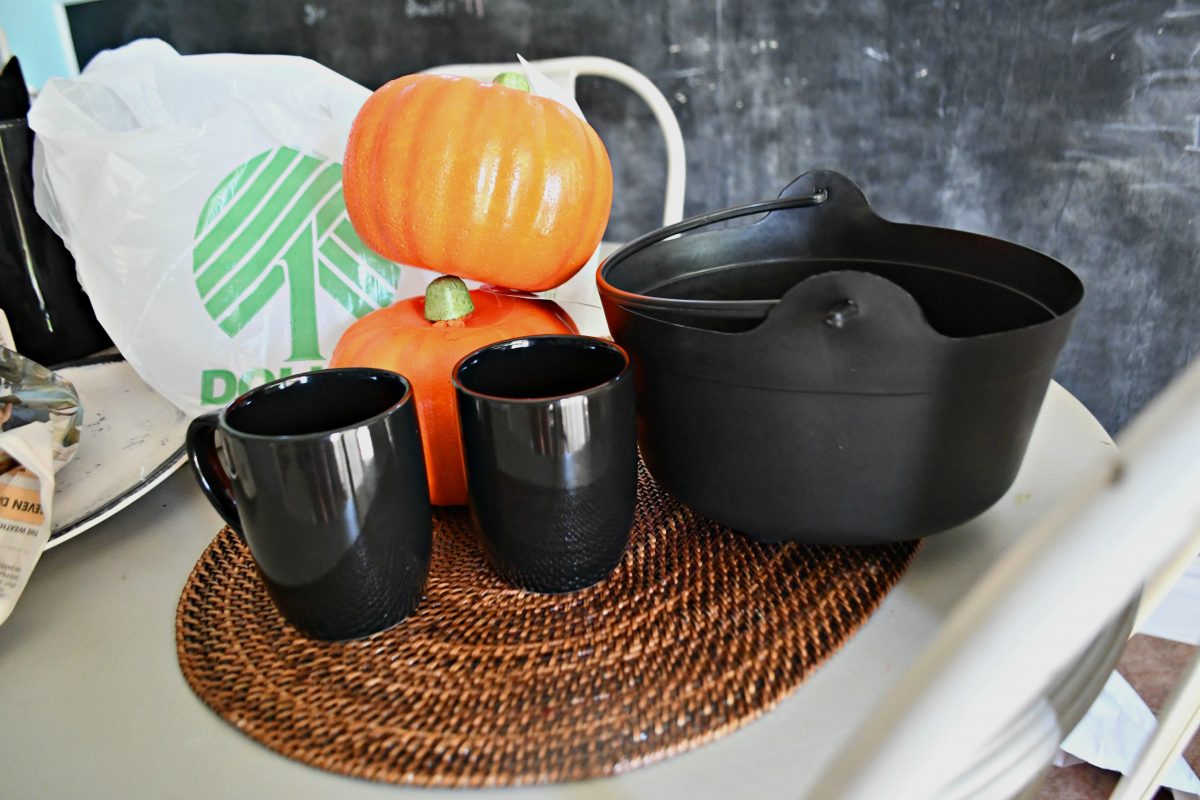
Dollar Tree has solid black coffee mugs perfect for adding decals, and also fun candy buckets for holding Halloween goodies. I also love how the Dollar Tree Styrofoam pumpkins turned out when embellished with vinyl! You can even paint them first and then stick on your decal if you wanted another color besides orange. The skull and spiders are also from Dollar Tree!
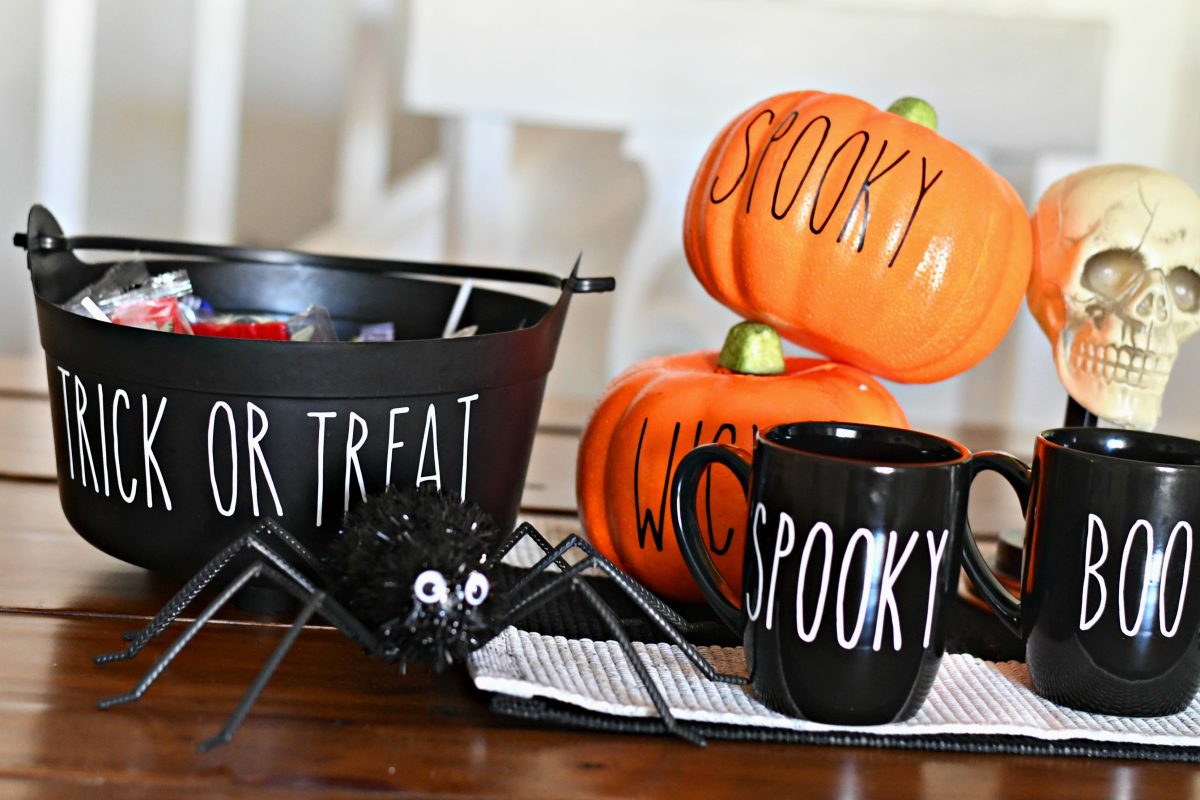
2. Goodwill Finds Makeover: Total Cost $8
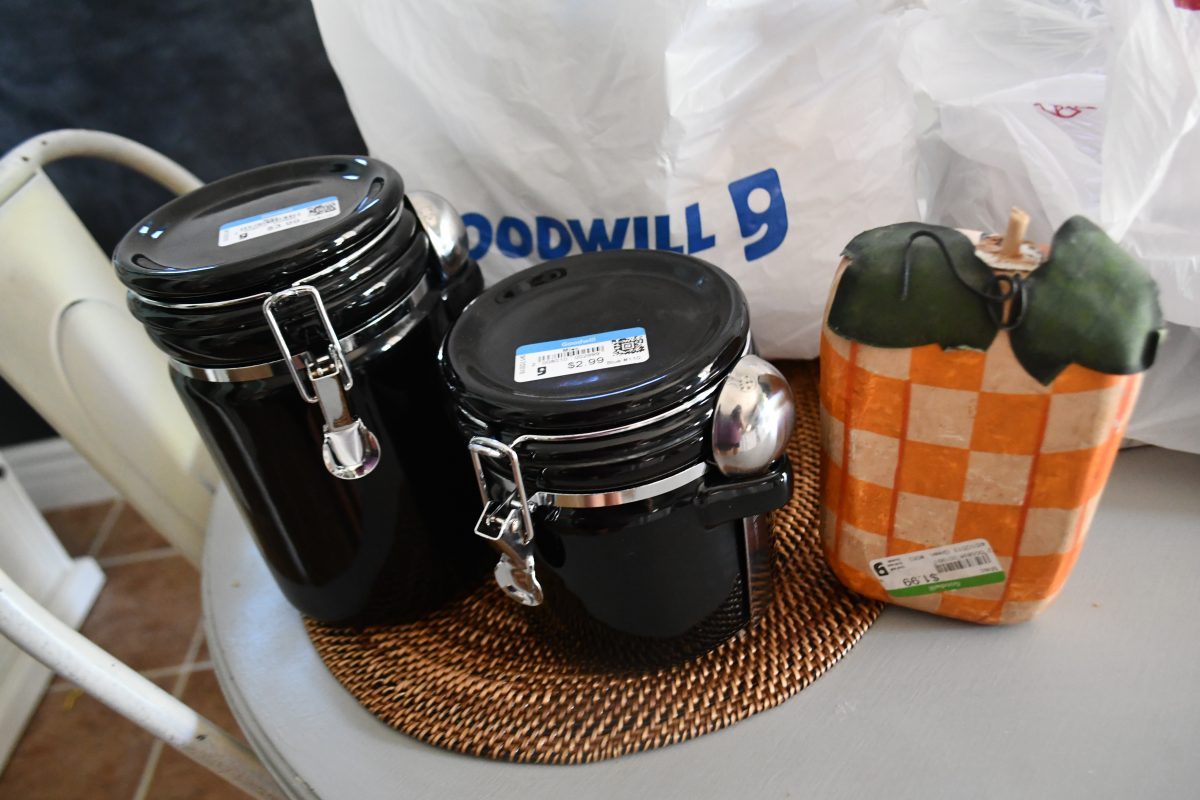
My Goodwill had a ton of these solid colored black canisters I thought were so cute for this project, and at $2.99/each, the price was great! I also loved this checkered whimsical pumpkin for just $1.99 and added a wine cork to it as a stem. I think all three items look great made over!
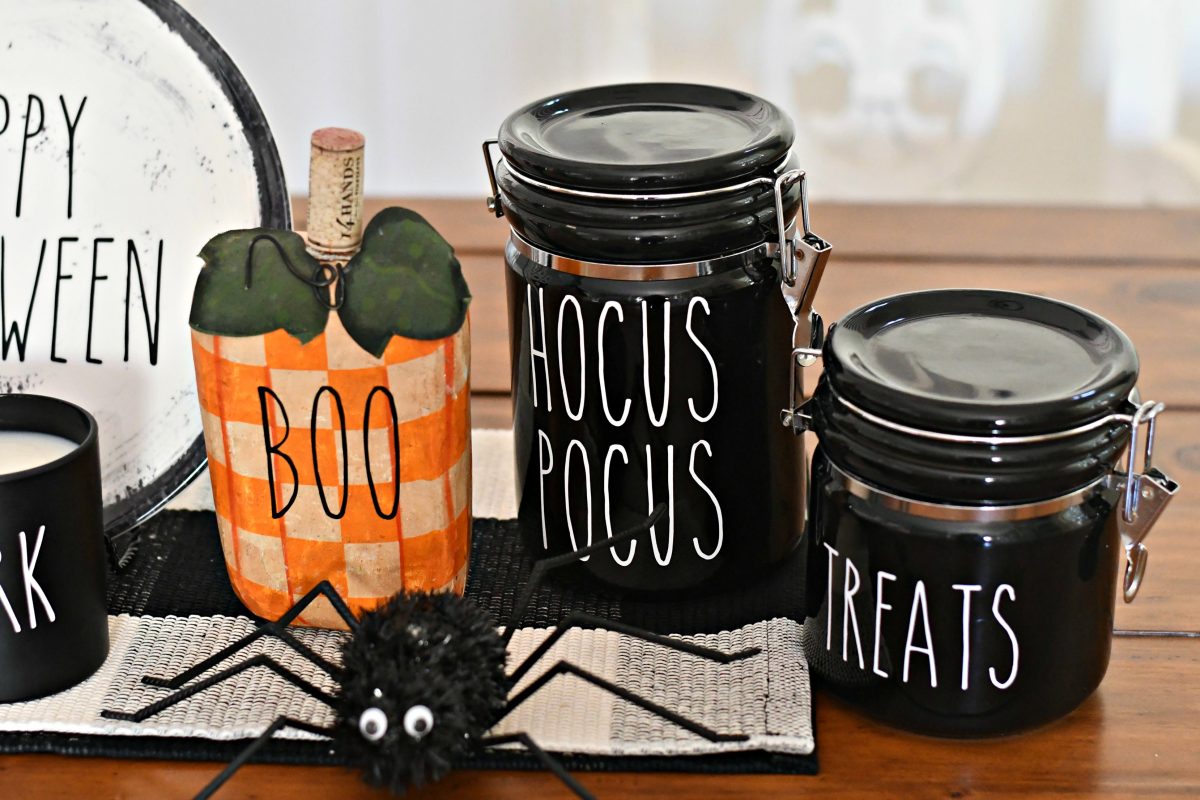
3.) TJMaxx finds makeover: Total Cost $23
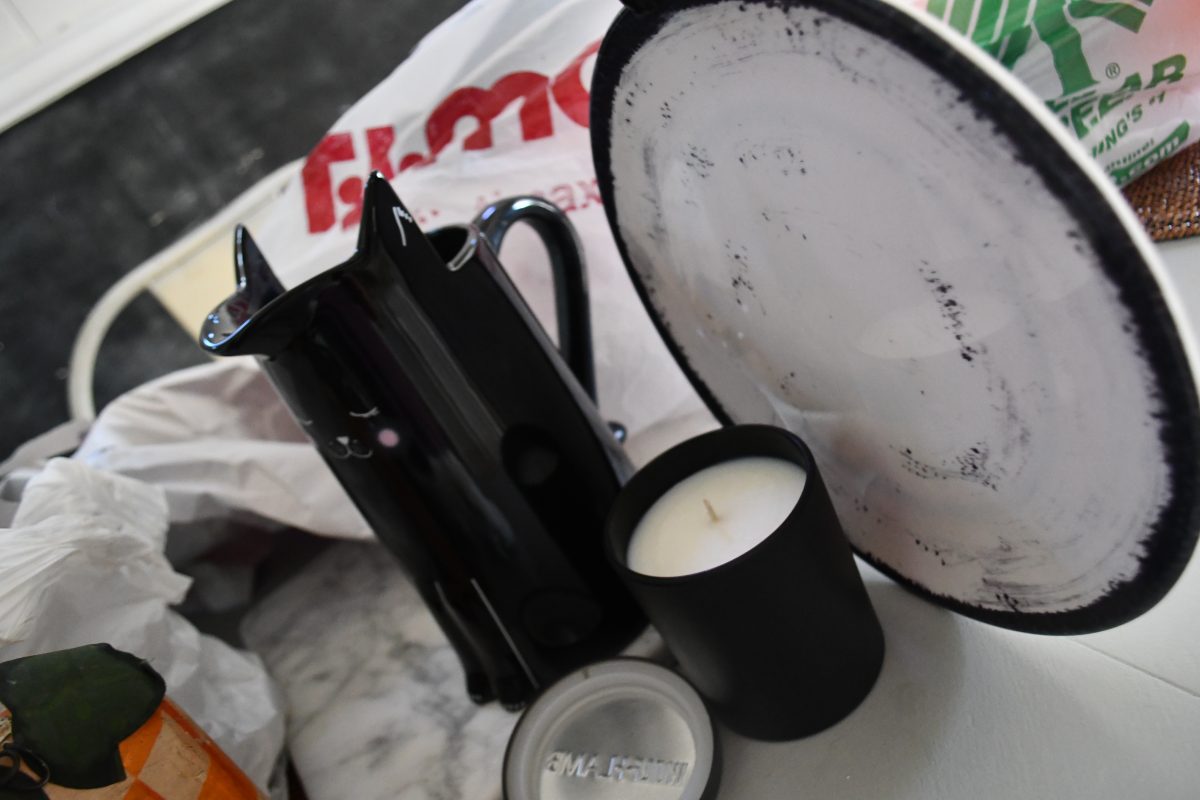
I fell in LOVE with this cute black cat pitcher at $12.99 from TJMaxx, and also this fun plate was just $2.99! The yummy smelling soy candle was $6.99, but I loved that it’s solid colored and fit in with other items!
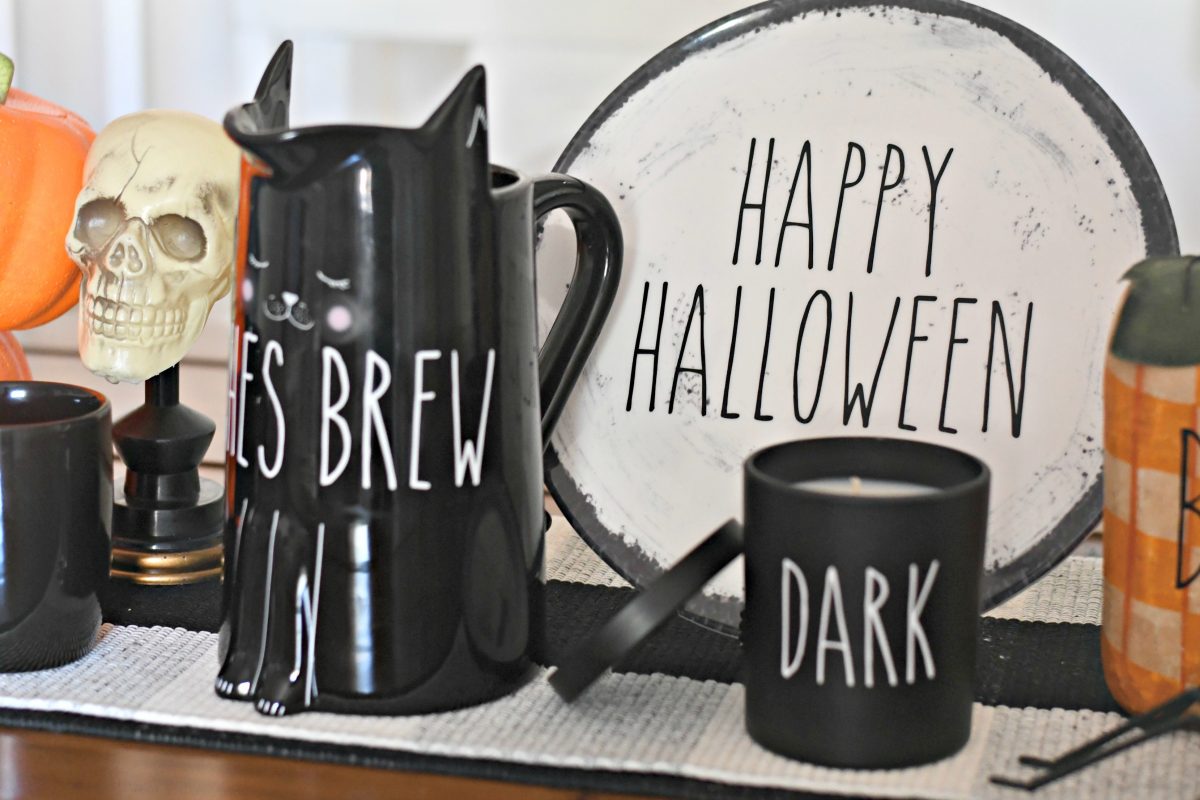
Scary cute Halloween decor
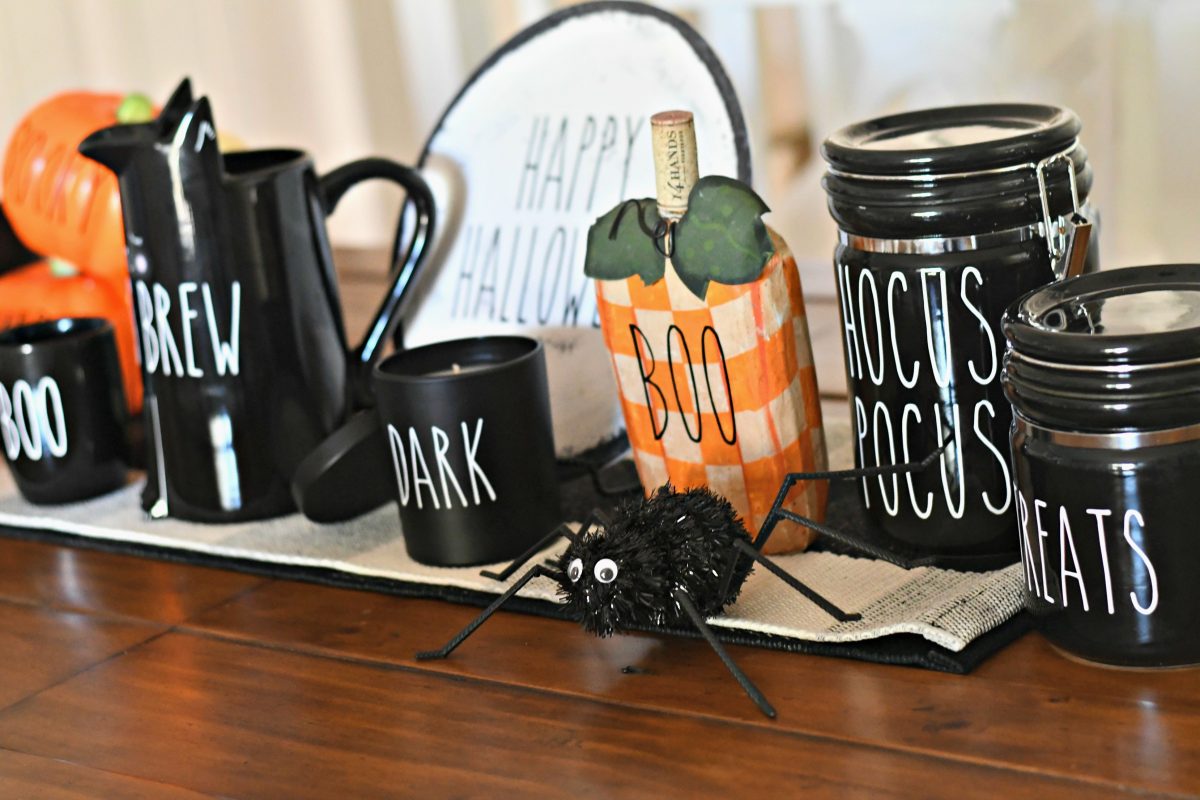
All these vinyl details tie different items together to make a such a pretty grouping of Halloween decorations…
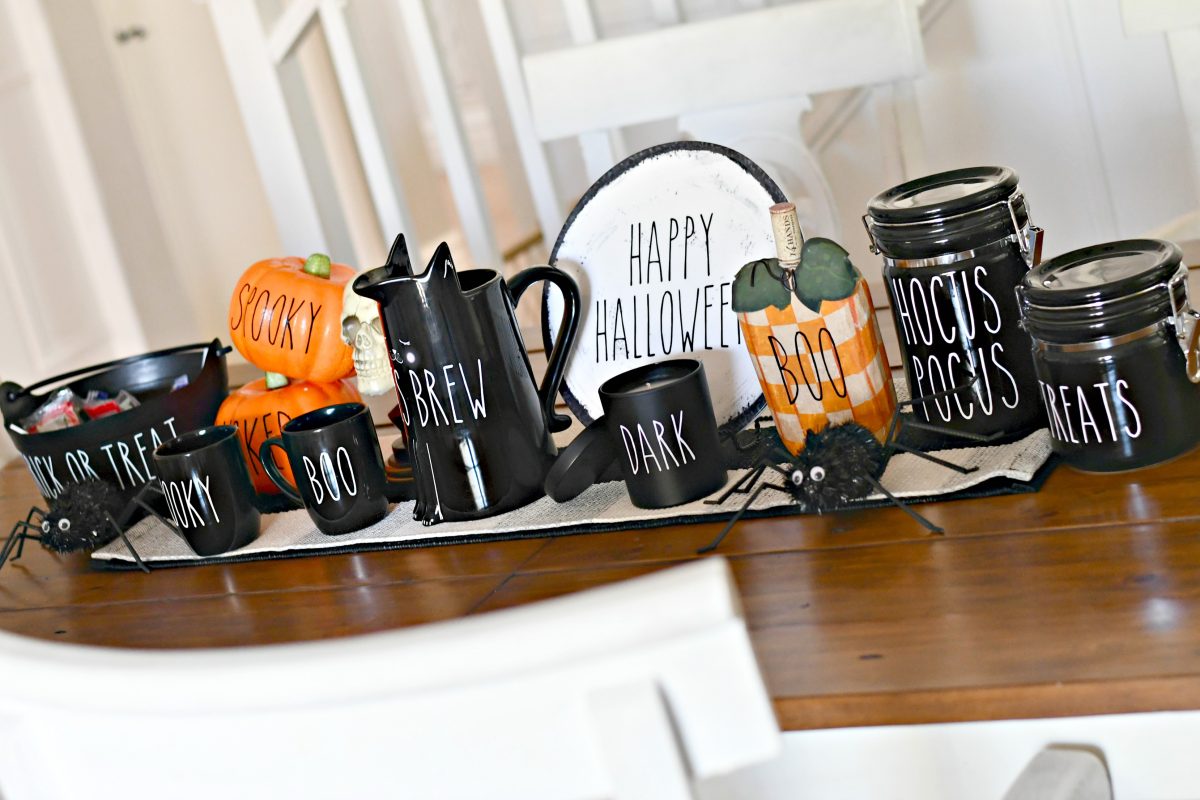
You can do this for your kitchen or for any tabletop. Such a fun idea to decorate for a Halloween party, too! I love vinyl projects, and this one is definitely one of my favorites to put together!

Thank you!! I LOVE when you put up holiday ideas!
Aw you’re so welcome Marie! Thanks for reading today!
These are super cute!!! It’s crazy how much more expensive the items look by simply adding the decal.
Thanks Jen! I agree! ❤️
Great diy thanks
Oh thanks so much Keesh!
Although the font “the skinny” is similar to Rae Dunn, the “a”’s for example are different along with many of the other letters. If you aren’t picky, then this would work for you!
Could you tell me how to use the downloaded fonts on cricut? I’m fairly new to the cricut world and I’ve been living in a box because I just recently have seen Rae Dunn items. I absolutely love them but don’t have the money to spend on stuff like that. I am in love with doing crafts so this is super exciting for me and I can’t wait to try it out. It’s giving me inspiration to clean off my desk. Thank you!
Hi there! Once the font is downloaded to your computer here are the steps:
Write your text, make sure the text is selected and click on “Edit” in the right panel. By default in the first drop down “All Fonts” is selected. Click on this drop down and select “System Fonts”. It will load your installed fonts on your computer which might take a couple of seconds.
Hope that helps!
Is anyone willing to point me to a very user friendly how-to video for the Cricut?
Thank you in advance,
Toni
I looked on YouTube there are videos for anything you need to know. I was intimidated at first but it is very addicting and super fun! Also Pinterest has links to many tutorials if you prefer written instructions.
Can you use any cricut or does it have to be a certain one? Like what’s the oldest one you can use lol 😂 there’s an opportunity to purchase a used one but I don’t want to buy a completely outdated one that won’t do this
No you can use a Cricut or any other vinyl cutter. Sillouette is another popular brand.
😒