These DIY Concrete Planters Cost Less Than a DOLLAR to Make!
Make pretty DIY concrete planters with a cheap bag of cement mix.
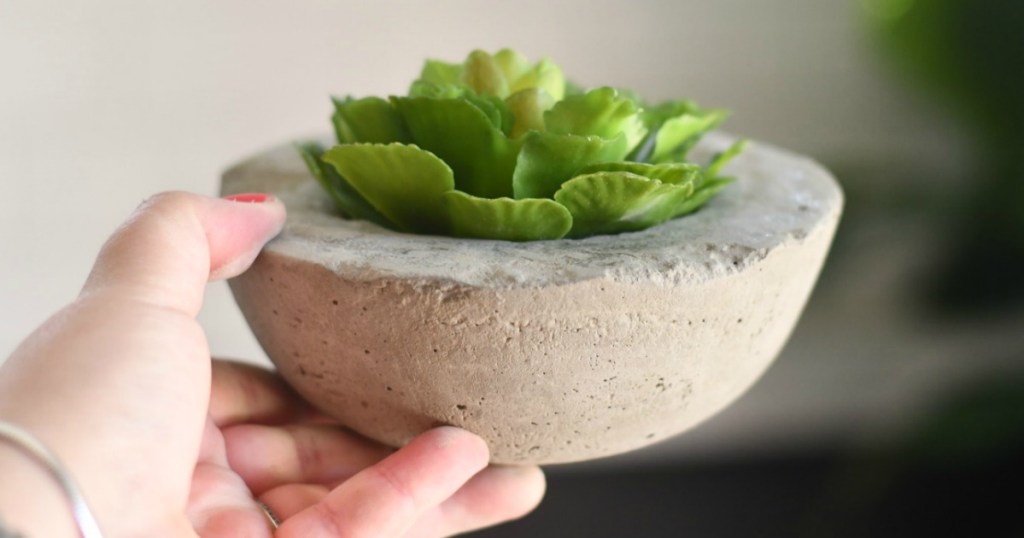
These DIY concrete planters are such a fun and frugal project!
You’ve gotta try making these pretty DIY cement flower pots using a cheap bag of concrete mix. I love it when a project turns out super cute while going easy on the budget! 🙌
If you have some patience and a heart for DIY projects, you’ll love making these concrete planters and will want to experiment with various shapes and sizes. You can even have fun painting them if desired when they’re finished hardening. Some readers have suggested incorporating cement colorant from the hardware store as another option.
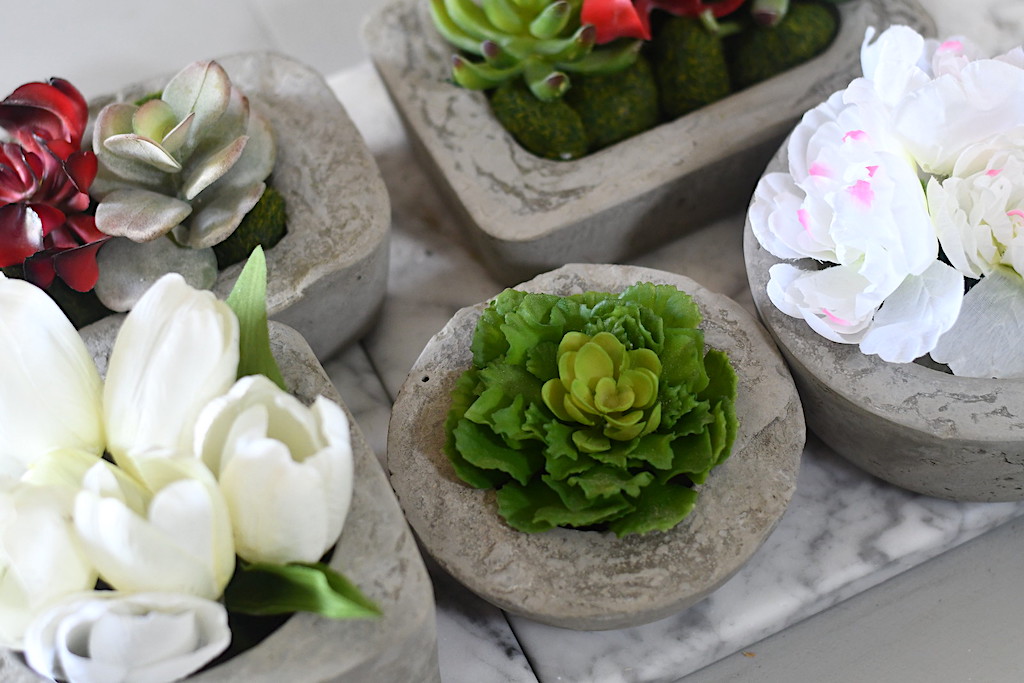
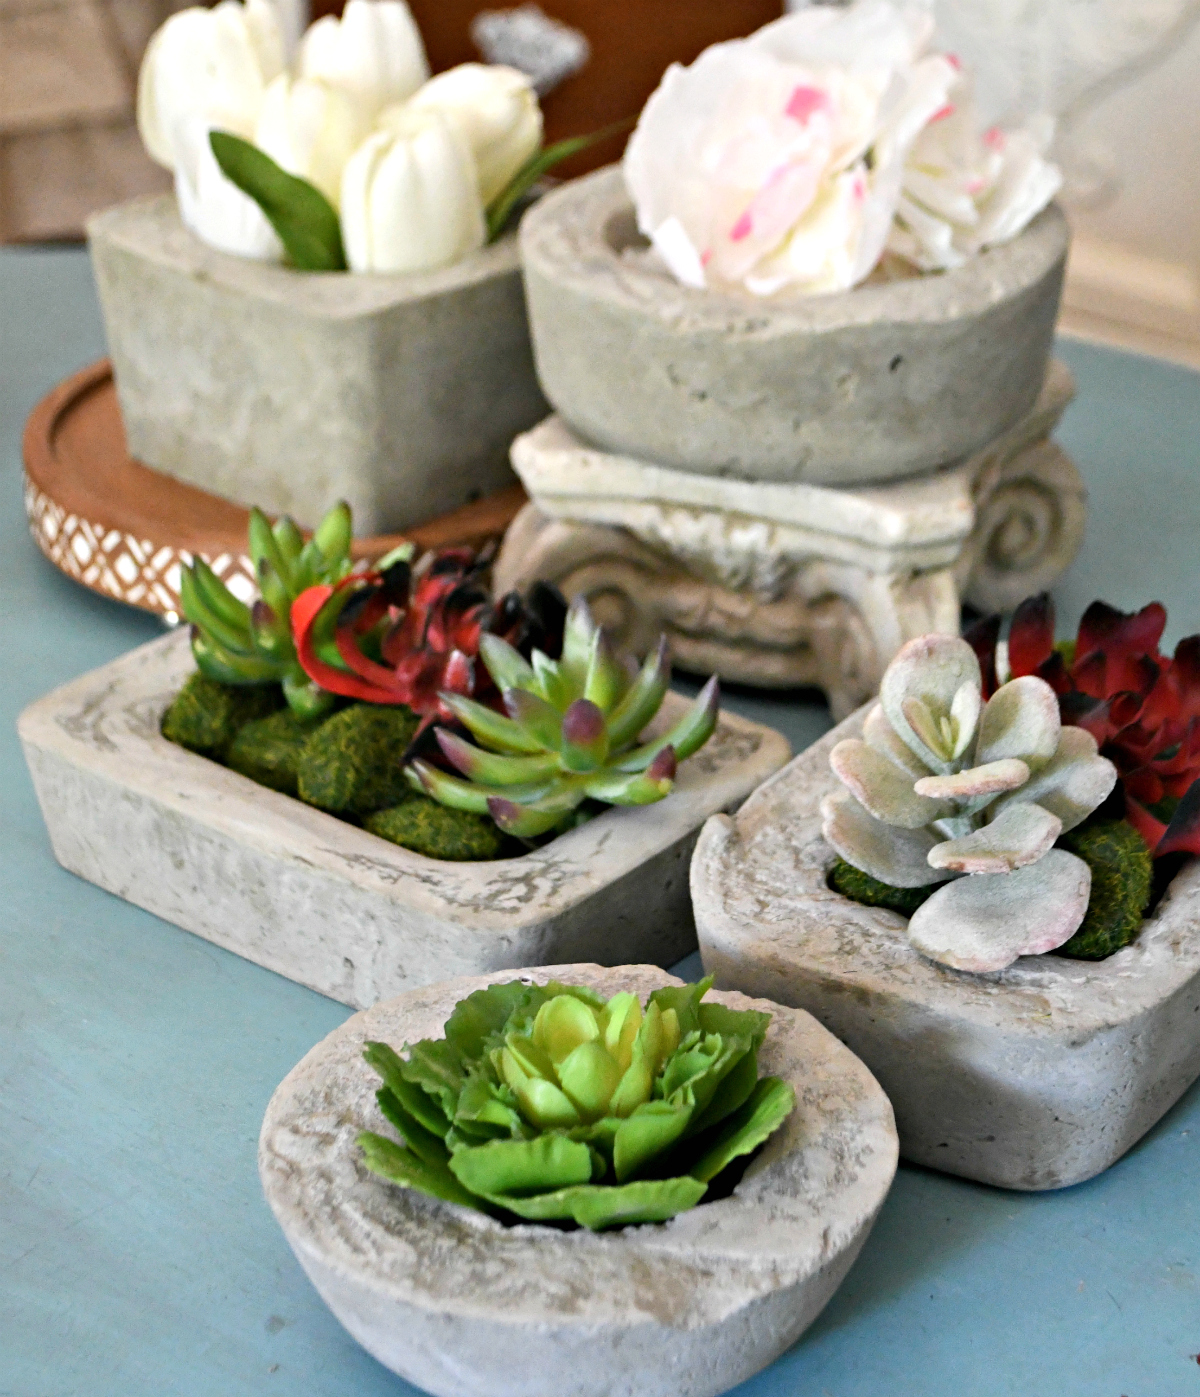
I’m obsessed with how these DIY cement planters turned out!
When finished, these cement flower pots look so on-trend and are gorgeous. In my opinion, they would make such a thoughtful gift for a birthday, Mother’s Day, or Teacher Appreciation. They would also be the perfect frugal wedding decor or a gorgeous way to beautify your own space.
And really, these don’t have to be planters exclusively. Other ideas would be to use them as candle holders, to put your jewelry in, or even as a soap tray for the sink. The possibilities are endless!
Grab some inexpensive supplies for your concrete planters.
I bought an entire 94-pound bag of concrete mix for about $15, and I have most of it left over for other projects. I asked the folks at The Home Depot which concrete to use for planters, and they directed me to this Portland cement because it’s a finer texture, without the sand and gravel, which produced the look I was going for.
Just be sure to take someone strong enough to lift it, as I had to put out a mayday call for hubby to come to rescue me and my heavy concrete mix. 😅
Look around the house for containers first.
You’ll need to find an outer container and then a smaller item to fit inside to make a mold for each planter. For the molds, I used old plastic Tupperware and food containers. These are containers I would not use again for food, so make sure to pick molds you won’t miss.
The thrift store or Dollar Tree may be good places to look for molds if you can’t find things around the house. Consider using a milk carton or re-purpose miscellaneous food packages, like sour cream or other food tubs, that you could cut away and recycle after. Just make sure the mold is sturdy enough to hold its shape when the concrete is poured inside.
Amazon.com is one spot to look for a good selection of reusable silicone molds if you plan on making a lot of planters!
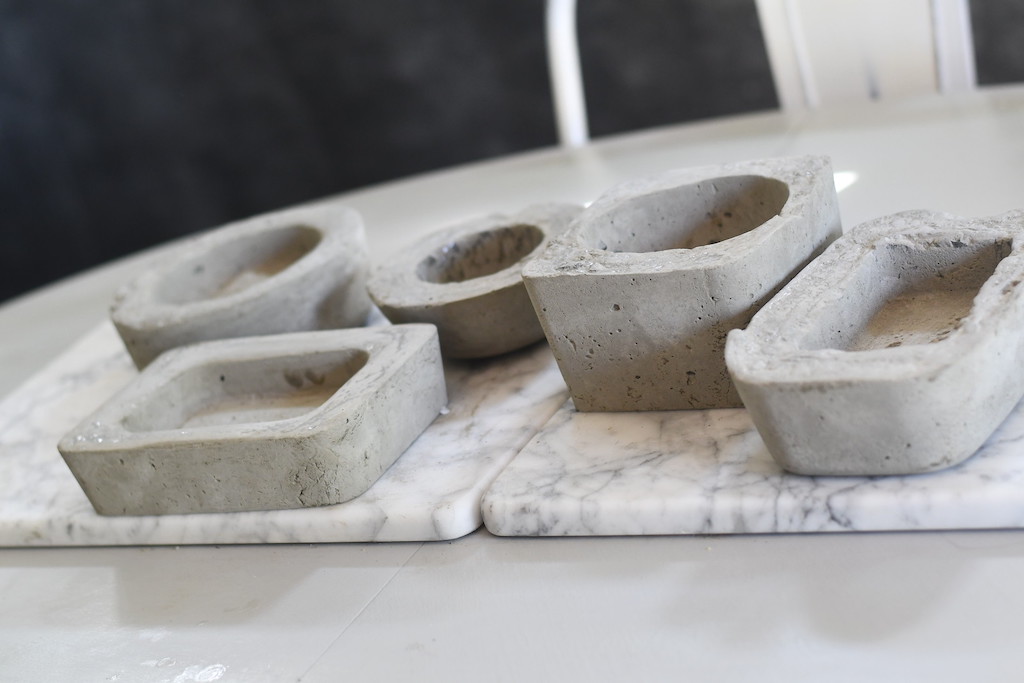
More DIY tips for how to make concrete planters:
- The process is pretty simple but kind of messy, so consider doing this outside. This DIY requires you to mix the concrete in a bucket with a shovel, pour the mixture into the outer container, and then press the smaller container into the concrete to make a planter mold.
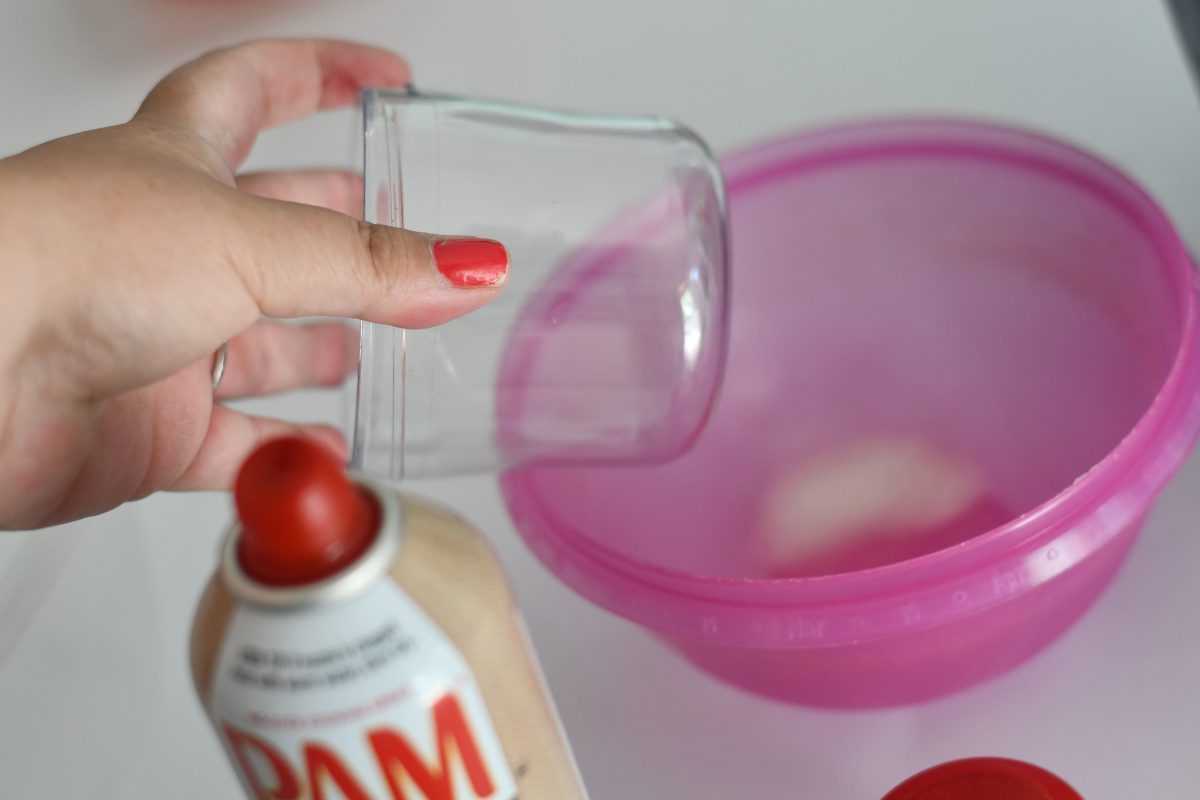
- Make sure to spray oil or use a paintbrush dipped in cooking oil to grease the molds before pouring the concrete mix. This step is a MUST if you’d like your dried planter to easily come out of the mold. I had one that I must have not oiled, and it did not want to come out at all. 😩
- Once dried (overnight or up to 24 hours, depending on the size) you’ll notice that the top rim will be shiny. I rubbed the top with sandpaper to rough it up a bit so it wasn’t so shiny, but that is my personal preference.
- Consider adding felt pad bumpers to the bottom of your planters to protect against any unwanted scratches on surfaces.
- I’m confident you’d be able to plant living succulents in these planters if desired; however, you may want to use succulent soil and place rocks at the bottom for drainage before adding soil.
- A couple of frugal readers have mentioned buying broken bags of concrete at a discounted rate. If you’re able to score something similar, you can still use the 4:1 concrete mix to water ratio for the same results — just less money and less leftover concrete! 👏
DIY Concrete Planters
PrintSupplies Needed
- Portland concrete mix
- bucket
- water
- shovel or trowel
- molds - 2 plastic food storage containers, one bigger and one smaller
- spray oil, or cooking oil and a paint brush
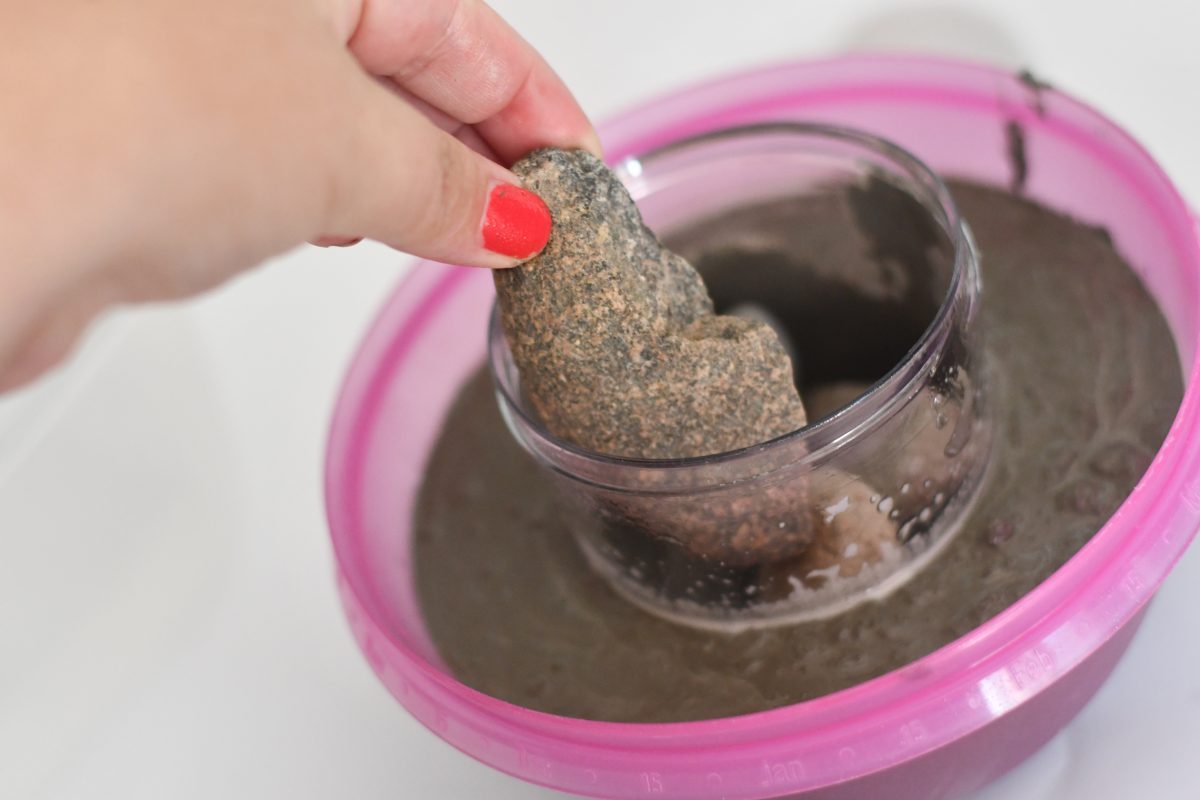
- rocks, to hold top mold down
- sandpaper
- faux flowers or succulents, as desired
Directions
1
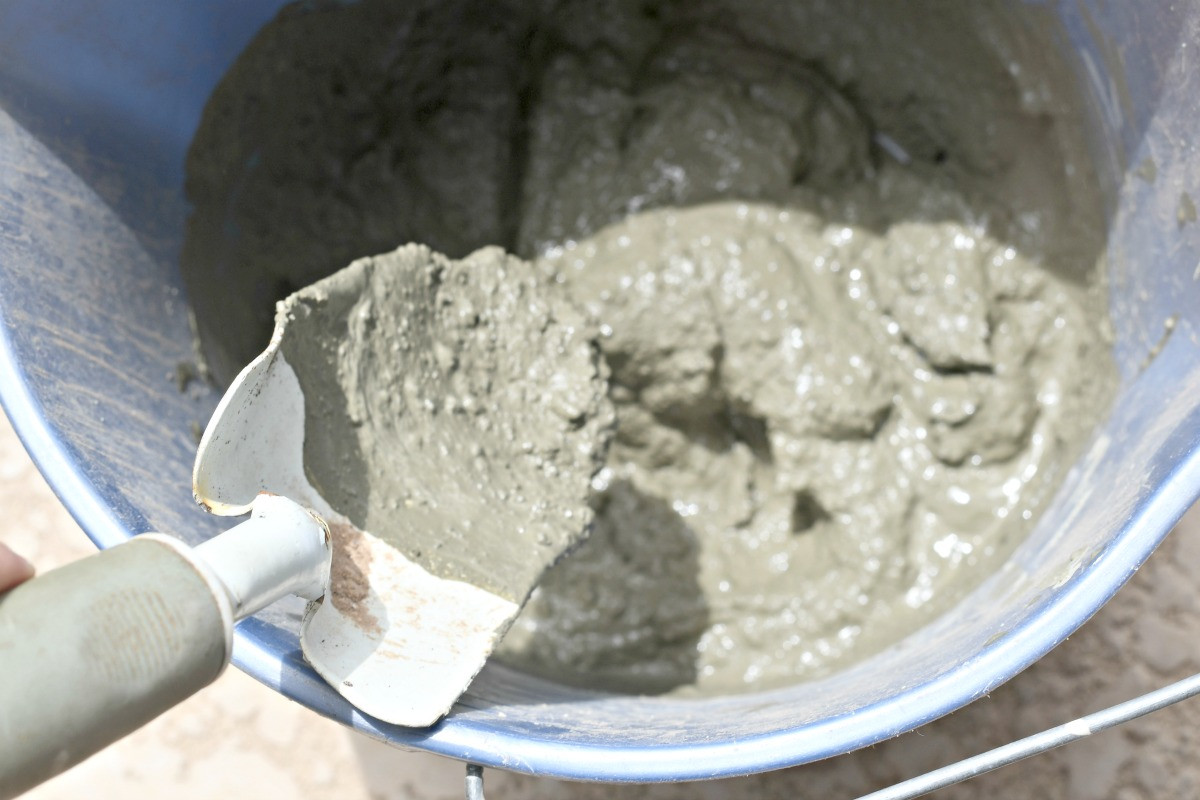
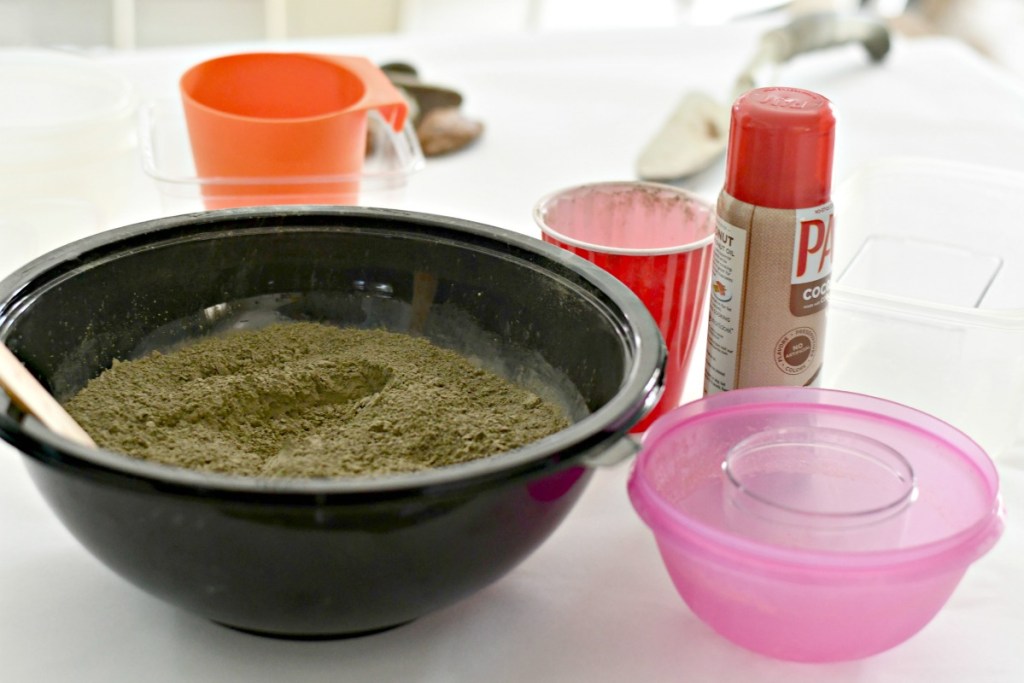
In a bucket, combine concrete mix with water. Start with a 4:1 ratio of concrete mix to water. (I filled a disposable red cup four times with concrete mix, and once with water, then mixed with a shovel).
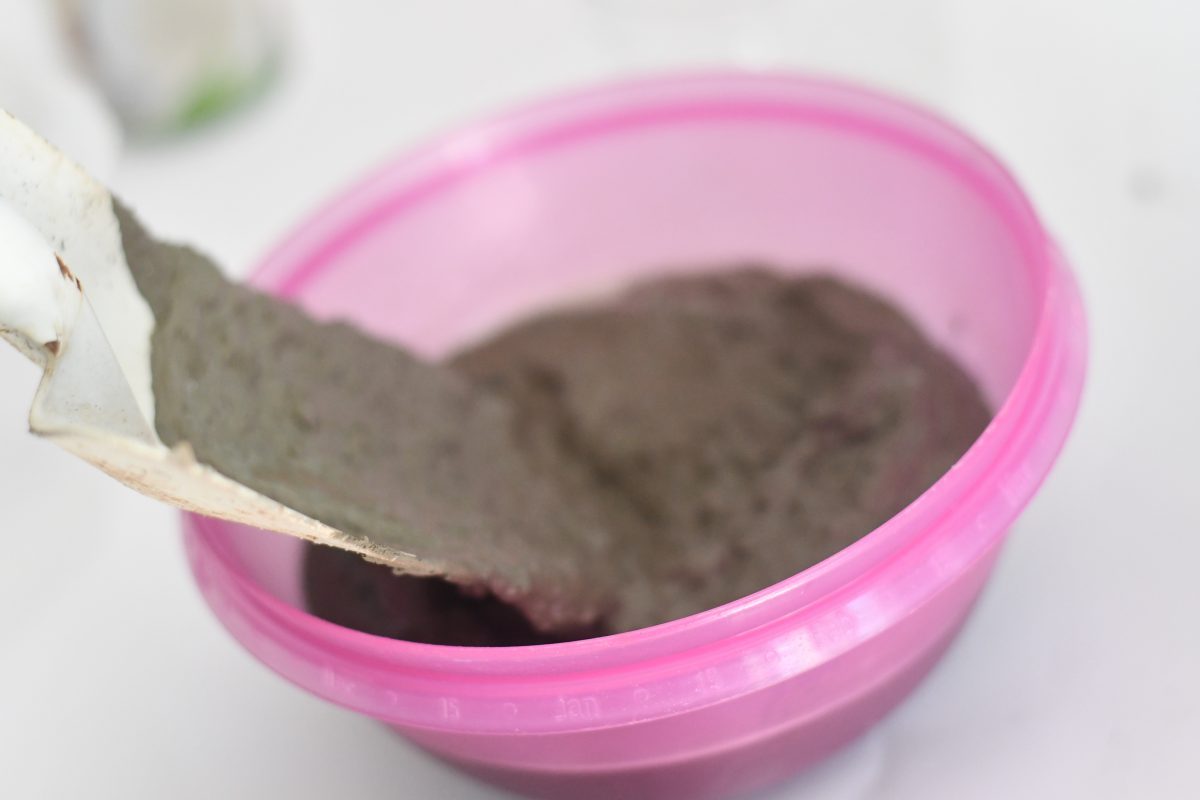
You may need a bit more water, so add a couple of tablespoons at a time until you get a thick oatmeal-like texture.
2
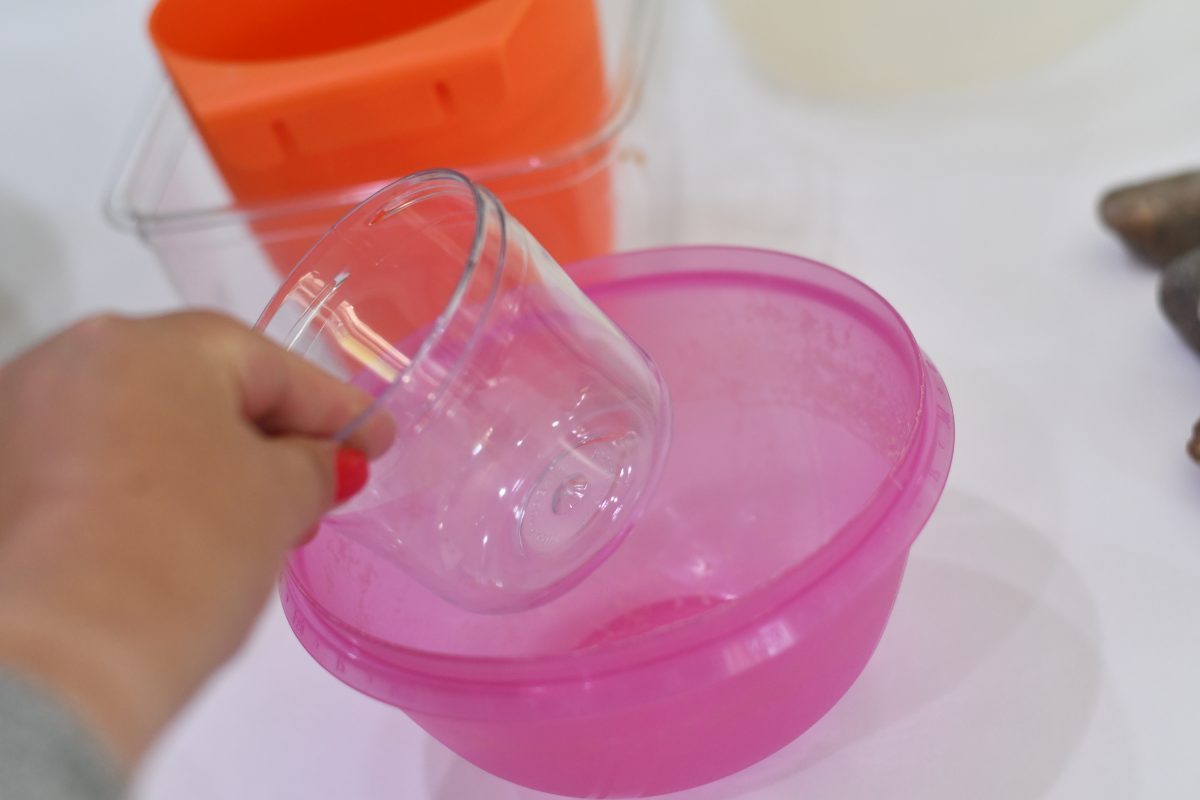
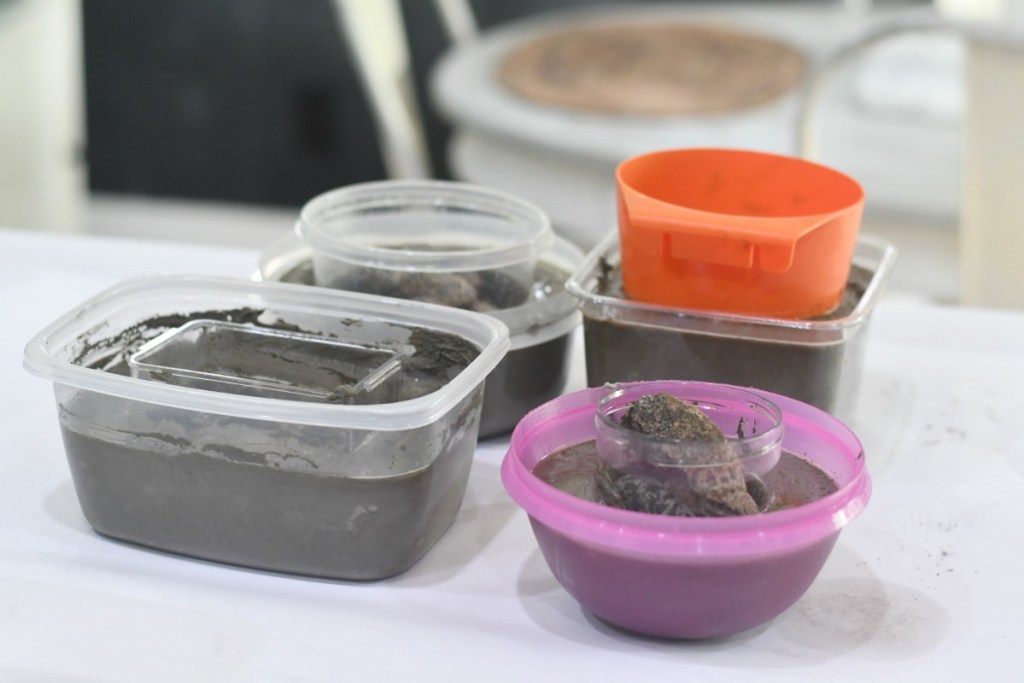
Find one bigger-size and one smaller-size plastic bowl or container to use together as a mold.
3
Spray the inside of larger container and the outside of smaller container generously with cooking spray oil.
4
Fill the larger container with the prepared concrete. Level it out by gently holding sides of the container, and move it in a back and forth motion a couple of times on the ground or counter.
5
Press the smaller container in the middle and weigh it down with a few heavy rocks. Let the concrete dry overnight for smaller sized concrete pot or up to 24 hours for larger sized vessels.
6
Once dry, remove the molds to reveal your planter. Because you’ve oiled it well, the container should come out rather easily, or you may need to turn over and tap the bottom until the planter releases from the mold.
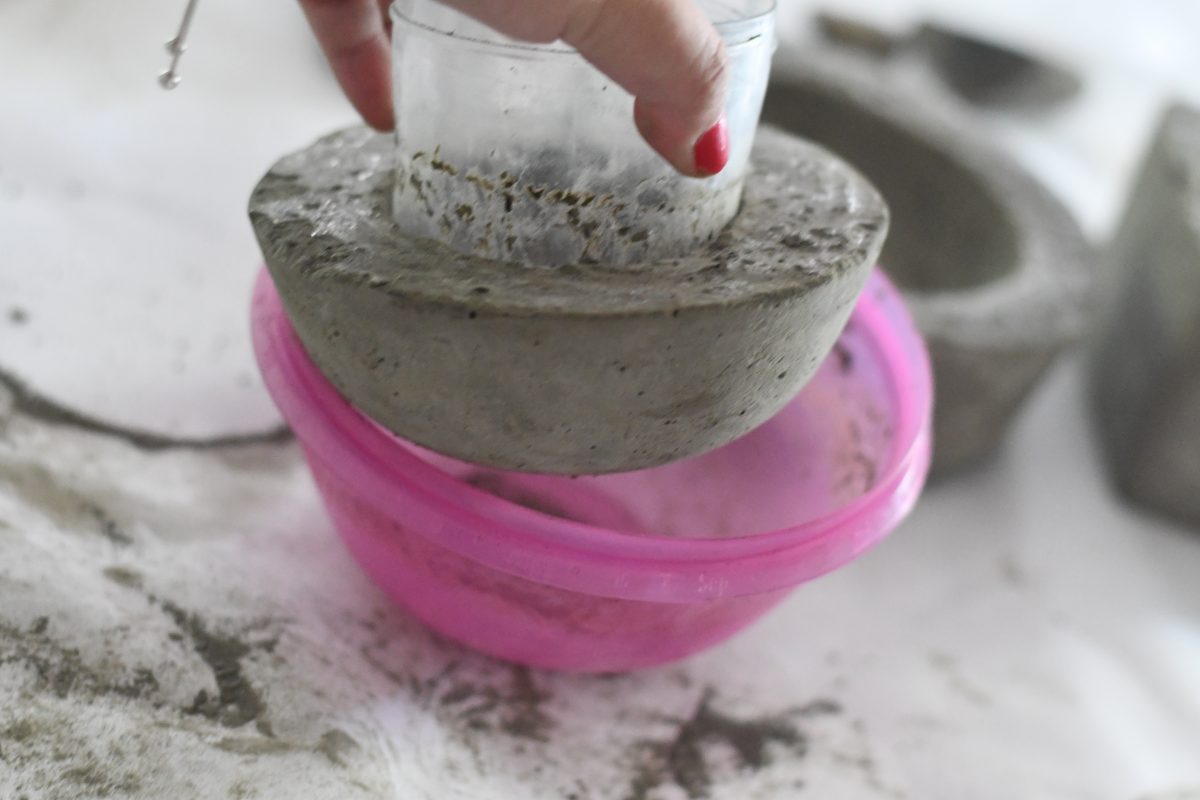
7
Rub the top rim of the planter with some sandpaper if desired to get rid of the shiny texture. It’s a personal preference, but I like the sanded look.
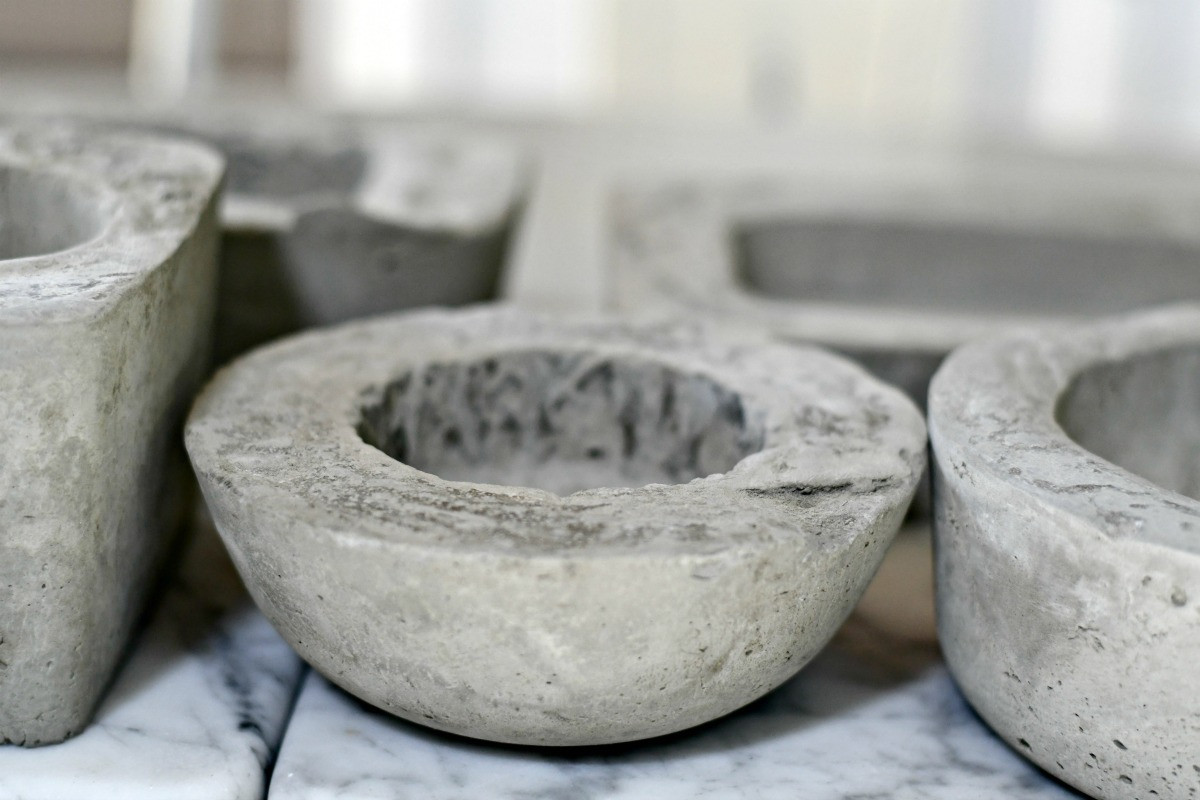
8
Add any faux flowers or succulents as desired.
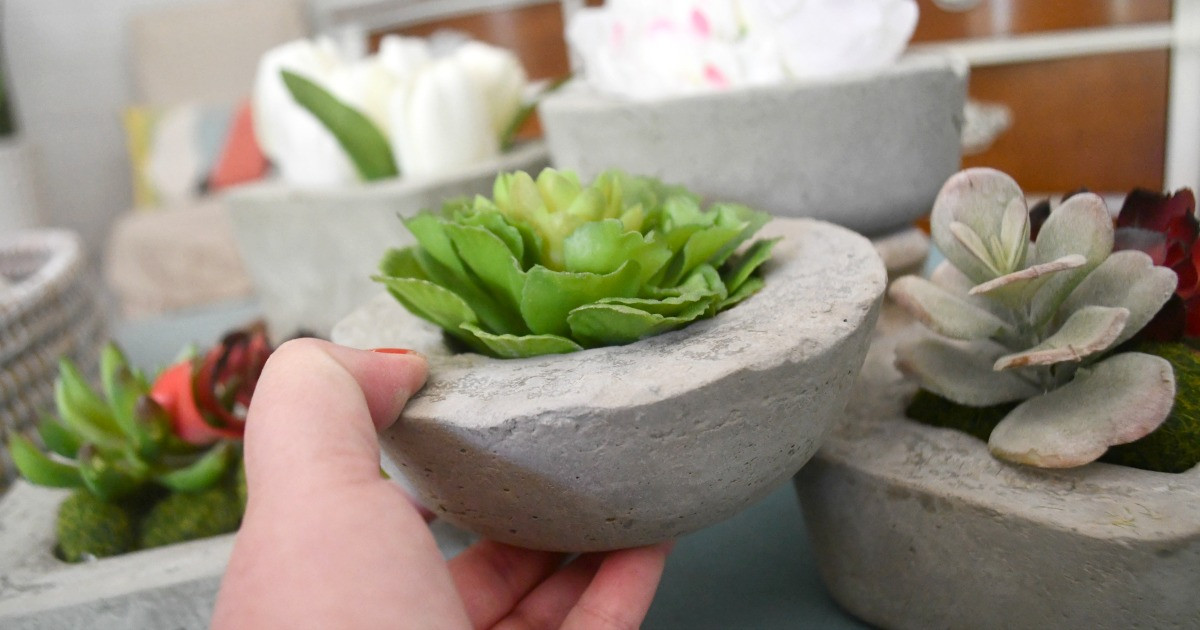
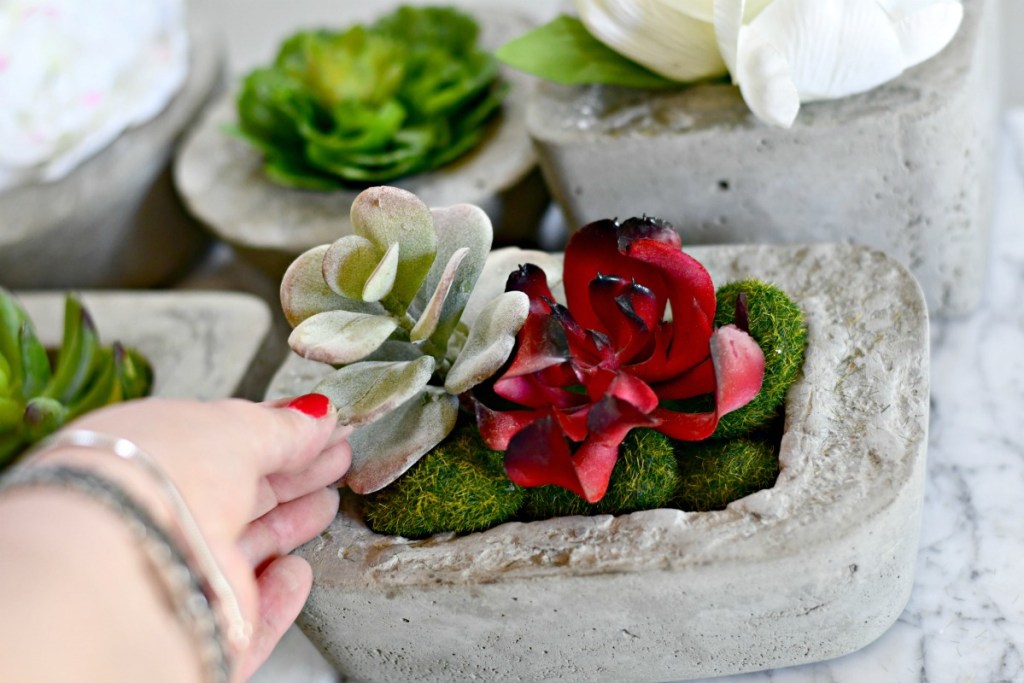
Last step: Fill your DIY cement flower pots!
This is the super fun part! I pretty much raided my stash of faux flowers and succulents to put together these examples. You can find inexpensive faux succulents and the rock-shaped moss I’m using (above) at Dollar Tree. They are so affordable, while still looking super stylish!
Don’t want to make your own DIY cement planters and flower pots?
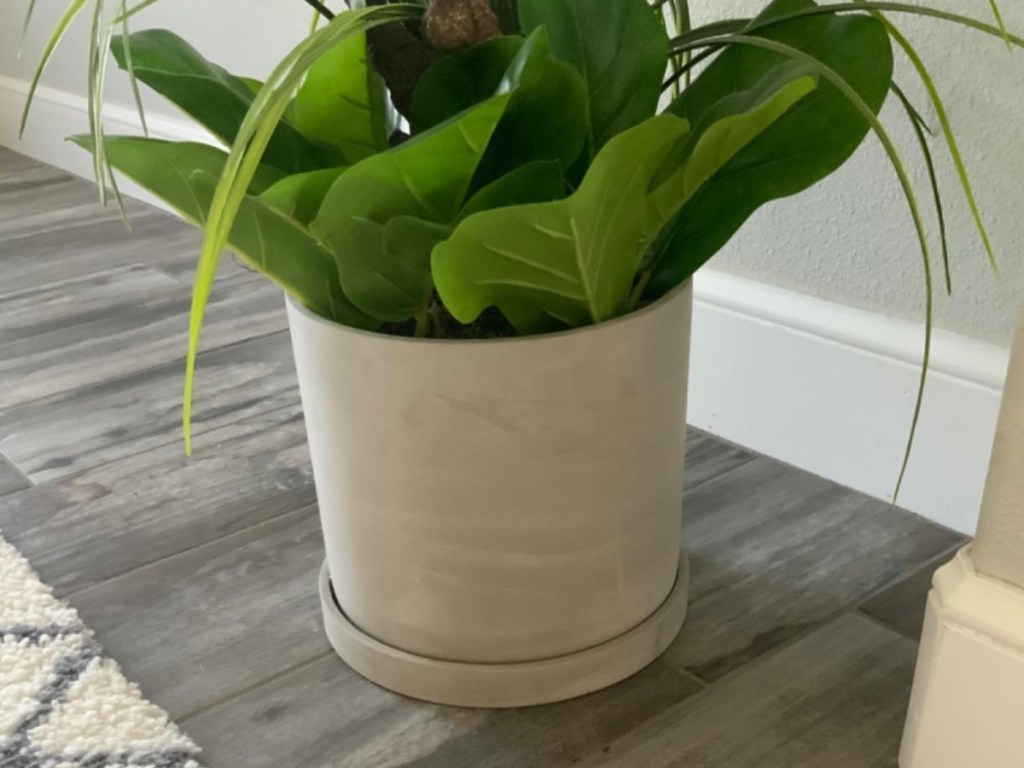
Consider these options to buy:
- Ekirlin Cement Planters with Saucers
- Set of two 4″ Concrete Succulent Planters
- Dahey 3 Pack Small Cement Succulent Planter



Super cute and easy for plants mom like me. Thanks H2S!
Oh sure! Have fun
Good job miss lina
This has been on my to do list forever but good golly 94 pounds! Anyone in Maine want to go halfsies with me on a bag?? 😂😂😂
Haha yes that’s a great idea!!
Hahaha ! 🙋🏻♀️I soooo would if I was closer 😂
😂thanks!
Where in Maine? We are working on a large concrete walkway project this weekend and will like have some leftover that you could have. We are by Augusta.
Oh darn, I’m in Blue Hill. Thanks for the offer though! 😍
Ace Hardware has a 47 lb. bag of Portland cement ($9.99).
I’m gonna start making them tomorrow and selling them as well and gonna buy paint and going to paint them
Beautiful! You’re so talented, Lina. Thank you for sharing this.❤️ hip2save.
Oh thanks so much!
Mosiacs glued outside would look cute
Oh I love that idea thanks!
Thank you for the wonderful instructions! Got my cement and I’m trying today!
Would also be great for tea lights.
This is a fantastic idea! With the amount that you mixed, how many were you able to make?
It made the 5 in the photos. You could definitely double the amounts to make more.
My dad has been working with concrete all his life, patios, driveways, foundations. Since retiring he started making stepping stones then planters for me. I remember he used a bundt pan as one of his molds. He also went to Lowes and Home Depot and they would give him the broken bags at a discounted rate. Never hurts to ask.
Hi if you use 1 part Portland cement and 2 parts play sand & then the water. it comes out with a smoother finish.
Oh nice thanks for the tip!
Trying this project today! I wonder if there is a way to add a color to the concrete to make it darker when dried?
You may be able to experiment by adding some dark craft paint in with mixture. I know they make pigments to buy also maybe look at Home Depot for those but could be pricier.
They make dye for concrete. I know Lowe’s carries it. Generally in the concrete aisle. Just ask a associate.
I have to try this soon!
Love it!
Thanks Sue!
We have bought busted concrete from Lowes for a HUGE discount. I don’t remember how much, but it was well over 50% off. We just asked the manager of that department for their best out the door price to take it off their hands. He took out his magic sharpie to reduce the price. Good luck!
*busted concrete bags.
Looks like you are taking them out of mold too soon and not tapping the sides to to even them out. Try acid staining for some color.
I knew a furnishings company and they made bathroom/kitchen sinks from concrete molds. The blemished sinks, they gave them to me and some were pigment dyed…Since they had bottom holes I used them as planters! Beautiful DIY idea! 🌱
This inspires me to make more!
Hi,I wanna start to make my own planters,but my question is,do I need to put sand to mix the cement?
I did not add any additional sand, if that’s what you are asking.
Love these diy ideas! I’m thinking of making a big planter for a rock garden – love the kitchen sink idea!! Any thoughts to help me!!??
What if you wanted drainage holes?
I think you can insert some straws into the concrete to make drainage holes.
You can buy smaller plastic tubs of concrete for about the same price as the big bag, but it might save you money on painkillers for your back. In the humid climate where I live, if you buy a bag of concrete, you have to use it up pretty quickly before the whole bag hardens.
Oh great tip!