Dollar Tree DIY – Make These Easy Painted Pumpkins for Frugal Fall Decor!
Love Dollar Tree crafts? 🎨 🎃
These stylish painted pumpkins are such an easy little DIY project, and they are perfect for fall decorating on a budget. Many of the materials can be found for just $1 at Dollar Tree!
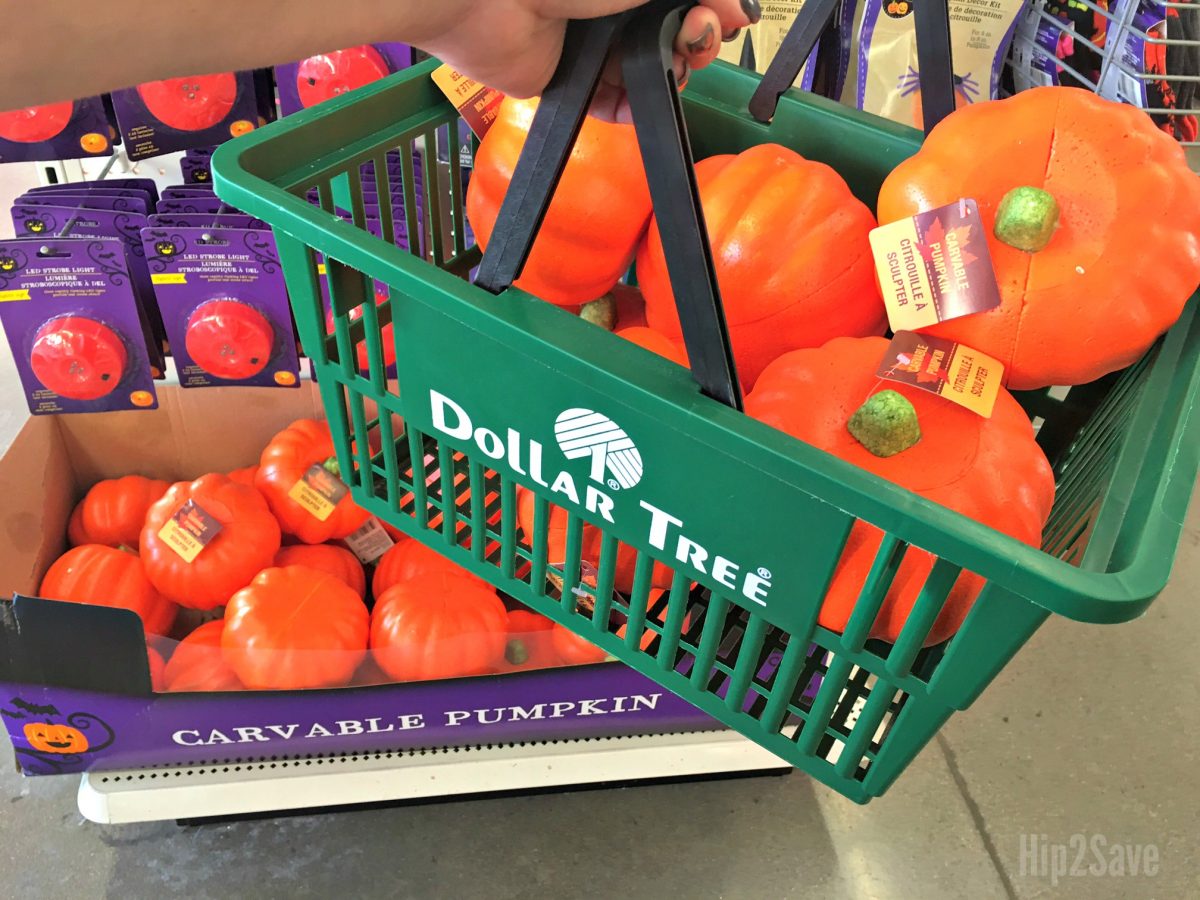
You’ll need some craft pumpkins, and you can’t beat the price on these $1 beauties from Dollar Tree! Consider grabbing more than you think you’ll need because painting them can become addicting! 😃
Also, don’t forget to check out Dollar Tree’s paintbrushes and paint sponges while you’re there. If you need these items, you’re already in the best place to stock up!
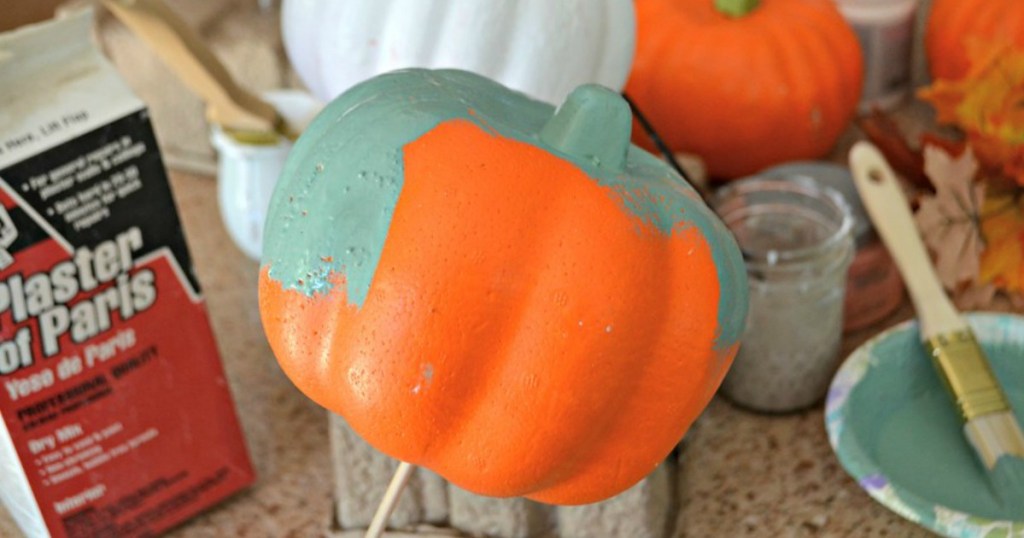
You can use any kind of craft paint to paint your pumpkins, but I decided to mix up some homemade chalk paint by using latex paint, Plaster of Paris, and water.
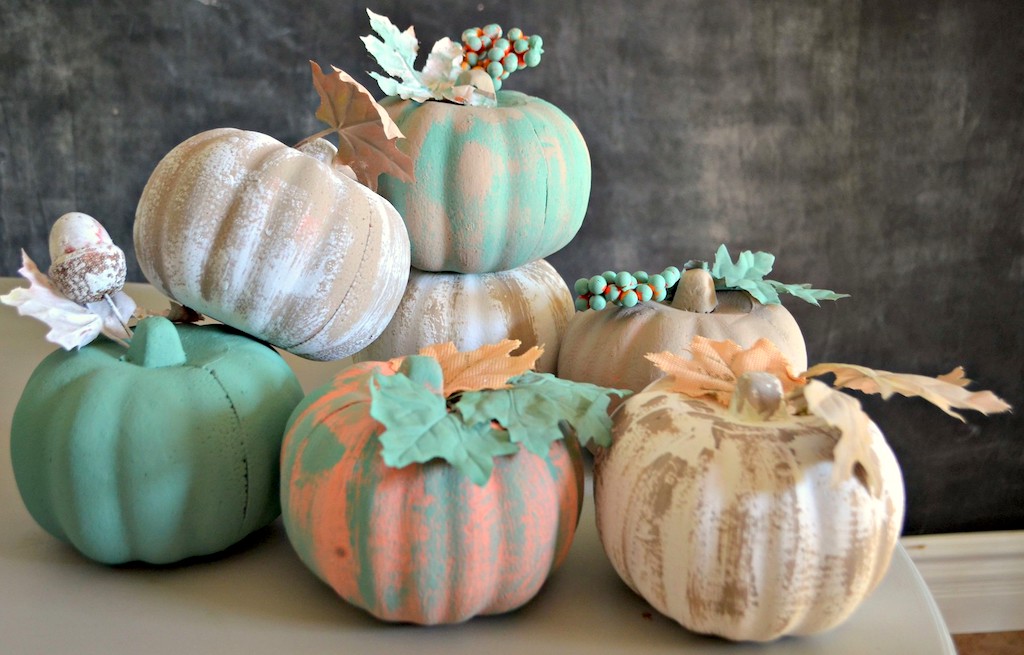
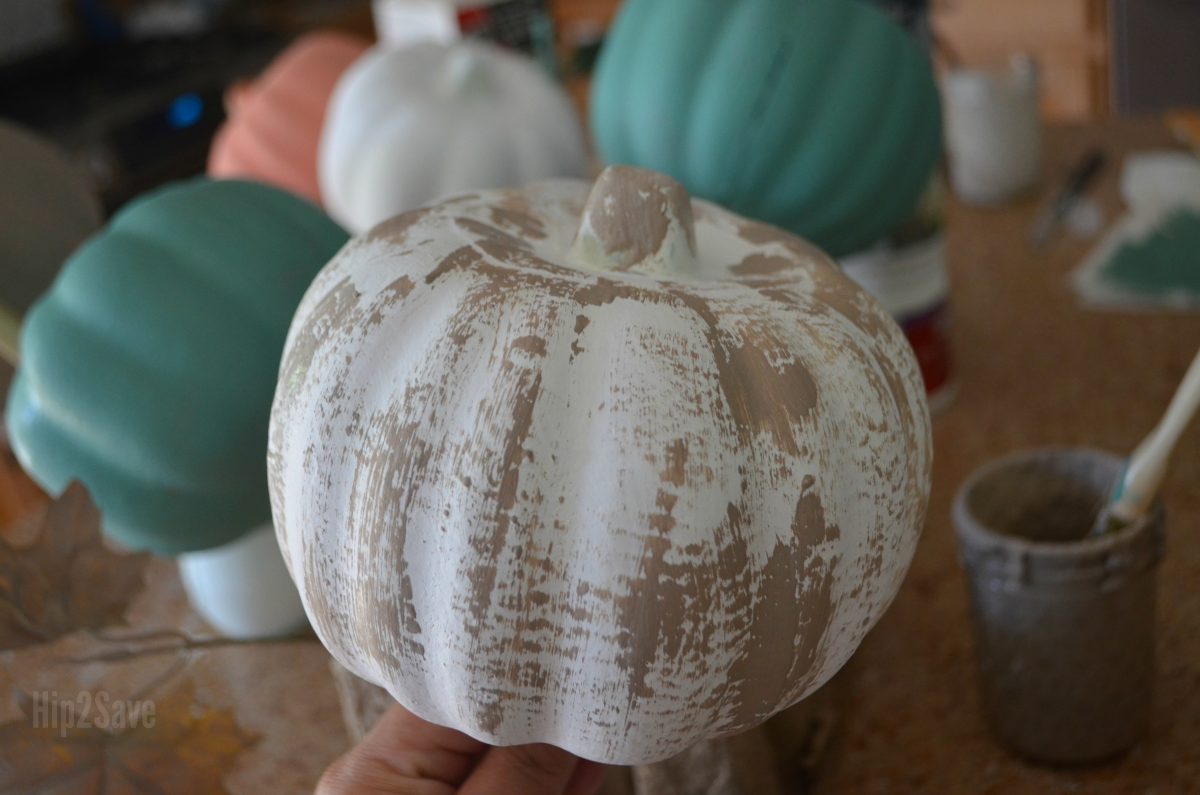
I chose muted color tones for a farmhouse look, and the chalk paint coated the Styrofoam craft pumpkins with a nice, smooth rustic texture, almost like plaster. I love the finished look of my pumpkins!
Here are a few tips when making these easy painted Dollar Tree pumpkins:
- To save money, use leftover house paint or any smaller containers of sample paint you may already have on hand from the hardware store.
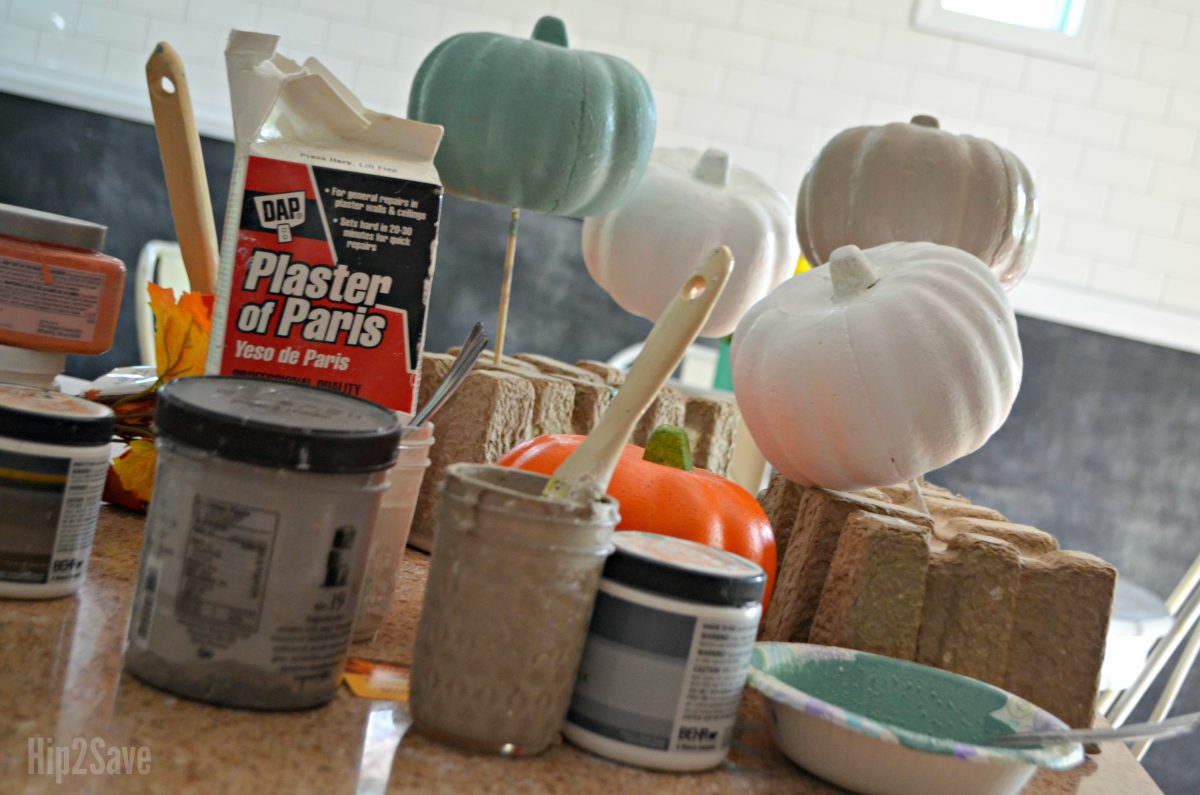
- Stick pumpkins with wood skewers for a mess-free handle while painting, and then stick the skewer in a piece of Styrofoam to dry.
- Faux leaves and embellishments from the Dollar Tree can also be painted along with the pumpkins.
Dollar Tree Painted Pumpkins
PrintSupplies Needed
- Foam Pumpkins
- latex paint
- Plaster of Paris
- water
- paint stirrer
- jar or paper cup
- faux leaves or embellishments, if desired
- glue gun/glue sticks
Directions
1
For each chalk paint color desired, you’ll need to mix 1/2 cup latex paint, 2 tablespoons water, and 2 tablespoons Plaster of Paris. You can use a jar, paper cup, or bowl for mixing.
2
Paint pumpkins using a paintbrush or paint sponge. It may require two coats. Let dry.
3
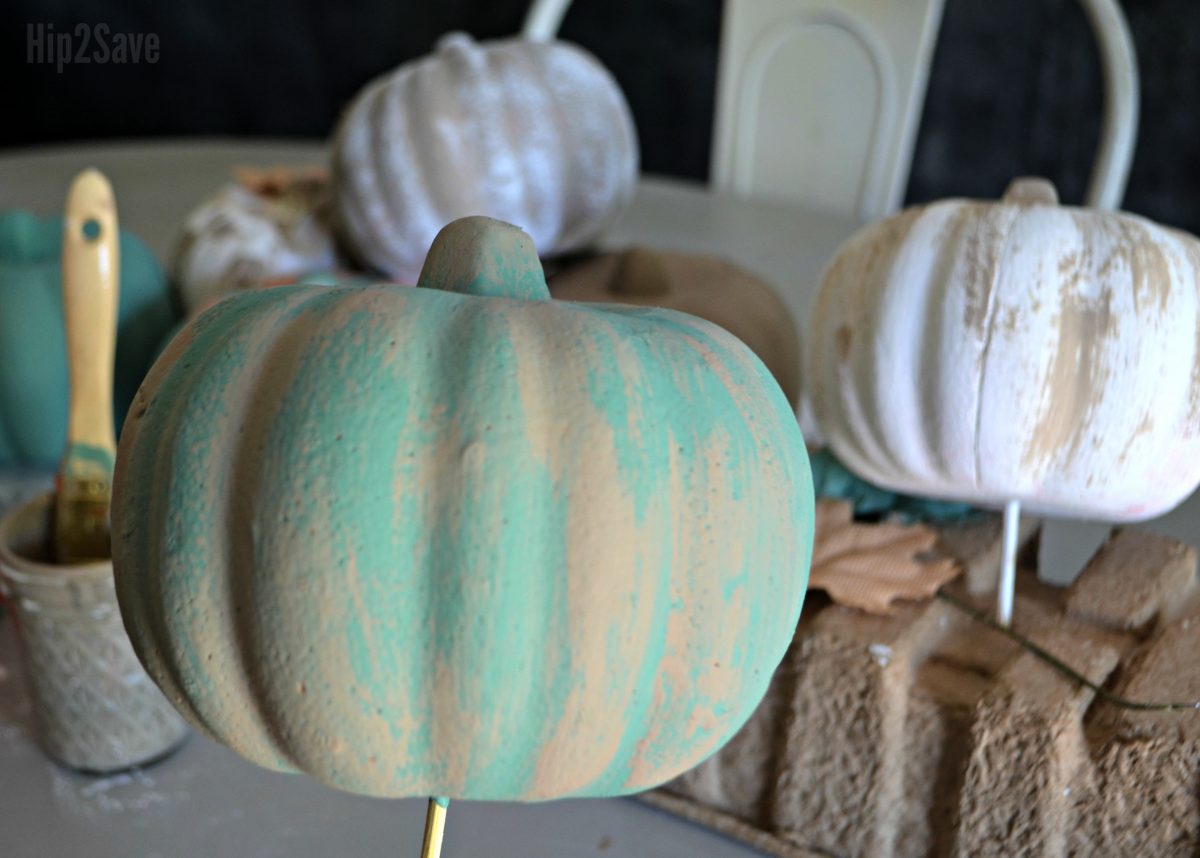
To achieve the two-toned distressed dry-brushed look, I first painted the pumpkin a solid white. I then let it dry completely, and used a dry brush with just a tiny amount of gray paint over some parts of the pumpkin.
4
After the pumpkins are dry, attach any faux leaves or embellishments if desired. I painted leaves from Dollar Tree and then attached them using a glue gun.
5
Set out on display and enjoy this easy and frugal fall decor idea!
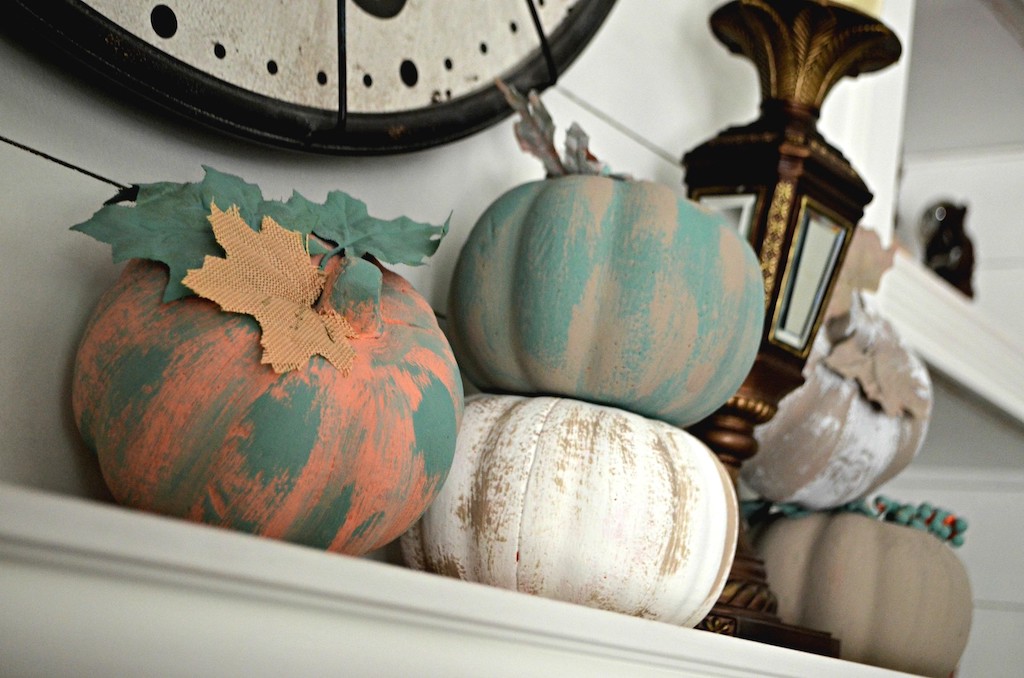
These easy painted pumpkins are so fun to display around your home for fall!
I love decorating with pumpkins since they can be set out for both Halloween and Thanksgiving! If you already own some faux pumpkins that need a makeover, or if you see any at the thrift store that can be painted, that would be a fun project, too. Of course, any craft store sells different sizes and shapes of plastic pumpkins that can be painted as well.
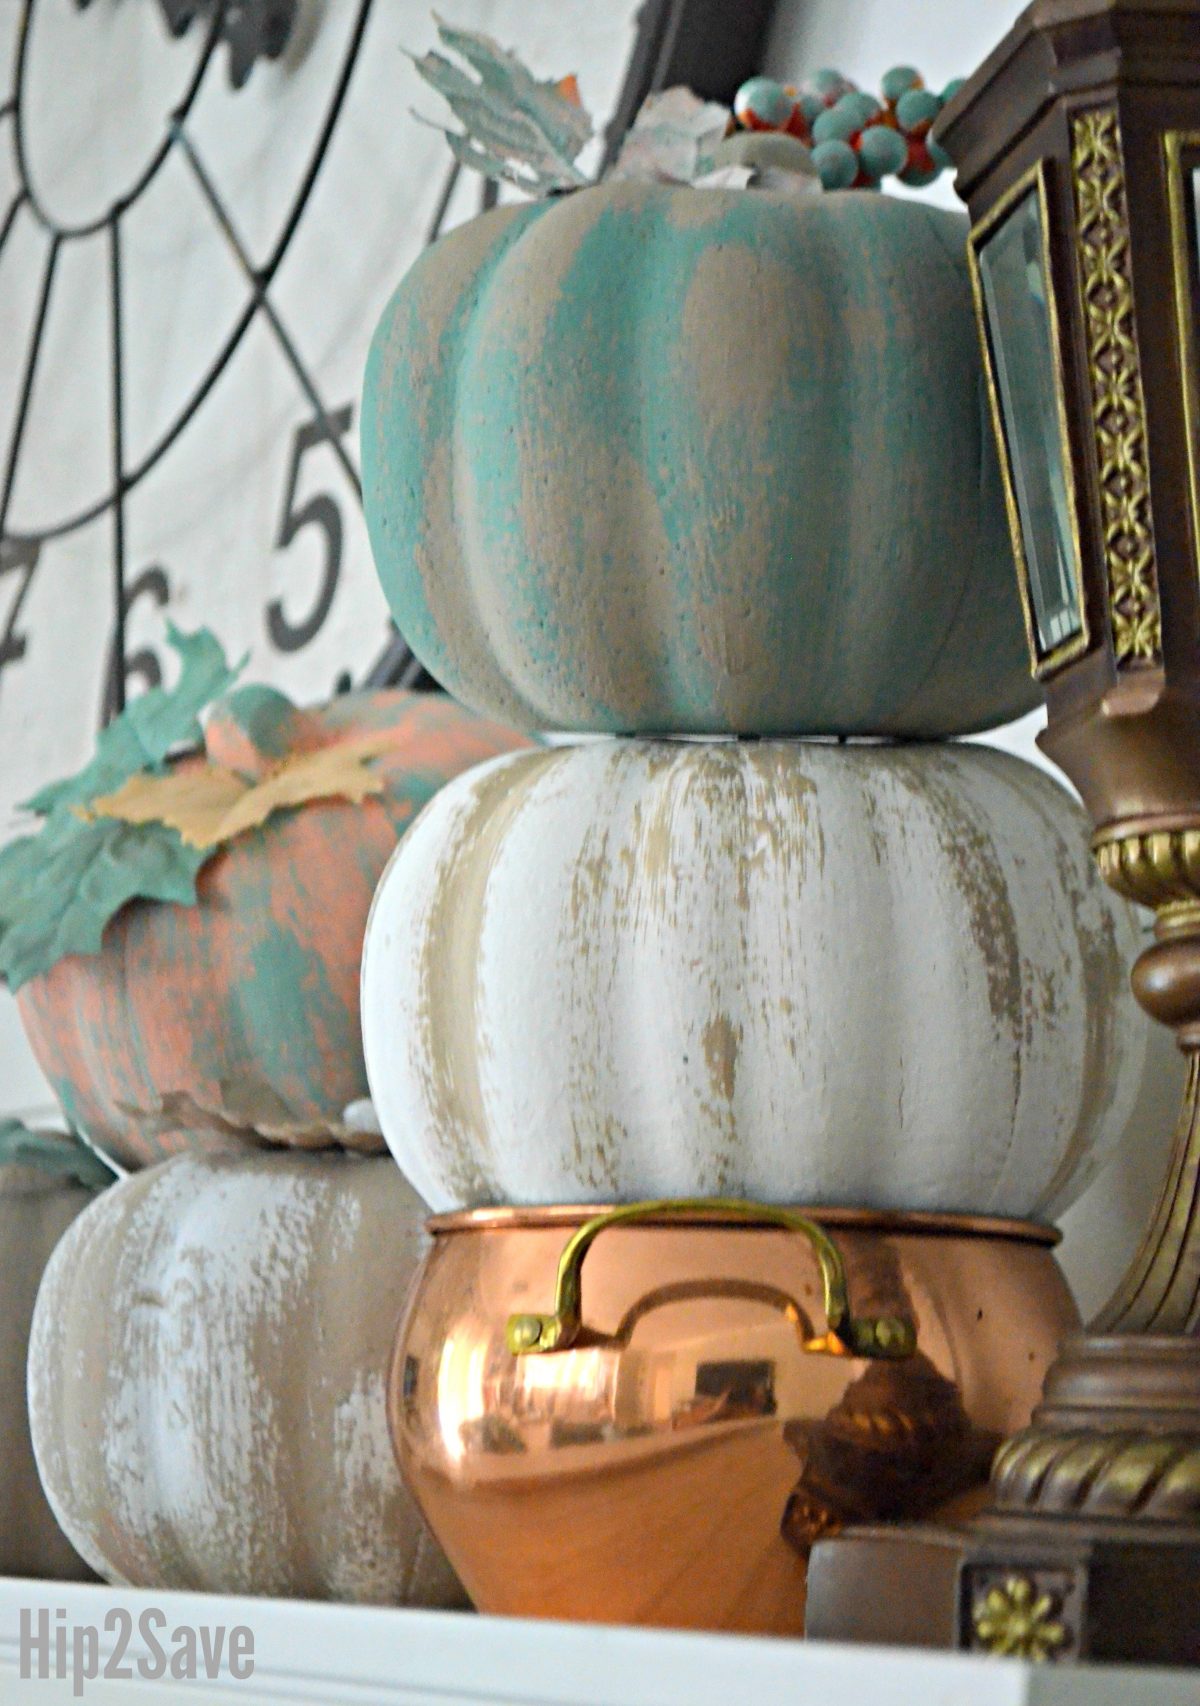
If you’d like to display a double-tiered styrofoam pumpkin stack, simply remove the stem from one, and then stack another on top using a wood skewer through both for support.
I hope you enjoy this fun DIY and love the look of your finished pumpkins as much as I’m loving mine!
Transform Dollar Tree’s plastic leaf dishes into frugal & festive Fall decor!



I’m impressed. Well done! My favorite are the tan and white pumpkins but the group is lovely too.
Thanks so much!!
these are fantastic !! You’re making me want to be crafty now ! 🙂
Haha!! Yay! Go get crafty girl! 👏😂💕
Love the dollar tree pumpkins. Very creative
Thanks so much Barbara!!
Can you use acrylic paint?