Transform Almost Anything Into Gorgeous Marble With This Spray Paint Hack!
Love the look of marble?
If you’ve had your eyes set on some gorgeous marble pieces to add around your home but can’t justify the cost, I’m sharing a straightforward home decor DIY you can do in just minutes to get the marble look for a whole lot less.
I’m sure you’ve seen before how people epoxy countertops and other surfaces to look just like marble, but if you didn’t already know, there’s an even easier way to get the marble look so many people love!
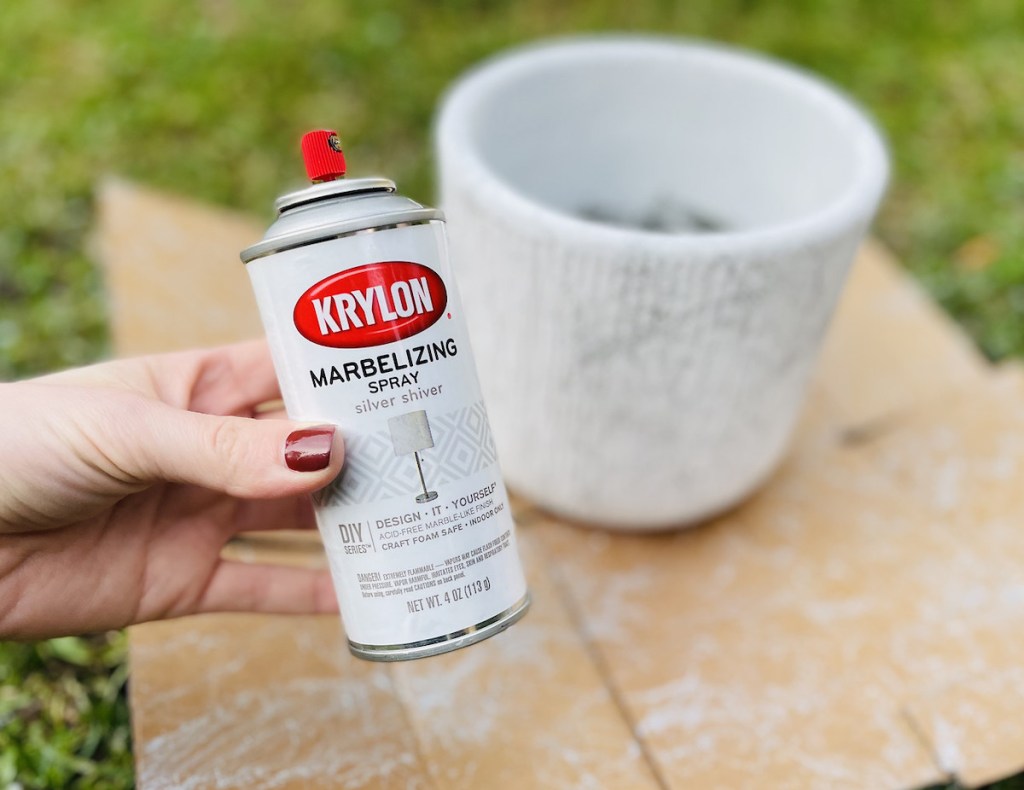
Thanks to the genius invention of this Krylon Marbelizing Spray paint, you can transform so many different decor pieces in your home to mimic real marble! Just keep in mind it’s meant for indoor items only so you can’t go spray painting your outdoor patio when you become obsessed with this look! 😉
I love that you can customize the color & the amount of marbelization, too! 😍
Whether you love a marble with tons of dark veining or just a subtle look, this marble spray paint gives you endless opportunities! Plus, it even comes in a few different colors, so you can get exactly the marble design you’re looking to achieve!
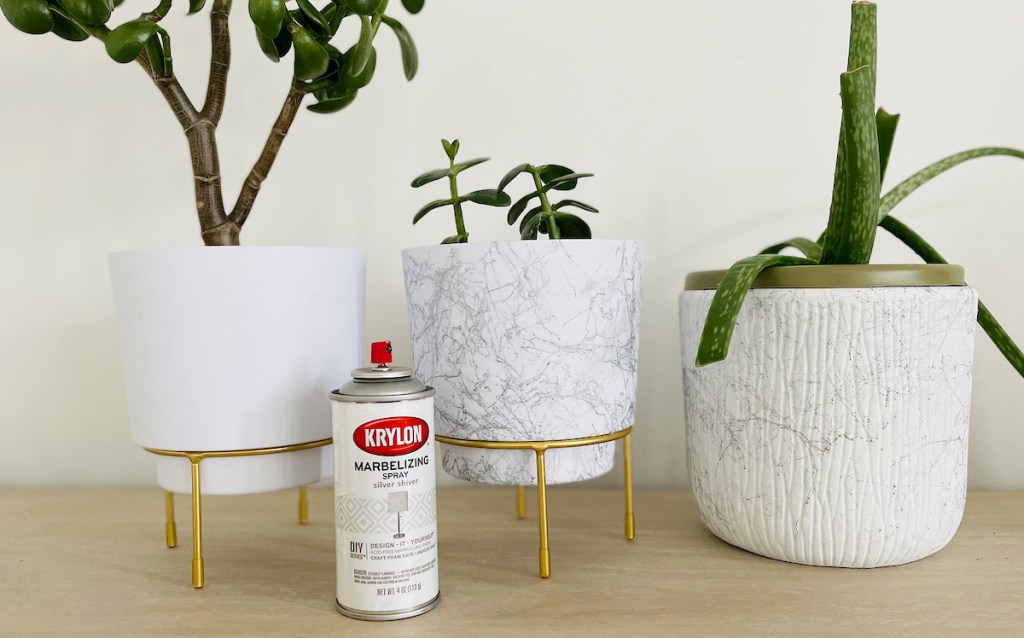
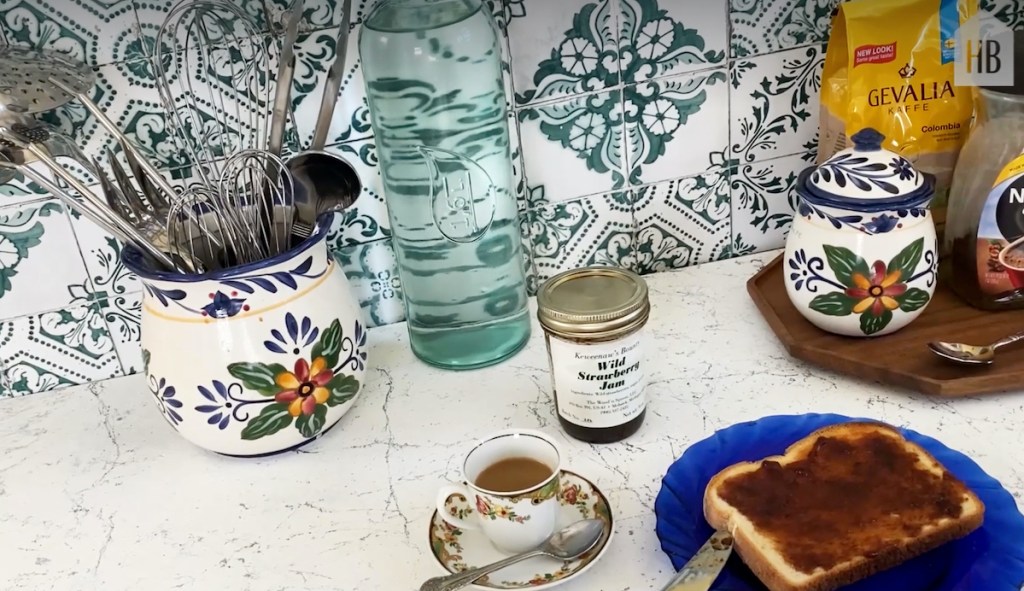
Although I’m going to share how I transformed my white planters, you can also use this on just about anything, from jewelry trays to planters, as a couple of ideas. In fact, House Beautiful even shared how they did a marble countertop (shown above) — Impressive!
Here are some helpful tips for using marbelizing spray paint:
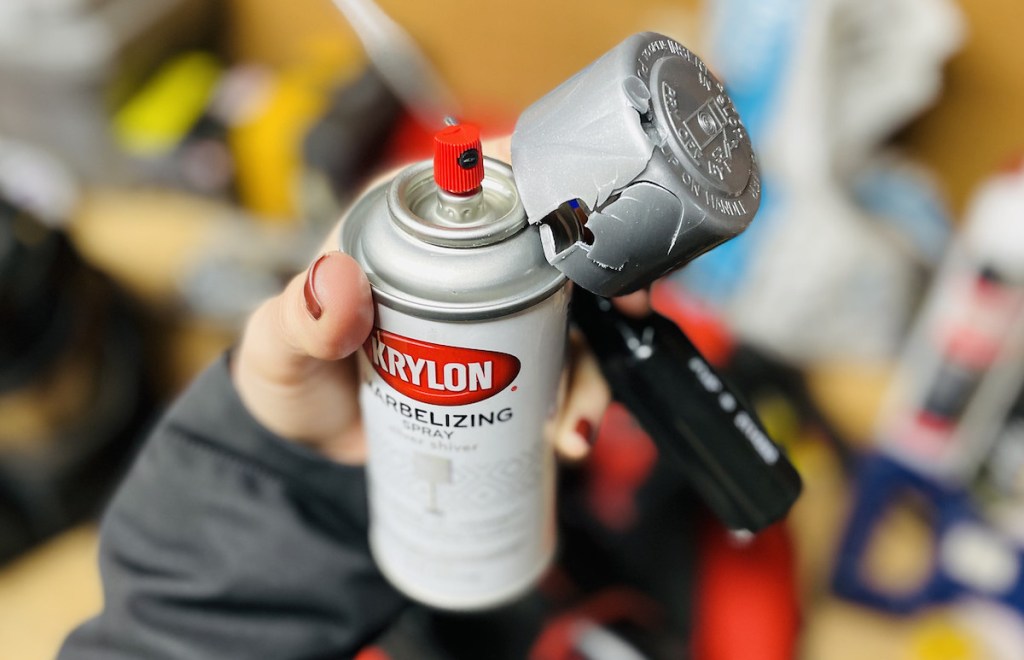
- You’ll need a screwdriver. When I start a project, I get a little impatient and jump in with both feet. When opening this can of spray paint, I realized I needed a screwdriver to do so! First, I used the closest one at arm’s reach which was way too small and I cracked the lid. Luckily, grabbing a full-sized screwdriver from the basement still got the job done.
- Make sure your surface is clean. I did experience a little bubbling on one of my planters so just make sure you clean your surfaces well before spraying your surface.
- Don’t use plastic items that experience high traffic. Since plastic isn’t absorbent, you’ll want to pick pieces that won’t be touched often or rubbed. Of course, you could try sealing them, but since my planters just sit on the shelf I opted not to do this.
- Test some out on a scrap surface first. I wasn’t sure how this was going to turn out so I found it best to test a few strokes of the spray paint on my box beforehand.
Now let’s do this!
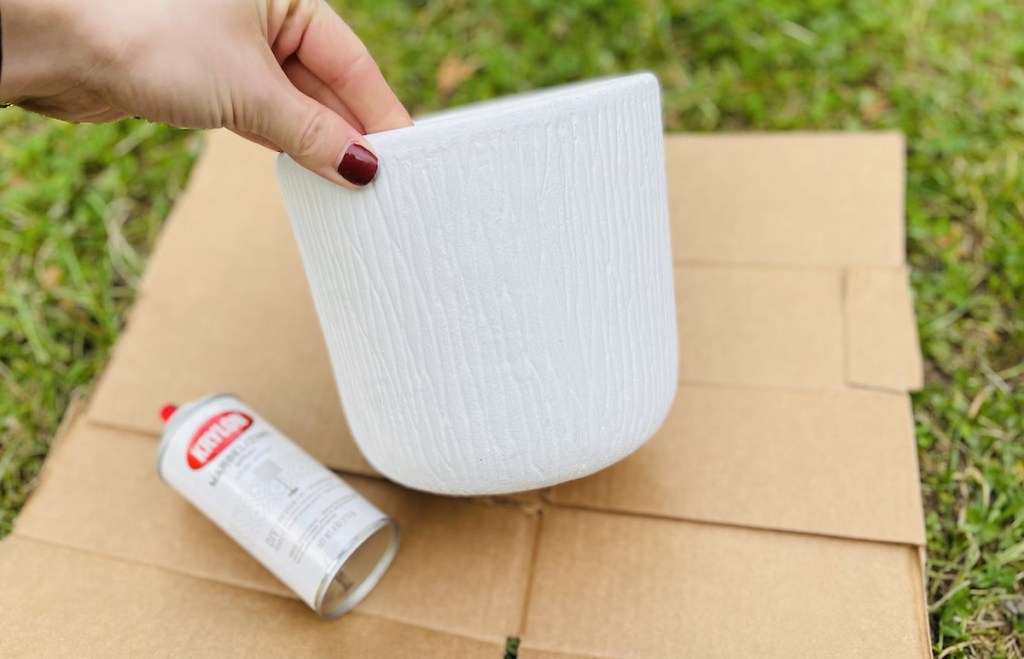
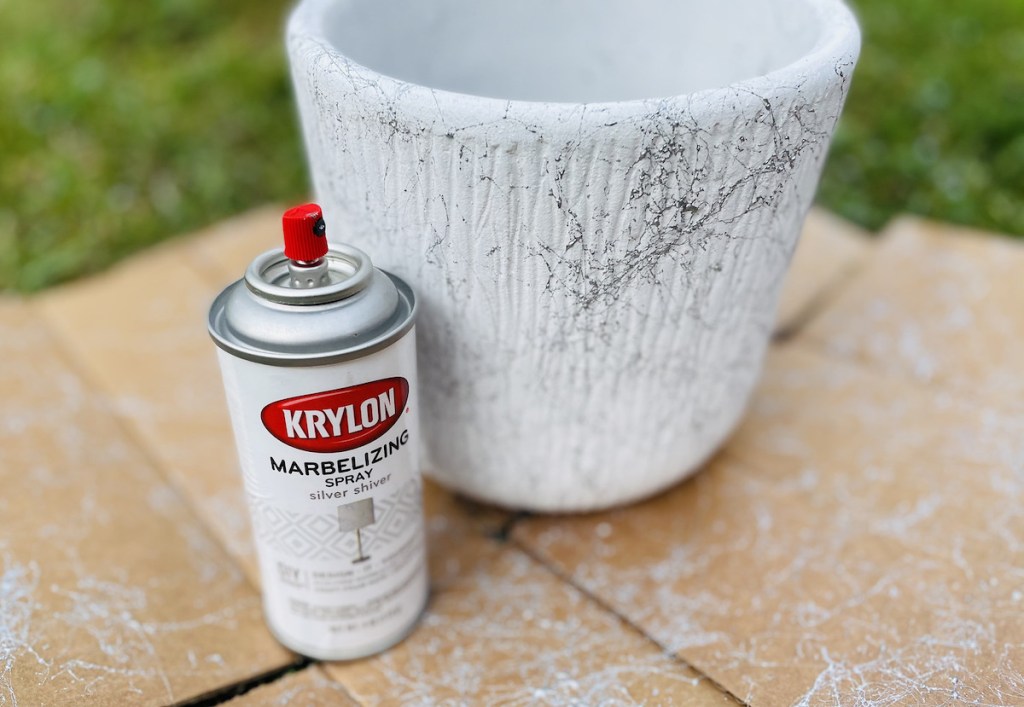
Marble Spray Paint Planters
PrintSupplies Needed
- White planter
- Marbelizing Spray Paint (I used silver)
- Screwdriver (for opening spray paint can)
Directions
1
Prep and clean your planter so it’s ready for paint.
2
If your surface needs to get a new base coat, now’s the time to do that! If your surface is already the color you want, just skip to the next step.
3
After applying all your basecoats, let them dry for the appropriate amount of time. While you’re waiting for it to dry, get your outdoor area prepped for spray painting – I used an old Amazon box.
4
Shake your can of Marbelizing spray paint vigorously for about 2 minutes. Just a tip, kids love to help with this step. 😉
5
Take the lid off your spray paint. Yes, this is a step since it was such a task for me. LOL! Regardless, this is where your screwdriver comes in if you bought the same can as mine.
6
Keep your spray paint about 18 inches from your planter and lightly spray in a sweeping motion. Repeat this step until you get the look you want.
7
Let your paint dry before moving your new marble planter to its permanent home. Not to worry, this only took a couple of minutes!
8
Place your plant back inside your planter and enjoy! Or go grab another planter and repeat if desired. 😉
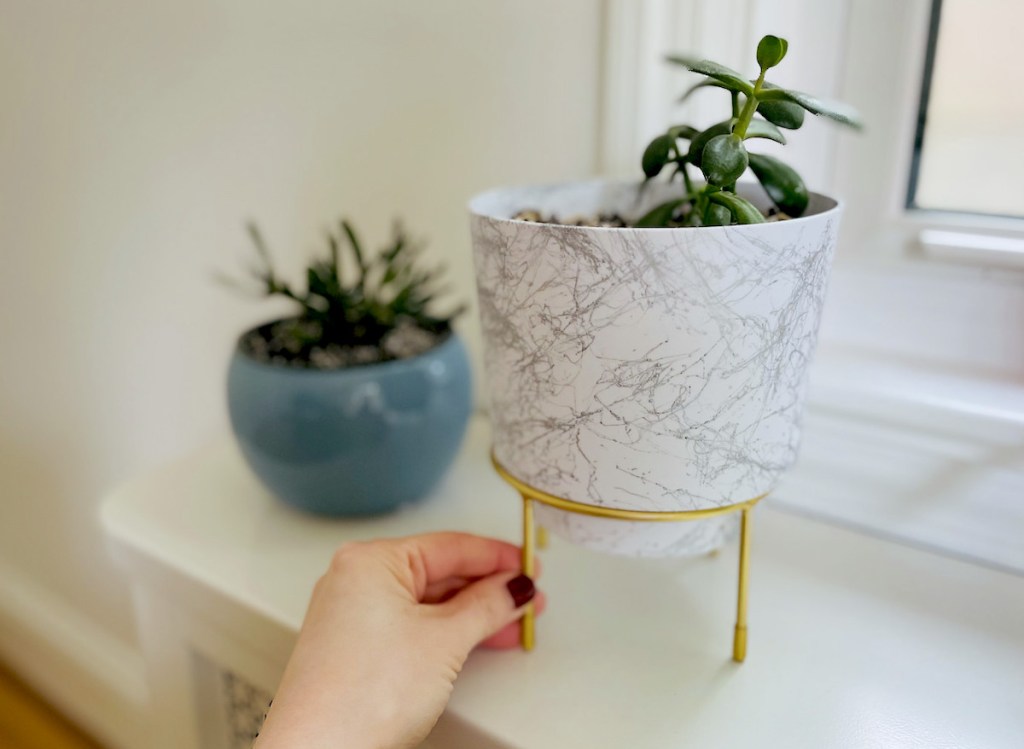
I’m so impressed with how easy it is to use this marble spray paint!
It dried in less than 5 minutes and actually resembles marble – I couldn’t believe it! My planter went from basic to a modern masterpiece in less than 5 minutes!
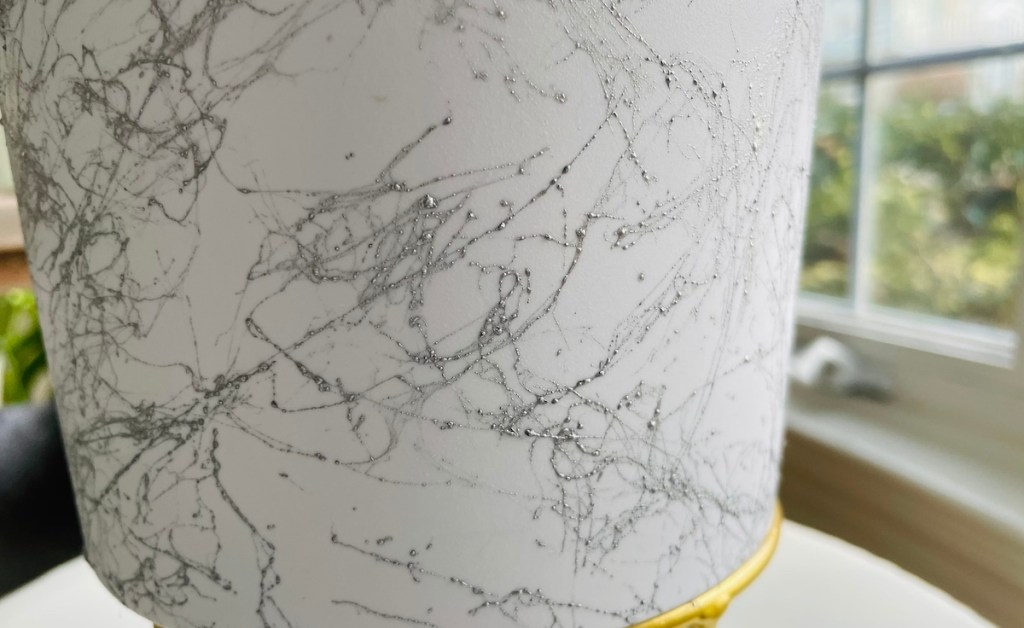
I did run into some little imperfections though…
After my planters dried I did notice some bubbling so I’m assuming I didn’t clean my planter off very well or this is just the price to pay for saving so much cash on real marble. Either way, from a foot away you can’t even tell and I’m pretty happy with the results!
Check out what some others made using this Marbelizing Spray Paint:
“I built a benchtop out of pinewood, sanded, primed, and clear coated, then sprayed this over the clear before drying to simulate a marble countertop. Although the clear coat didn’t come out smooth the finish looked great with this product’s effect. After sanding, adding another clear coat, re-sanding, and buffing to smooth out the finish, I’m pretty happy with the final results!” – TJ
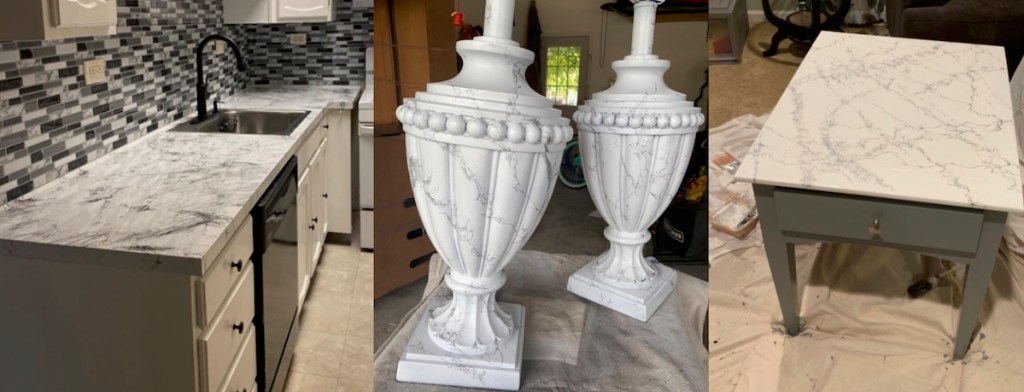
“This gave me the exact look I was hoping for! I used it to repaint lamps and also a tabletop that was long overdue. I think it was very easy to use too!” – Ann





Sara, Thanks for this post! Can’t wait to try this. My family calls me the ‘paint queen’! I paint everything….some projects many times 🙂
You’re so welcome! I’m excited to hear how your project turns out!
I did this to a plain ceramic tower 15 years ago and it’s still on👍
Wow! Thanks so much for sharing, Tina, that’s amazing!
Thank you!! I was going to replace the plain white laminate countertops at a condo I’m selling. I didn’t want to go through the whole painting process of marbleizing them. I love spray paint. I’ve painted EVERYTHING and for so long that a dog I once owned would go to the door every time I shook a can of spray paint. She knew were going to go out to tackle another project. 🐶😁
Replace the counter tops DON’T do a DIY project and then sell it to some poor soul who thought it looked good then moved in and realized you DIY and it is peeling and cracking and they now have the headache of replacing the whole thing AFTER just spending a small fortune to buy the condo OR better yet just leave them how they are so they know what they are getting. This coming from just buying a house that was a huge DIY project that was not disclosed and now have so many problems that it is so overwhelming and you can’t find anyone to fix them because it just “isn’t worth it to them…” Don’t get me started on the house inspector…WHY CAN’T PEOPLE JUST BE HONEST AND PEOPLE DO THEIR JOBS CORRECTLY AND WITH PRIDE! Can you tell I am a bit bitter :).
I feel for you here. Is it weird that I think a whole generation of kids will not get those quality heirloom hand me downs because of cheap knockoffs?
Amen.
This paint would not be safe for food preparation.
So this paint alone would not by safe for food prep… however… if you took it one step farther and sealed it correctly which should be done to extend the life of ANY paint job you love IMO… After 30 days water based polyurethane or shellac are both considered food safe once fully cured. I would 100% do this to my countertops if I had the time and then seal them correctly. While I agree that the paint alone would not be food safe, there are ways to make it work on a budget still!
I was thinking the same thing. I’m sure this technique looks great on some things (like a plant pot) but I’d rather have basic white laminate countertops than one that are spray painted to look like something they’re not because often faux treatments look pretty obviously fake. Plus, you don’t know how well it will hold up over time. I’d be far more frustrated to deal with flaking or bubbling countertops than unattractive ones.
If it’s actually doing the job that it’s meant to do how is it a “hack”??
I think it’s because you get a marble look without the expense of buying actual marble.
That looks really nice.
Thanks so much, Sue!
Oh my goodness this is so cool!! I am definitely going to do this on some empty candle holders i have. Thanks so much for the ideas!!
You’re so welcome, Ama! Let us know how it turns out!
I recommend Rustoleum’s hammered paint and primer spray paint, in silver. I bought plastic buckets at the Dollar Tree and spray painted them so that they looked like galvanized steel. Now my supply closet is really organized and looks pretty.
Thanks so much for sharing, Wendy! That’s a really great idea.
Oh gosh! I have been looking for a tutorial for this!! A HUGE thank you for this!
You are so welcome!