Make This Copycat Magnolia Wreath for Much Less
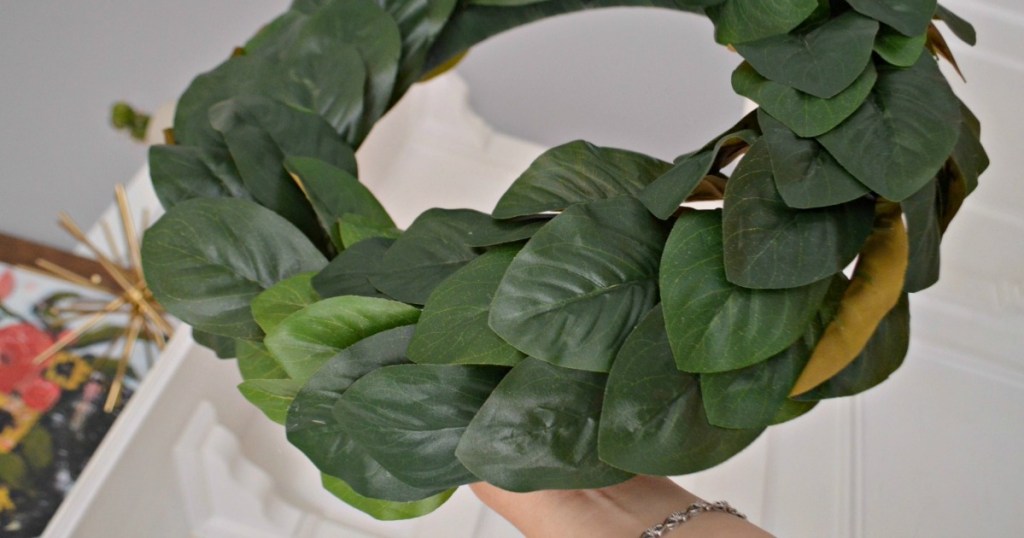
Are you loving simple faux greenery wreaths?
I love to add interest and style to my home decor using some faux greenery elements, as it’s a popular trend right now. I love that you can enjoy them year round and that they don’t require really any maintenance. One of my absolute favorites is this Signature Magnolia Wreath via Magnolia.com. It’s such a gorgeous statement piece for the front door or anywhere in the home.
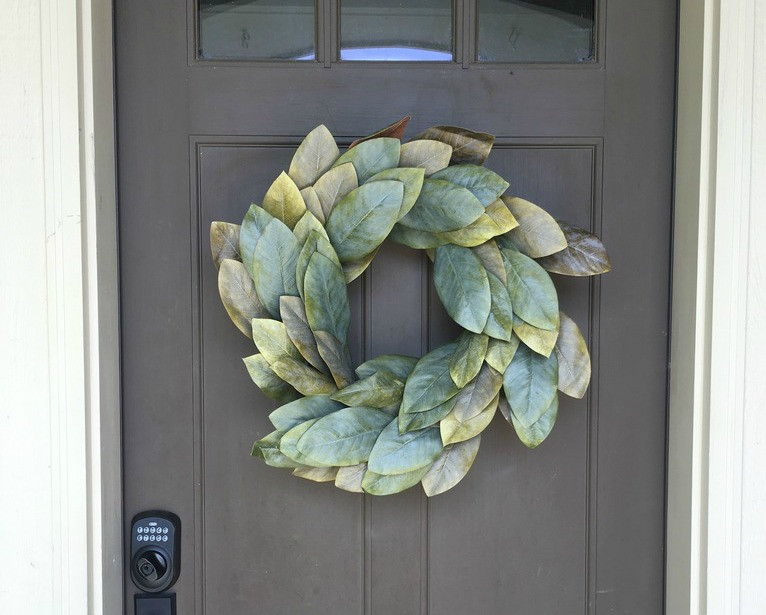
Magnolia is a tad on the pricey side, though!
With a $98 price tag, it’s a little out of my budget. A friend and co-worker of mine (who may be Collin’s sister, Bryn 
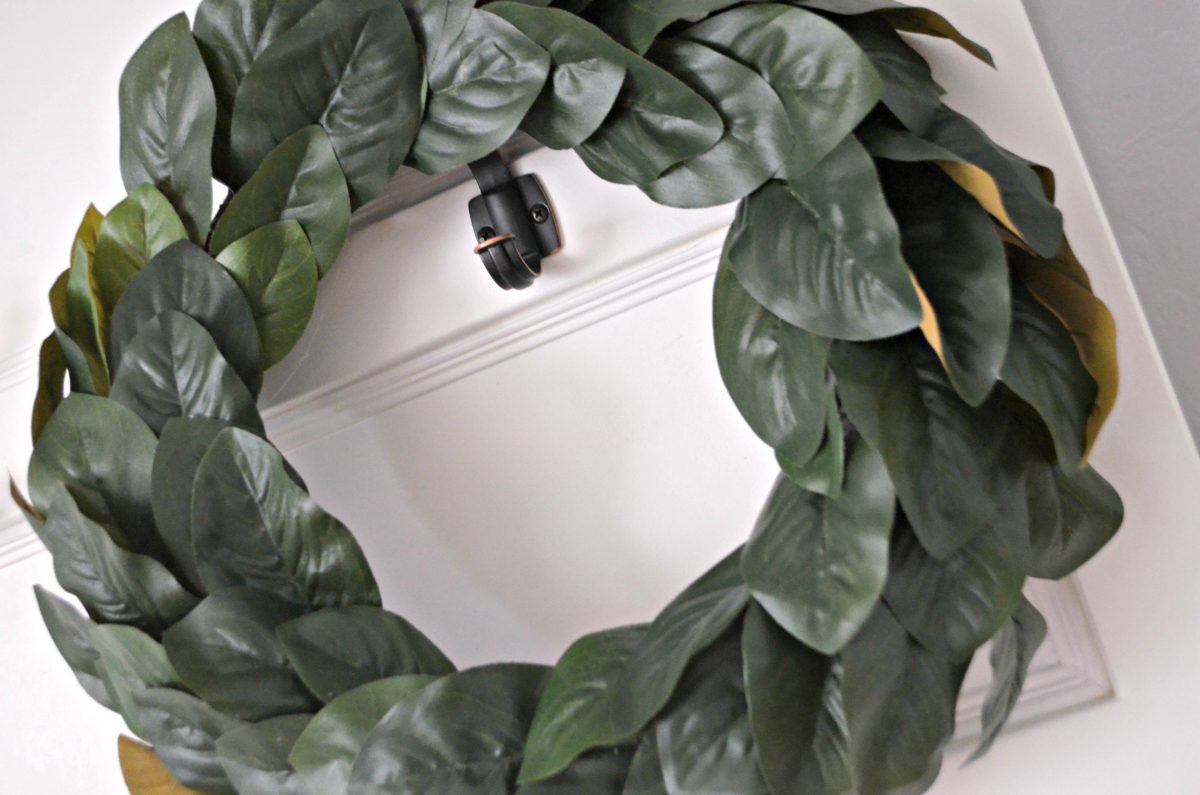
Try making your own DIY magnolia wreath!
After a trip to Michaels and a couple hours of my time, I came away with a Fixer Upper inspired faux Magnolia wreath that I’m proud to display in my home! It was pretty straightforward to do and basically consisted of placing each leaf inside a foam wreath form (which was a tad time consuming, I admit).
Here’s the method I used:
Hip Tip: Because the faux magnolias I found were on sale for under $5 per bundle, I bought those, the wreath form, and floral tape for less than $28 including tax. Plus, you can use a Michaels coupon to save even more!
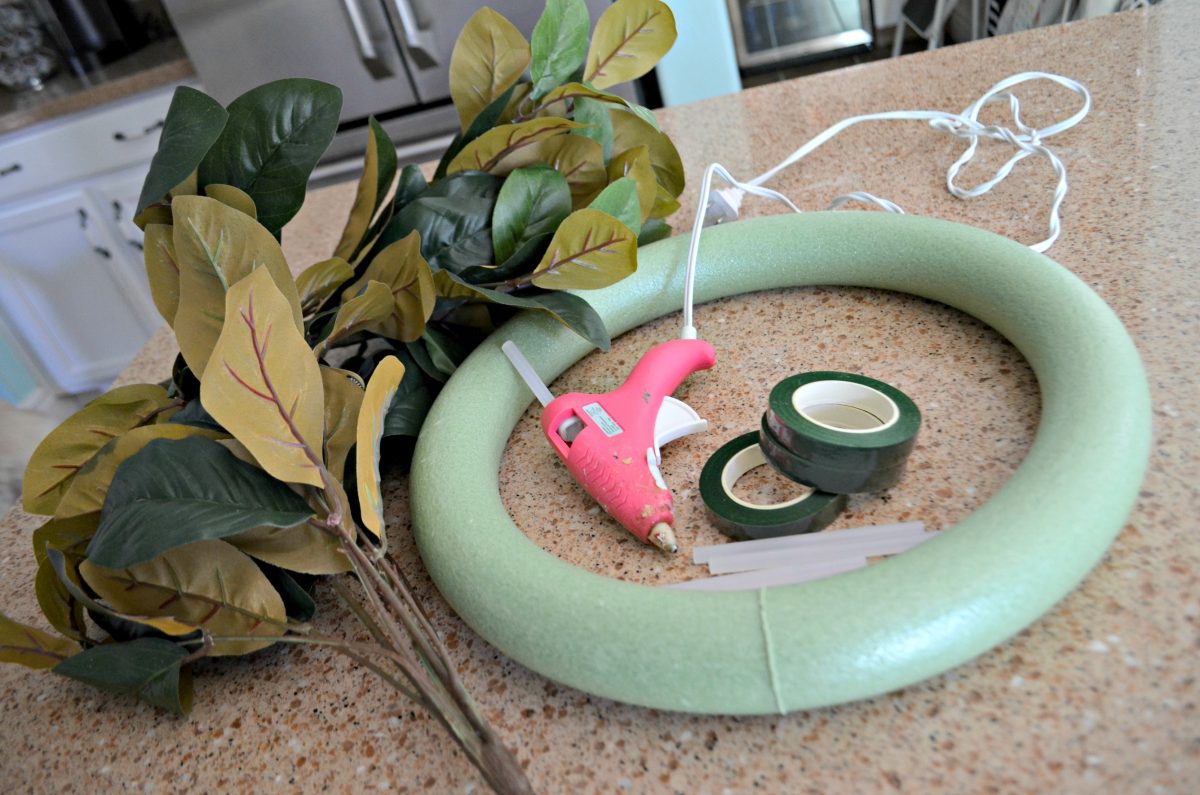
Just in case you’re curious about the exact supplies that were used for my wreath, I started this project by picking up some faux magnolia leaves (I bought 2 of these bundles in-store at Michaels), a 14-inch wreath form, and floral tape.
DIY Magnolia Wreath
PrintSupplies Needed
- faux magnolia leaves
- 14-inch wreath form
- floral tape
- hot glue sticks and glue gun
Directions
1
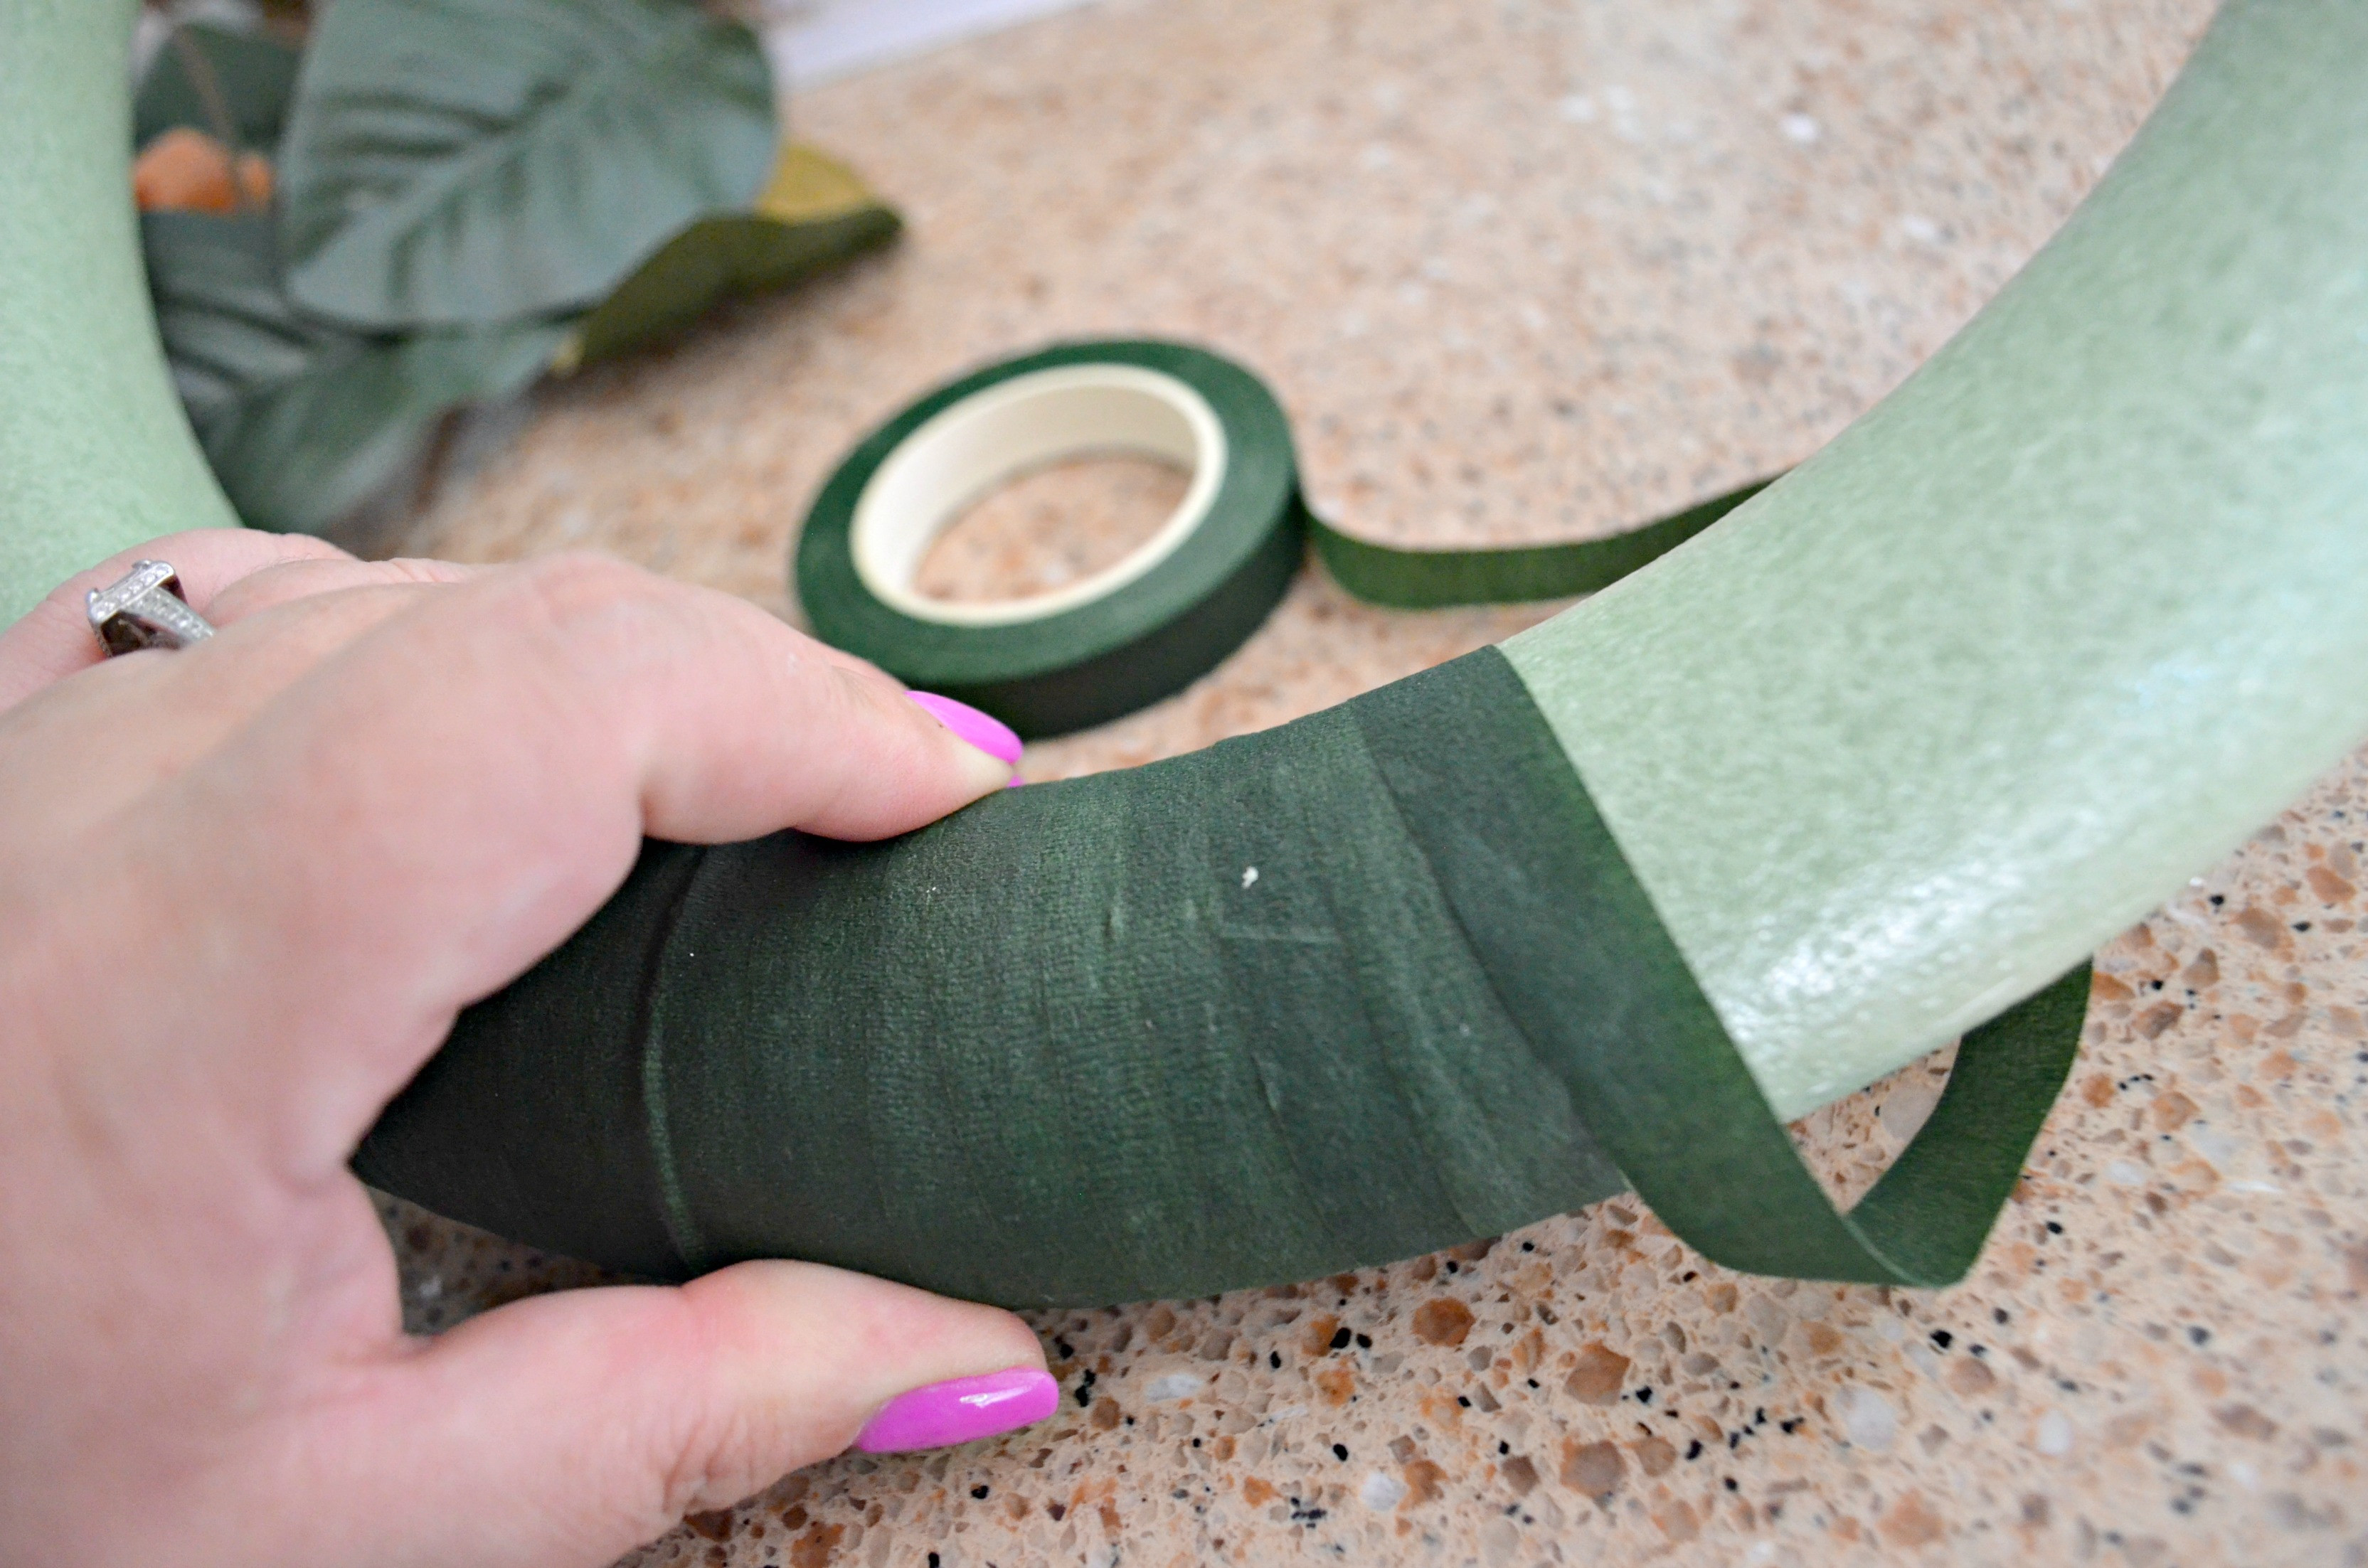
Wrap wreath form using floral tape. This is actually an optional step, but it looks more professional since it’s the same color as leaves.
2
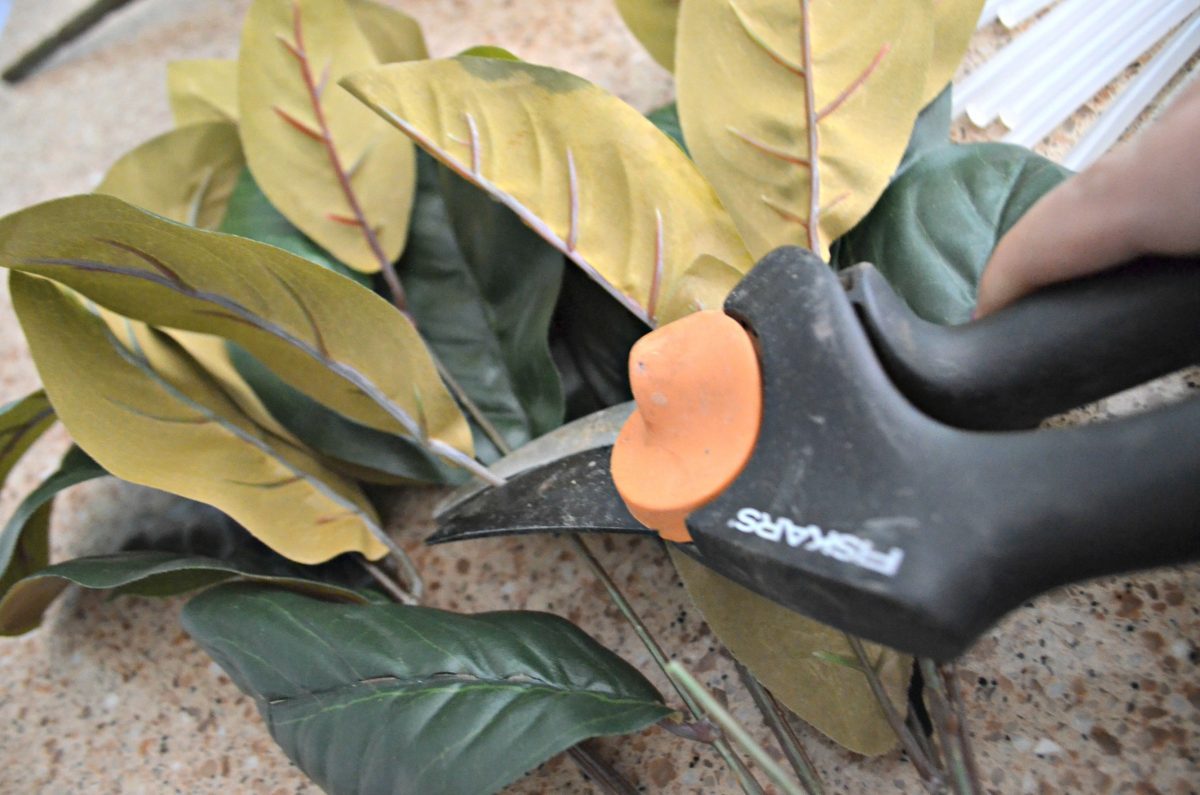
Separate and cut individual leaves using wire cutters. Leave a little stem so you can poke it into the foam wreath form.
3
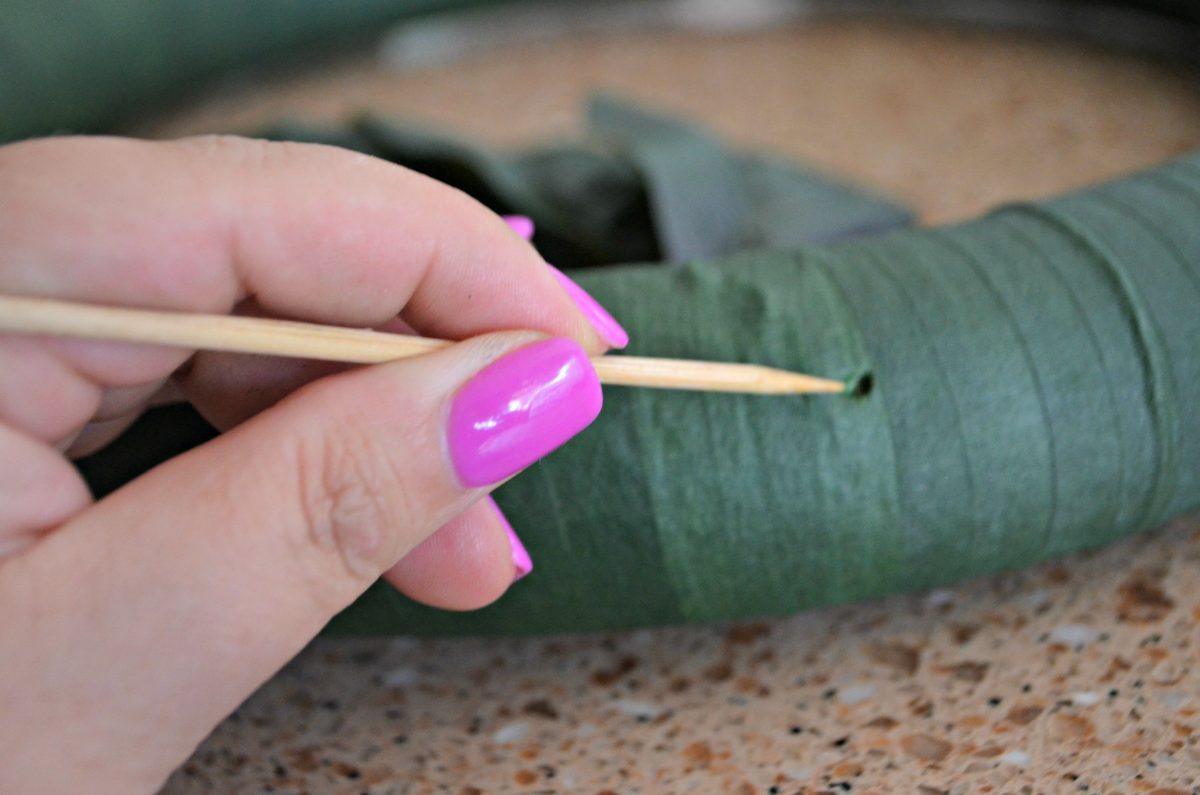
I arranged this wreath by making rows of 3 leaves about every two inches or so, then gluing and sticking the stems inside the wreath. It helps to use a wood skewer or something sharp to first make a hole for the stem.
4
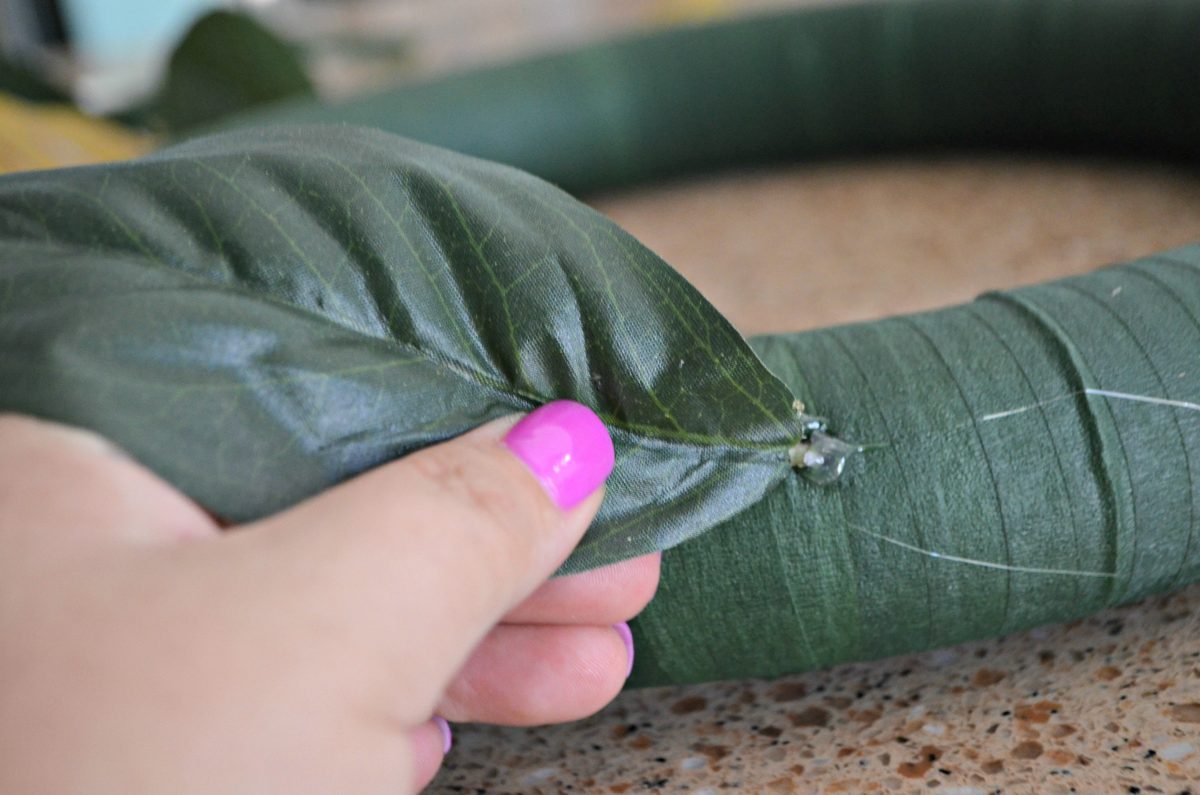
Use hot glue, and insert stem into wreath.
5
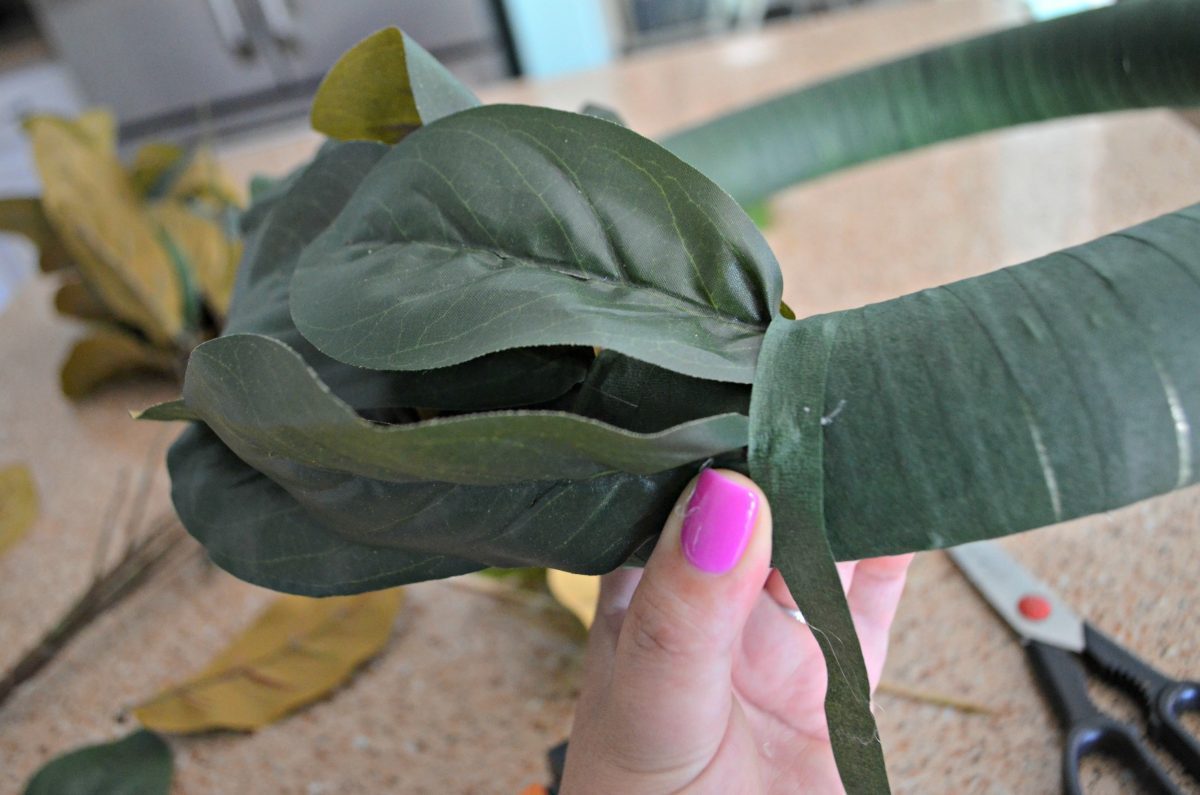
Place 3 leaves in a row, so it covers the wreath form, and then go around the bottom of stems a couple times using floral tape. This will help further secure leaves and will help the leaves lay flat.
Note: I secured the tape using a dot of hot glue at each end.
6
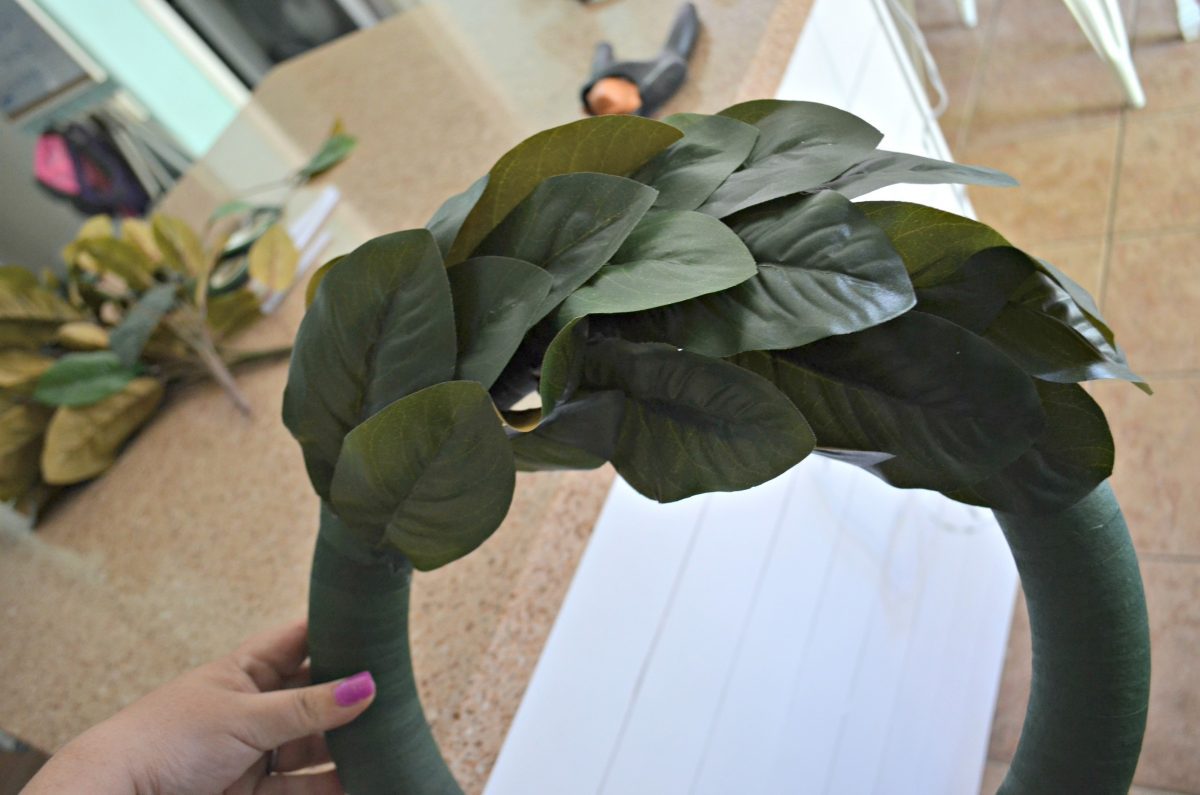
Continue with the same process, overlapping about every 1.5-2 inches, depending on how long your leaves are. I decided to have all the darker leaves face up, but create your own look and pattern.
7
Keep going! See – here I’m almost done!
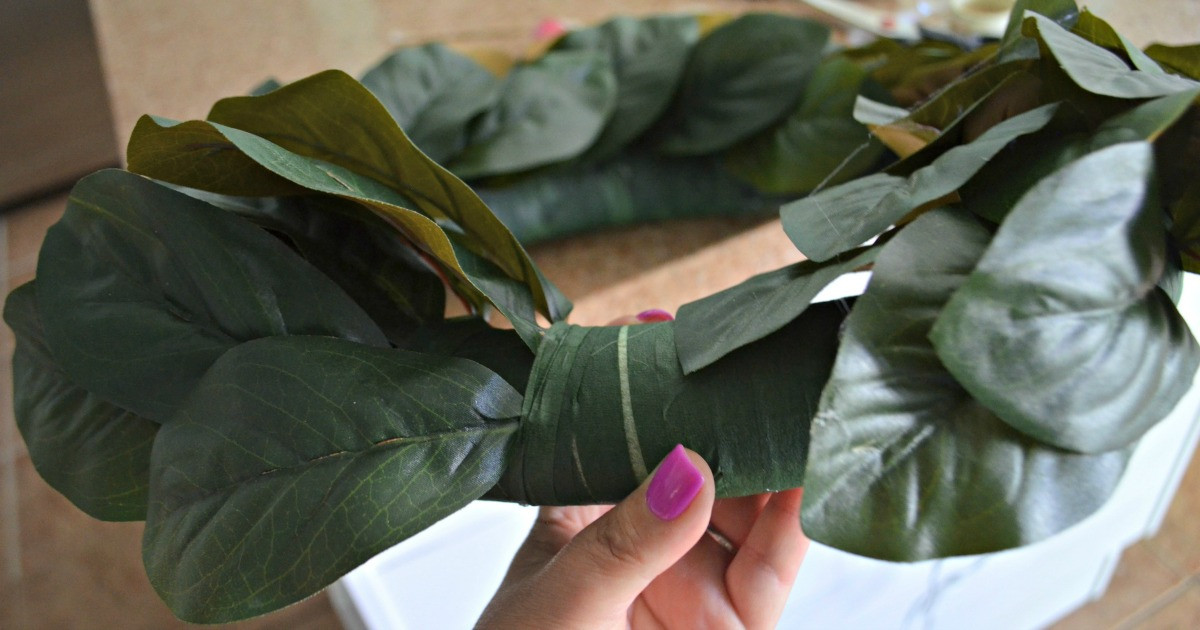
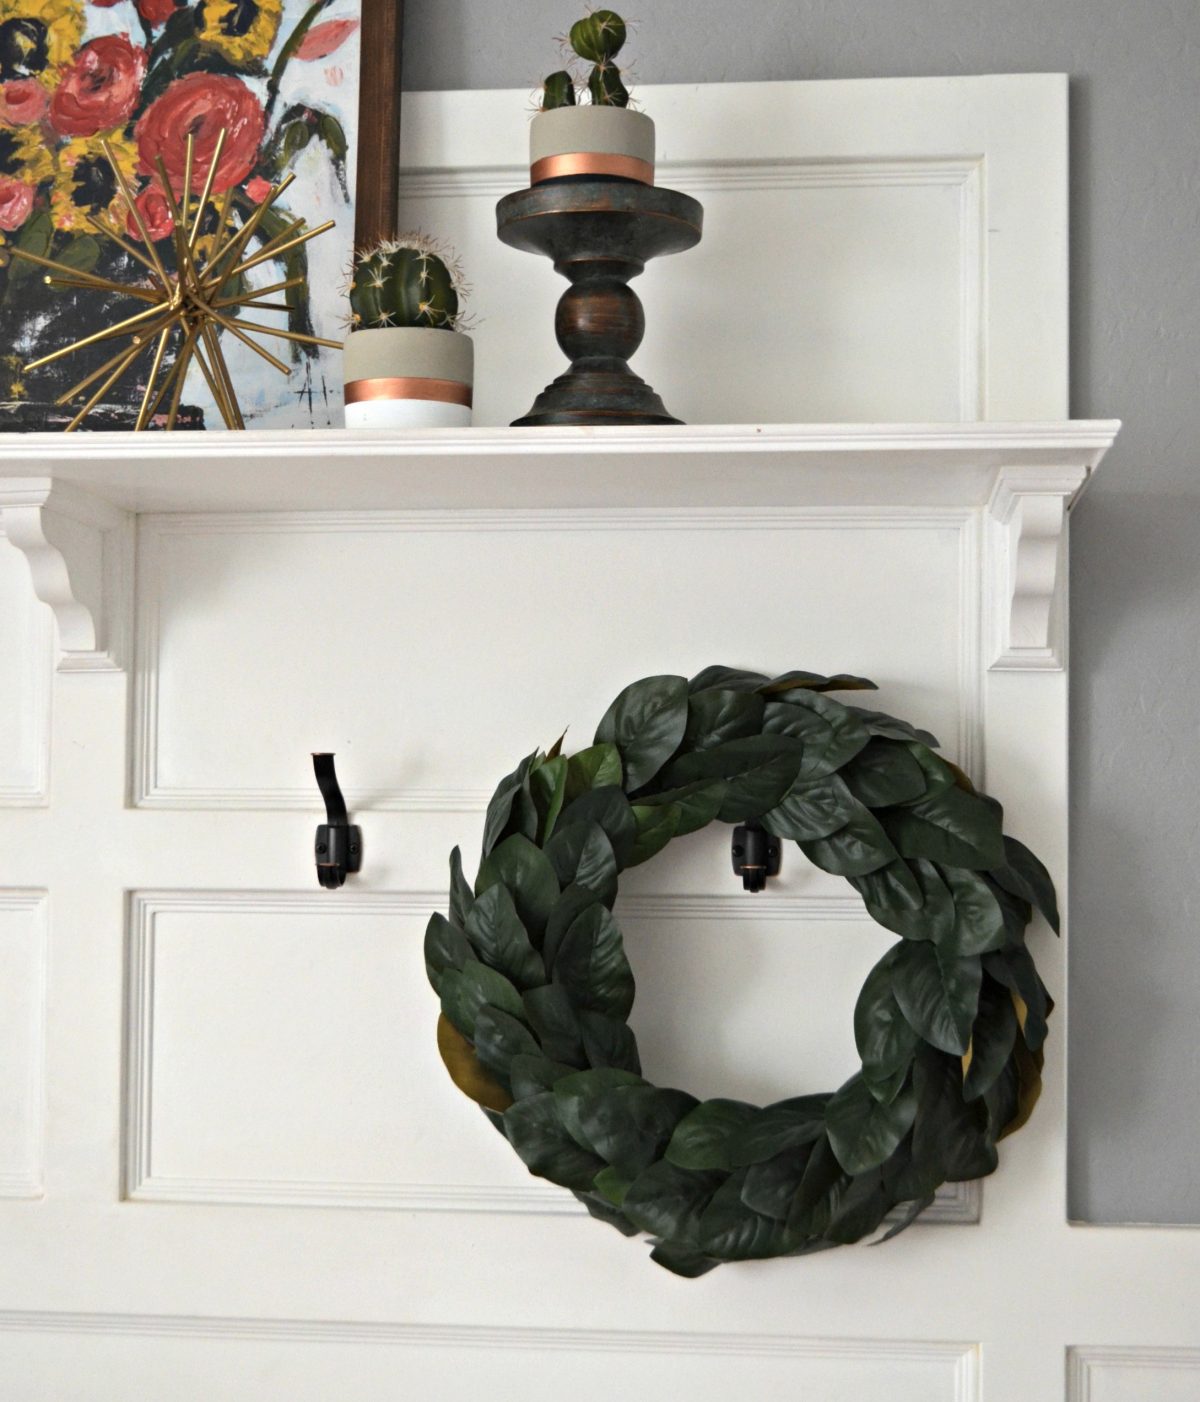
Here it is, all finished! What do you think?!
Right now, I’m enjoying the wreath in my entryway, and I love it. Because I took the time to tape down each row of leaves, my wreath feels sturdy, and I’ll be able to enjoy it for years to come! It was a fun and satisfying project and worth the effort.


Comments 0