Build a Stacked Garden & Grow Fresh Herbs at Home!
This stacked herb garden from a few years ago is still one of my favorite DIY’s ever and will be a beautiful addition to your outdoor patio space too!

Want to plant herbs this year? Consider this stacked herb garden for an easy home DIY project! It is also a convenient and frugal way to incorporate homegrown fresh herbs into your cooking instead of buying them each week from the grocery store!
Creative and space-saving? This stacked herb garden has it all!

I’m a big fan of container gardening in general because you don’t need a ton of space and can easily move them around if more or less sun is needed.
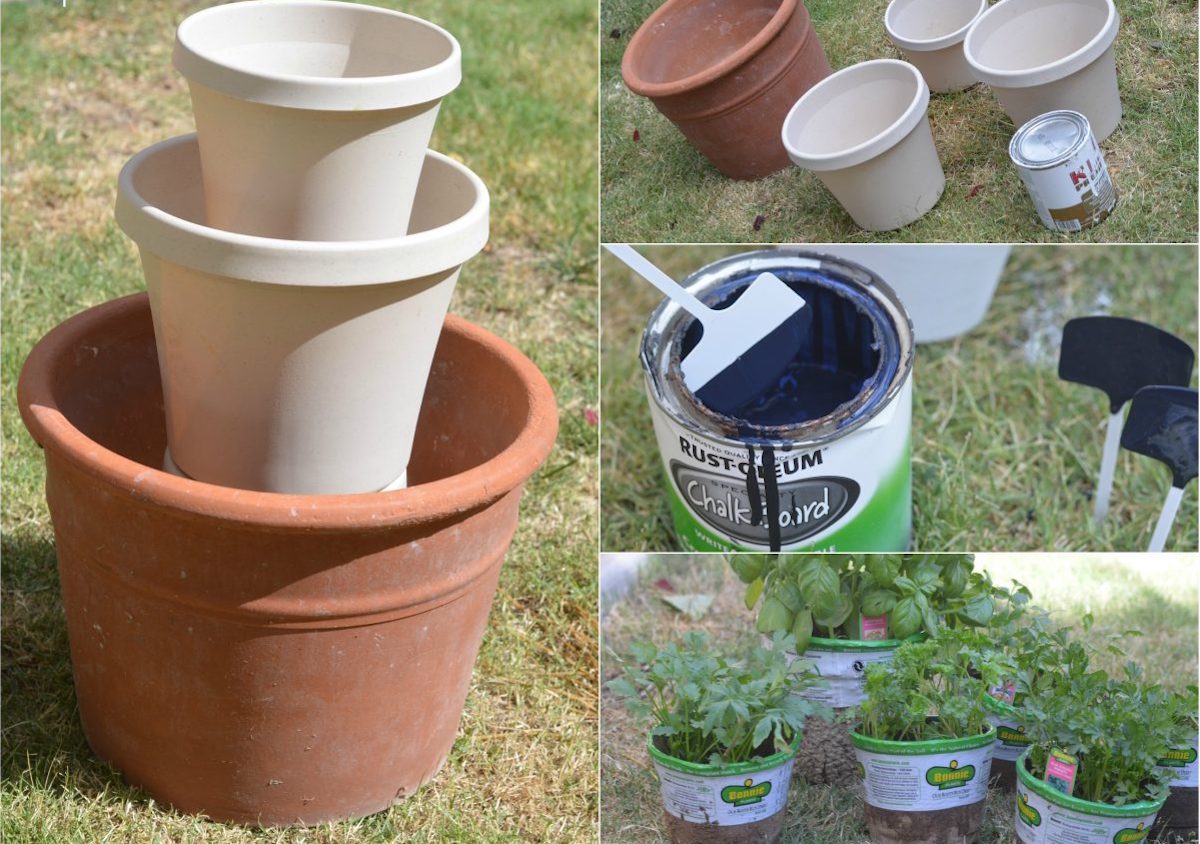
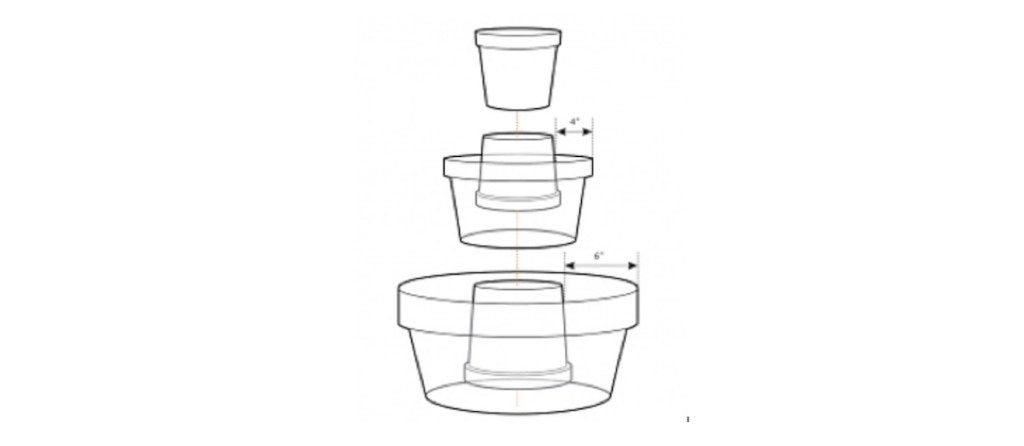
Of course, you can simply plant herb gardens in a single pot, but there’s something so eye-catching and unique with this stacked pot look. The basic idea is to find 3 different sized pots to use as a tower and then to use two small-sized pots (empty paint cans work too!) upside down for height and to stabilize the planter.
Tips to make your own stacked herb garden:
- You can use mismatched plant pots lying around the house, or purchase new ones to achieve this look. I didn’t have to buy any new ones, and some were plastic and some terra cotta.
- If desired, paint the pots all the same color to make them more uniform, however, it’s an optional step.
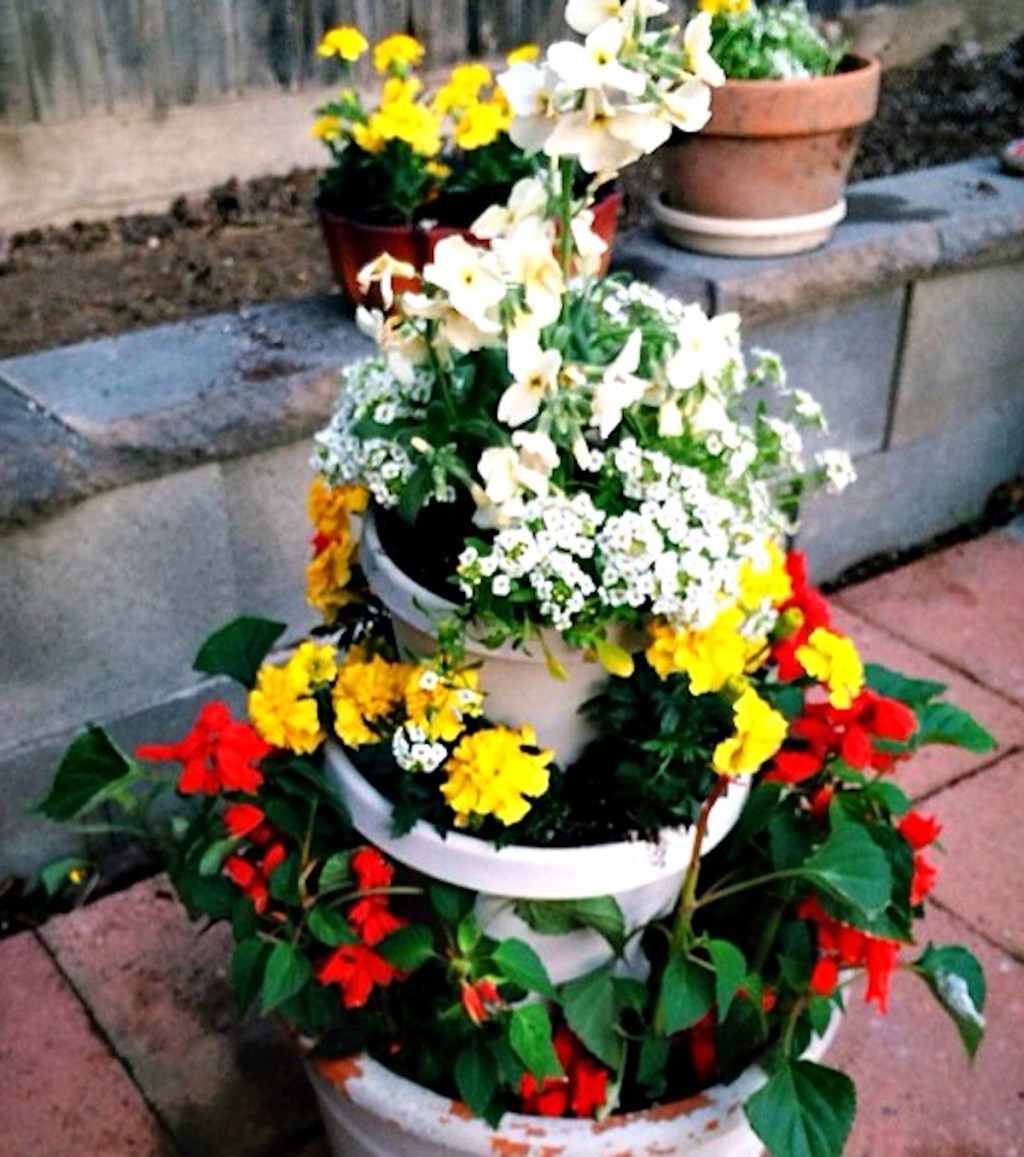
- You can make this same tiered planter and use flowers instead. It doesn’t need to have herbs. For instance, I kept mine going with herbs for a while and then switched to flowers the next year.
- I painted white garden t-labels with black paint and used a white pen to label, but here’s a set of black labels with white marker via Amazon.
- For best results, try to place your herbs in a spot outside where they’ll receive some sun each day. Make sure to water every day or other day when the top inch of soil feels dry. This could vary by location: for instance, in AZ I have to water my containers once or even twice a day sometimes in extreme heat.

DIY Stacked Herb Garden
PrintSupplies Needed
- 5 pots of varying sizes to create a tower (plastic or terra cotta planters will work)
- Paint for mismatched pots (if desired)
- potting soil
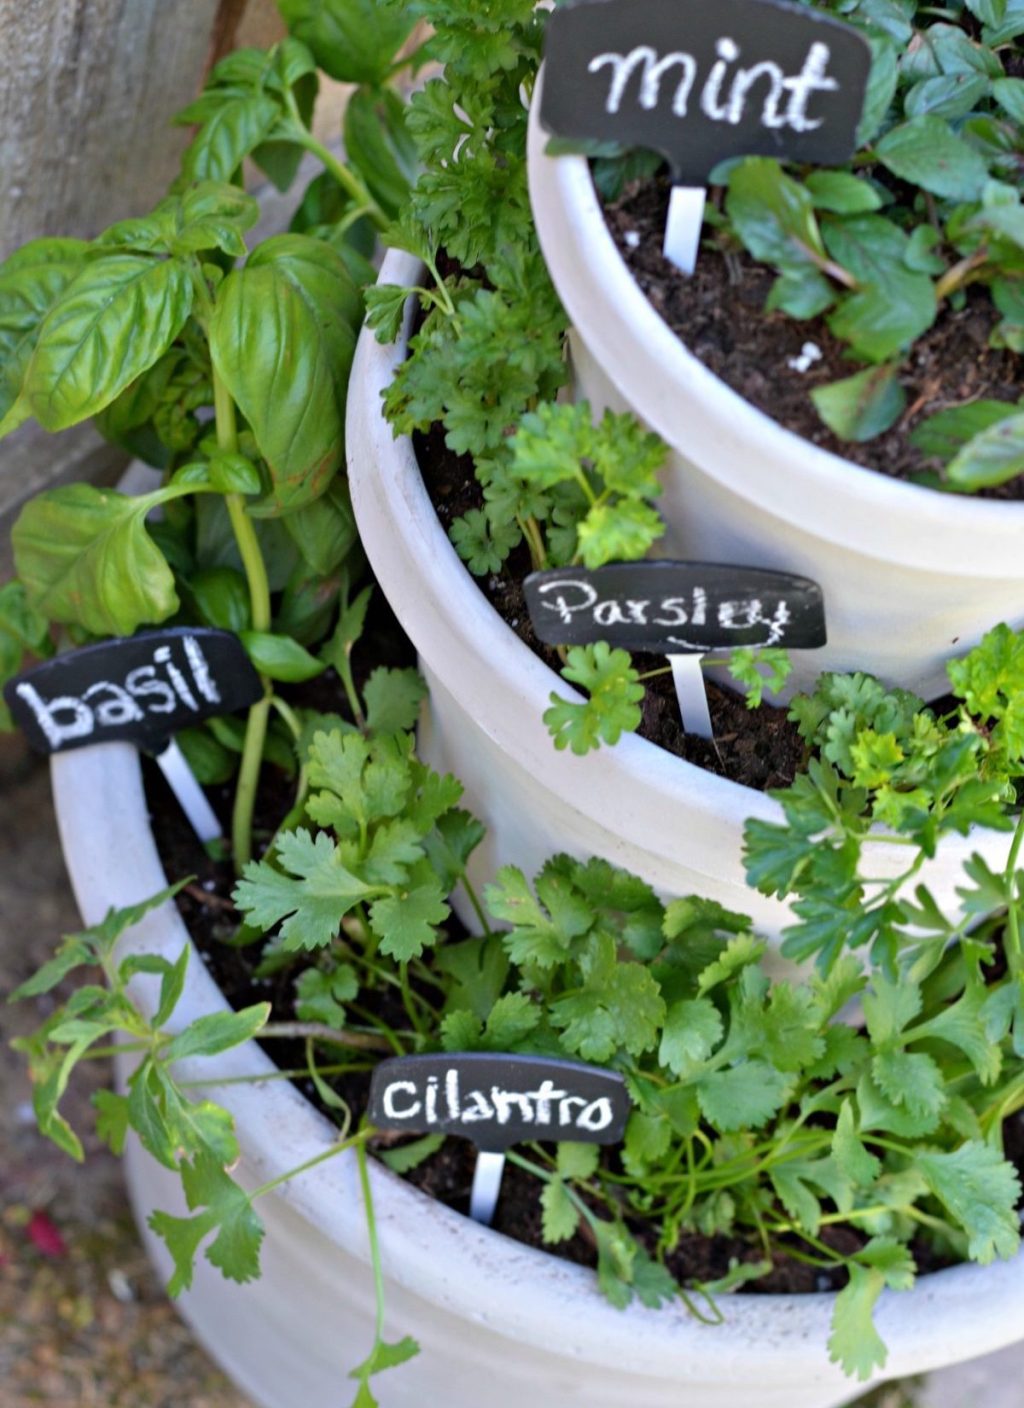
- herbs or flowers (For my planter I used basil, parsley, cilantro, and mint.)
- outdoor garden markers
- black paint
- white paint pen
Directions
1
Paint the pots (if doing this optional step) and let dry.
2
Start with the largest planter pot at the bottom and place an upside-down small pot on the inside.
3
Add potting soil and plant the first tier of herbs around the outside of the pot. Repeat for the second and third-tier. When done, you’ll have three tiers of herbs.
4
On black plant markers (or paint white markers with black paint and let dry) and use a permanent white paint pen to write the names of herbs. Enjoy your fresh herb garden!

Look at how beautiful it looks when you’re all done! 😍
My fresh herbs lasted for almost the entire summer with normal watering – the basil and mint lasted the longest. After that, I chose to fill my pots with $10 worth of annual flowers, and I think they turned out great, too!

This DIY succulent wall brought our patio to life – build it in just a few steps!


Love this idea! Thanks for posting!
Sure! Have fun if you make one!
I made one of these a few yeas ago for my mom for mother’s day! She loves to cook with herbs. It turned out beautiful. Love that you can “customize” it!
I thought this was my brilliant idea! Like you suggested, I used leftover pots that I had but I also bought some terracotta pots. It was fun figuring out the best way to stack them for maximum space and balance. Unlike you, I didn’t use a pot inside the larger pot, I stacked it atop the soil in the lower larger pot. I like your idea better though because you save soil and have more stability. You can stack another pot atop the one in the pot to gain more height and more space around it to plant stuff if it is flared like the typical terracotta pot. I also used strawberry jars and planted succulents in the openings. Email me to trade ideas and pictures!
So glad to hear this post was helpful and inspiring for you to create your own, Ren! 🤗🪴 Hoping your loving your stacked garden! ❤️
Hi Jessica. Actually, I had already made one, thought it was my idea so did a search to see if anyone else had and found yours and Lina’s. We each built them slightly differently but the concept is the same. Let me know if you’d like to see a picture and how I could send it to you. Cheers!
That’s so awesome, Ren! 💕 Thanks for the update! We have a “Happy Friday” post each week where this might be a good fit! Here’s the link to the post with the details on that and how to submit your info and photos to us! 🥰