Easy DIY String Art – Perfect Fall Craft!
Your fall crafts aren’t complete without this pumpkin string art DIY.
Ready to get crafty? 🔨 🎃
String art is such a fun and creative craft project to do with family and friends! It’s one of our favorite fall crafts since it’s pretty simple and straightforward. Plus, it requires just a few supplies you may already have on hand. Better yet, string art can be made for any holiday or occasion by simply printing out seasonal clip art patterns to use as your template.
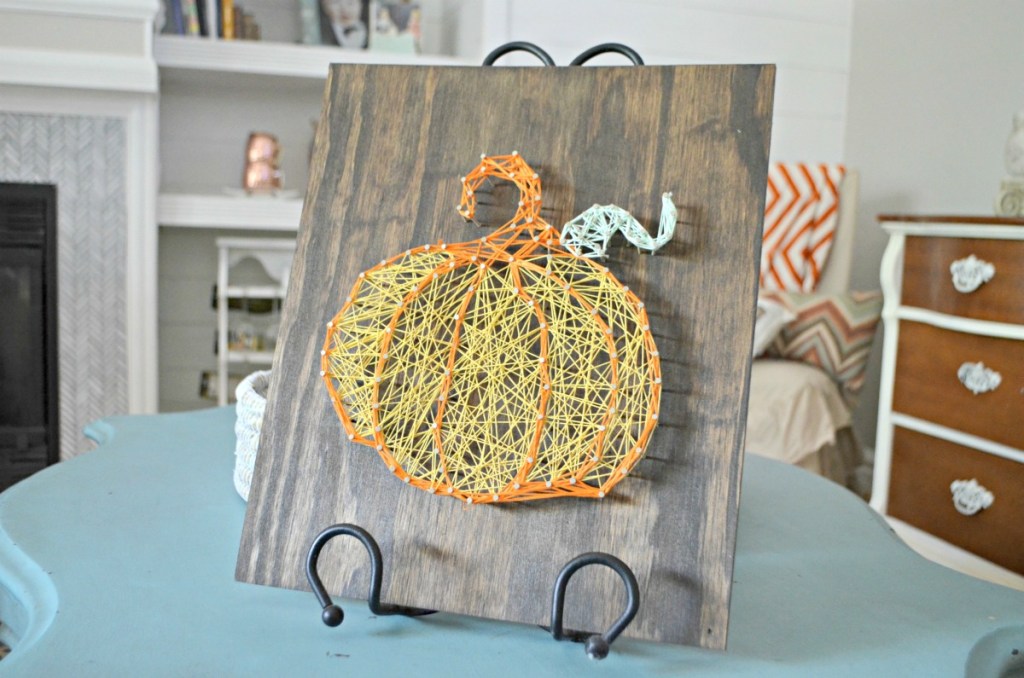
Check out this cute pumpkin design for my fall string art!
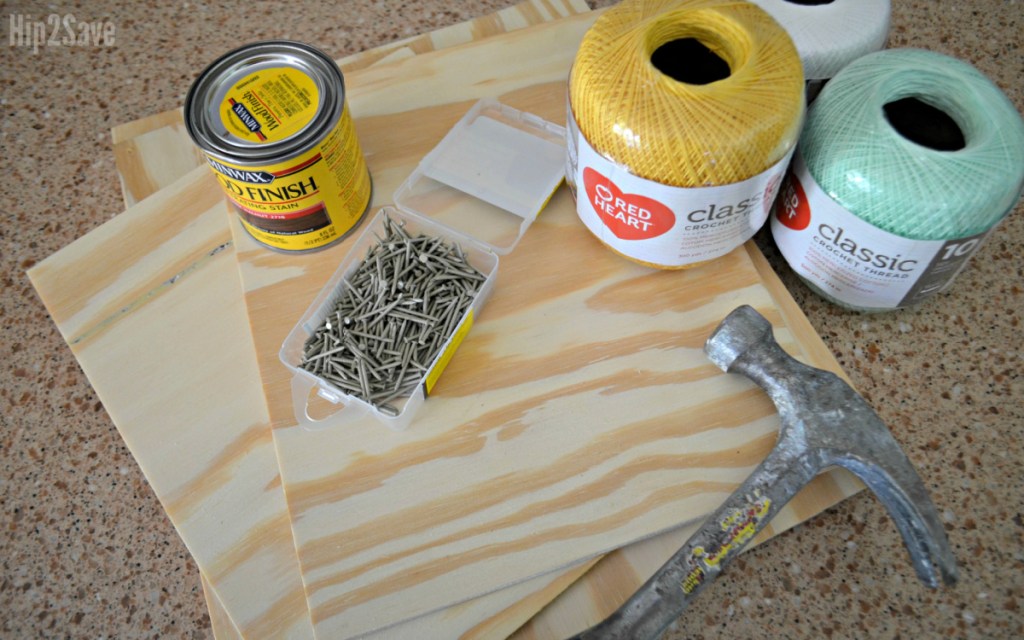
This would be a great opportunity to use up any pieces of scrap wood that you have on hand. You can stain or paint it as desired. I stained a piece of 12×14 inch plywood using Minwax Wood Stain in Dark Walnut and printed out a pumpkin shape on an 8.5×11 inch piece of computer paper.
Pumpkin String Art
PrintSupplies Needed
Directions
1
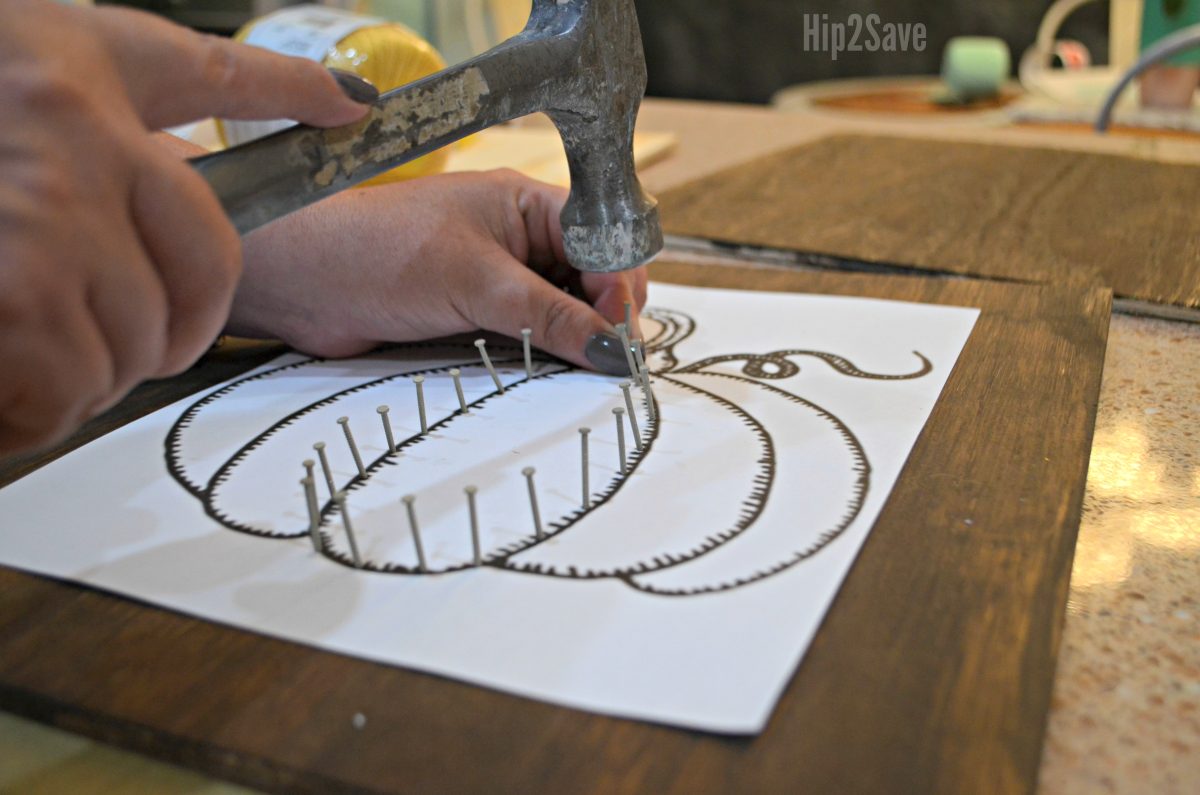
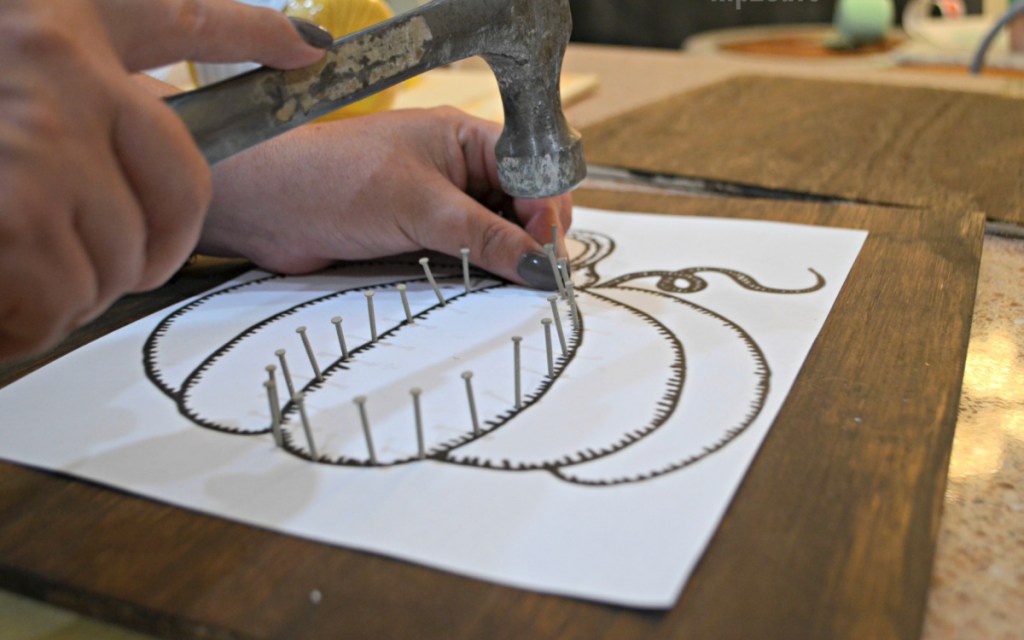
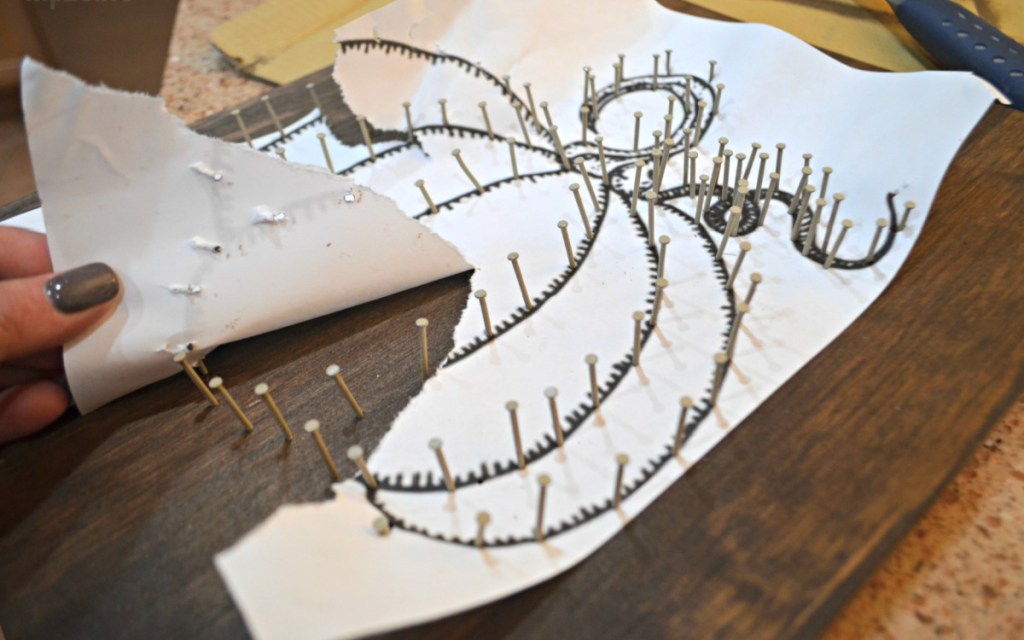
Print pumpkin template and place on wood, centered, lighting taping the sides if desired to secure in place. Hammer nails along the outline of the pumpkin about every 1/2 inch. Try to nail it as straight as possible, but mine isn’t perfect and I’m fine with that. 😊
2
Remove the paper template.
3
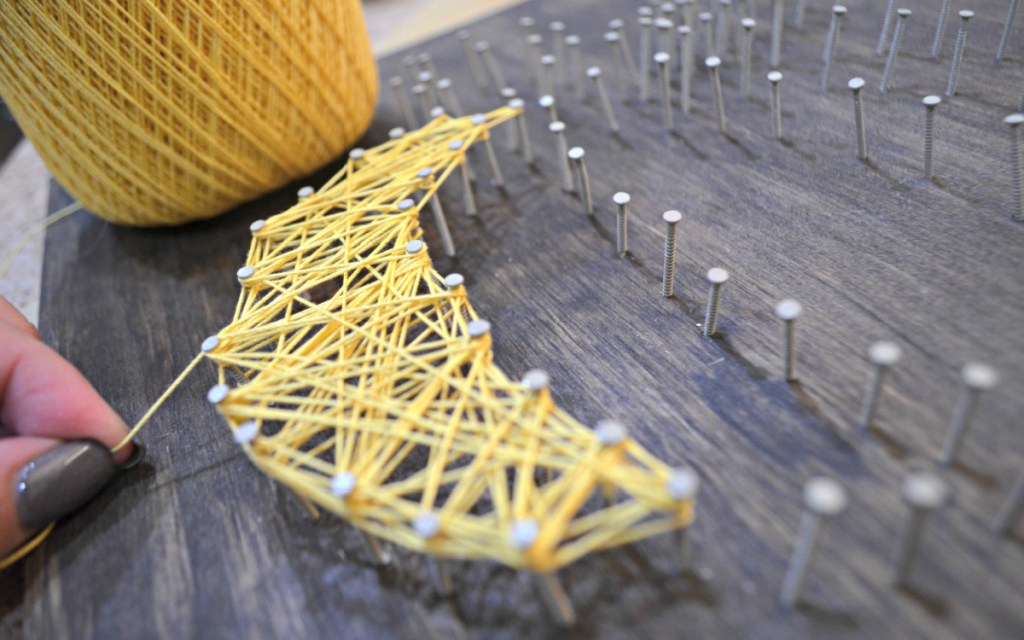
Weave string around nails. This is where you could get extremely technical and make patterns with string, but I was pretty laid back and just made random zigzags with the string.
Start by tying the string to one nail and then weave around each nail with a string until you’ve gone around the entire shape. Tie off the string around one of the nails when finished.
4
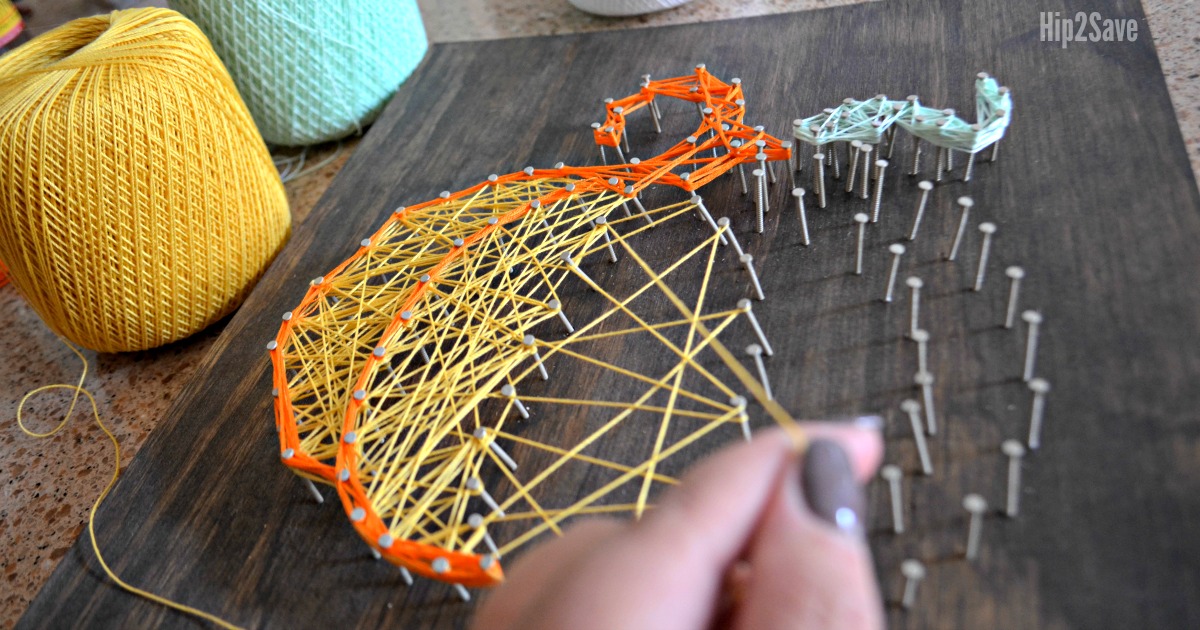
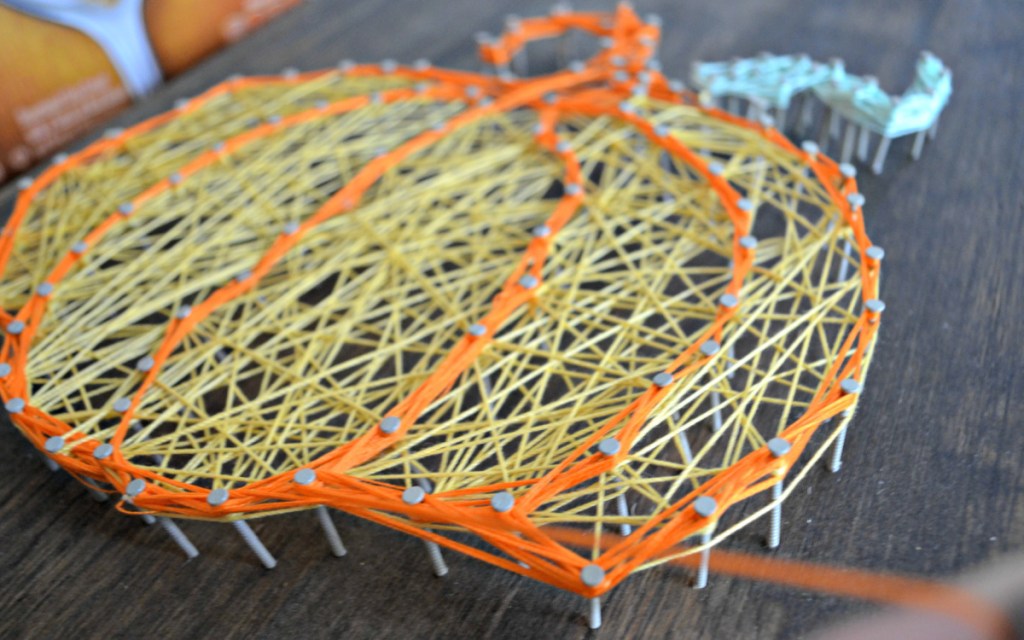
Use a different color of string to outline the shape of the pumpkin. I used yellow string inside the pumpkin, and then switched to orange to outline the details and also for the stem.
5
Tie off this piece of string around one of the nails when finished. Embellish as desired or leave as is, and enjoy your new fall craft!
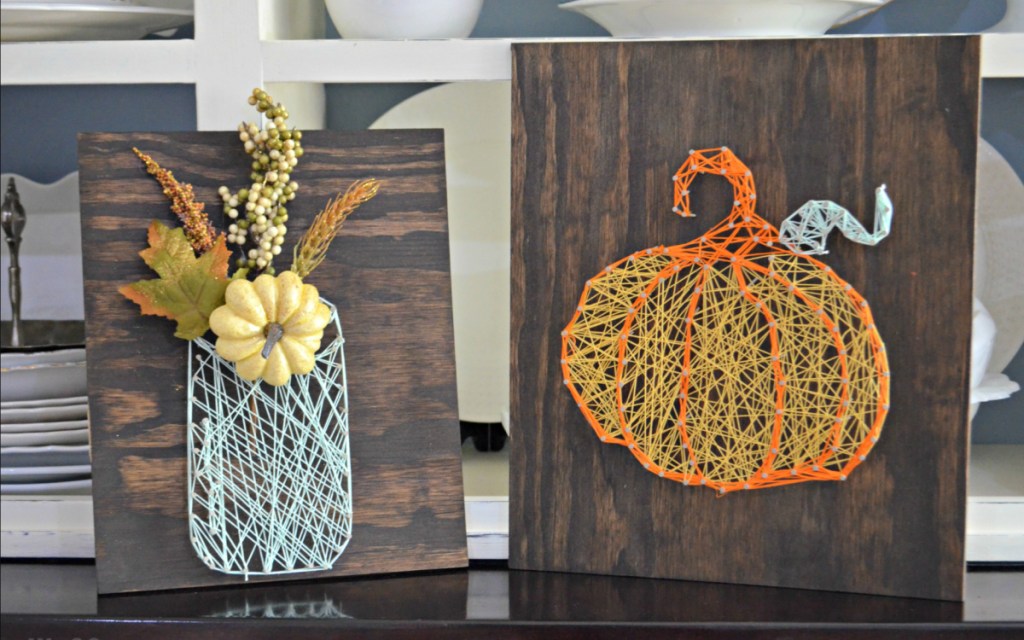
Fall string art is such a fun little piece of decor for displaying on the wall or on a tabletop!
I think a fall leaf or a candy corn shape would be great for fall, too. Really, you can customize this craft for any occasion or theme. I’ve also noticed the trend of string art done on actual pumpkins as a creative, no-carve pumpkin-decorating idea!
My daughter and I used the same technique and put together this little mason jar string art and used a small bouquet of faux fall foliage and a pumpkin for the top. So fun and festive!
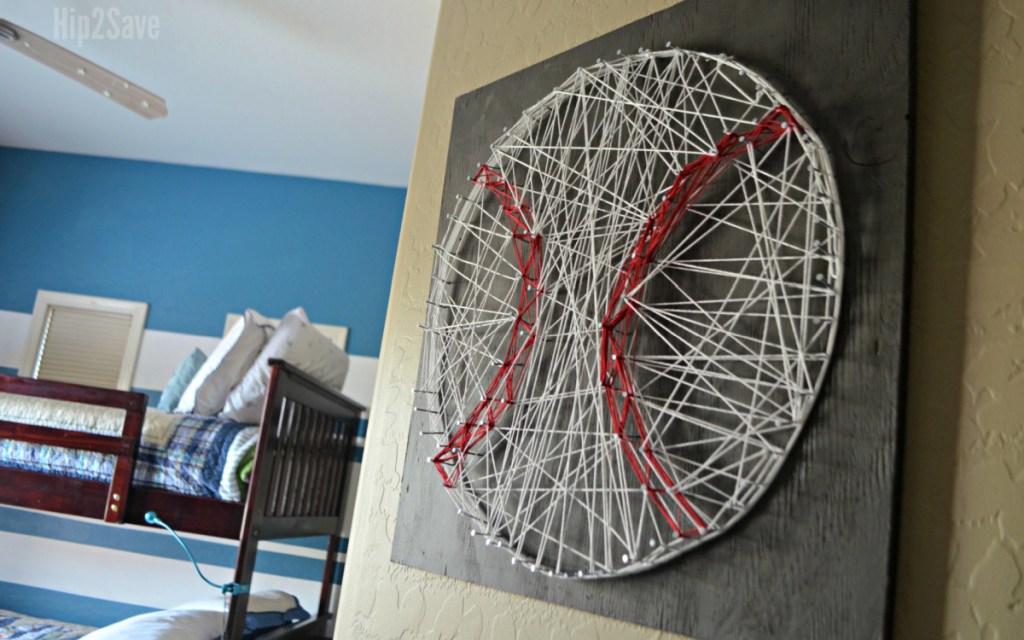
You can try this process with any design! My son made this large baseball string art to display in his room last year, and I love it! A football shape would also be a fun idea for another fall craft.
We also love the idea one of our readers left where you can do this with a Christmas tree template along with some wire string lights! 😍
Check out this EASY Dollar Tree fall leaf tray makeover using spray paint!


I did this with my sons handprint when he was 3. They turned out so cute.
What a cute idea!! It would be neat to do each year with a birthday picture to see how they grow.
Oh I love that Ashley! Such a sweet idea 💕
Where did you get the wood holder? It is so cute!
Oh thanks! if you mean the black iron holder- it’s actually a cookbook holder that was a gift. You could probably find a similar display holder at hobby lobby or home decor store.
Love, love, love this! Thank you so much for posting this fun craft!
What is the white part on the pumpkin suppose to be? Cute idea, by the way!
Oh just part of the stem lol – it’s a light green. Just pick colors you’d like – And thanks!
I bet you could drill a hole in the back and add small string lights. This would work well for a Christmas tree or snow man.
Oh I love that idea! Thanks!
Wow this looks SO cool!! 🙂
Oh thanks! Glad you are enjoying this idea!