Get Pottery Barn Vibes on a Budget with This Thrift Store Makeover!
Instead of paying over $100 per vessel for Pottery Barn vases, try creating your own spray paint vase!
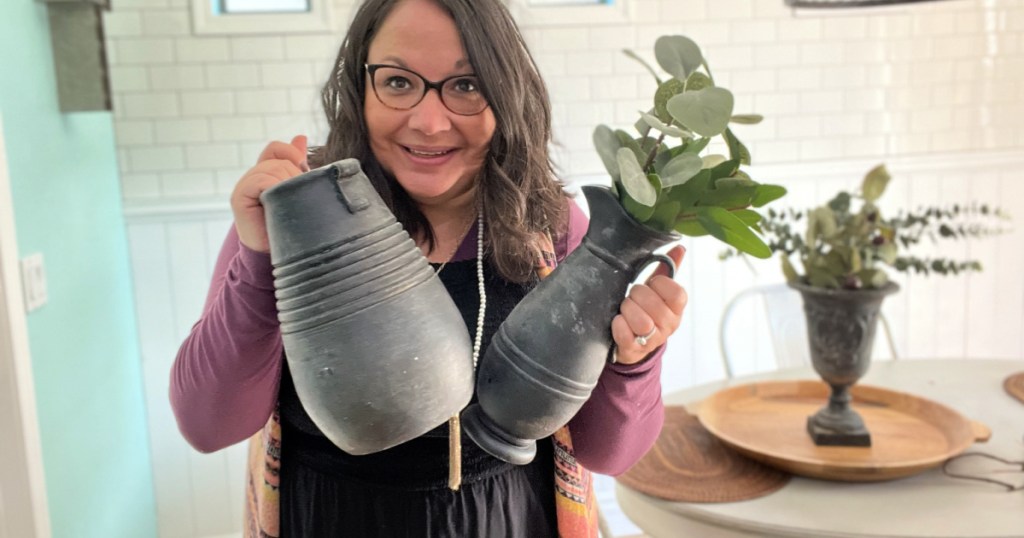
Does anyone here love an easy thrift store makeover like me?!
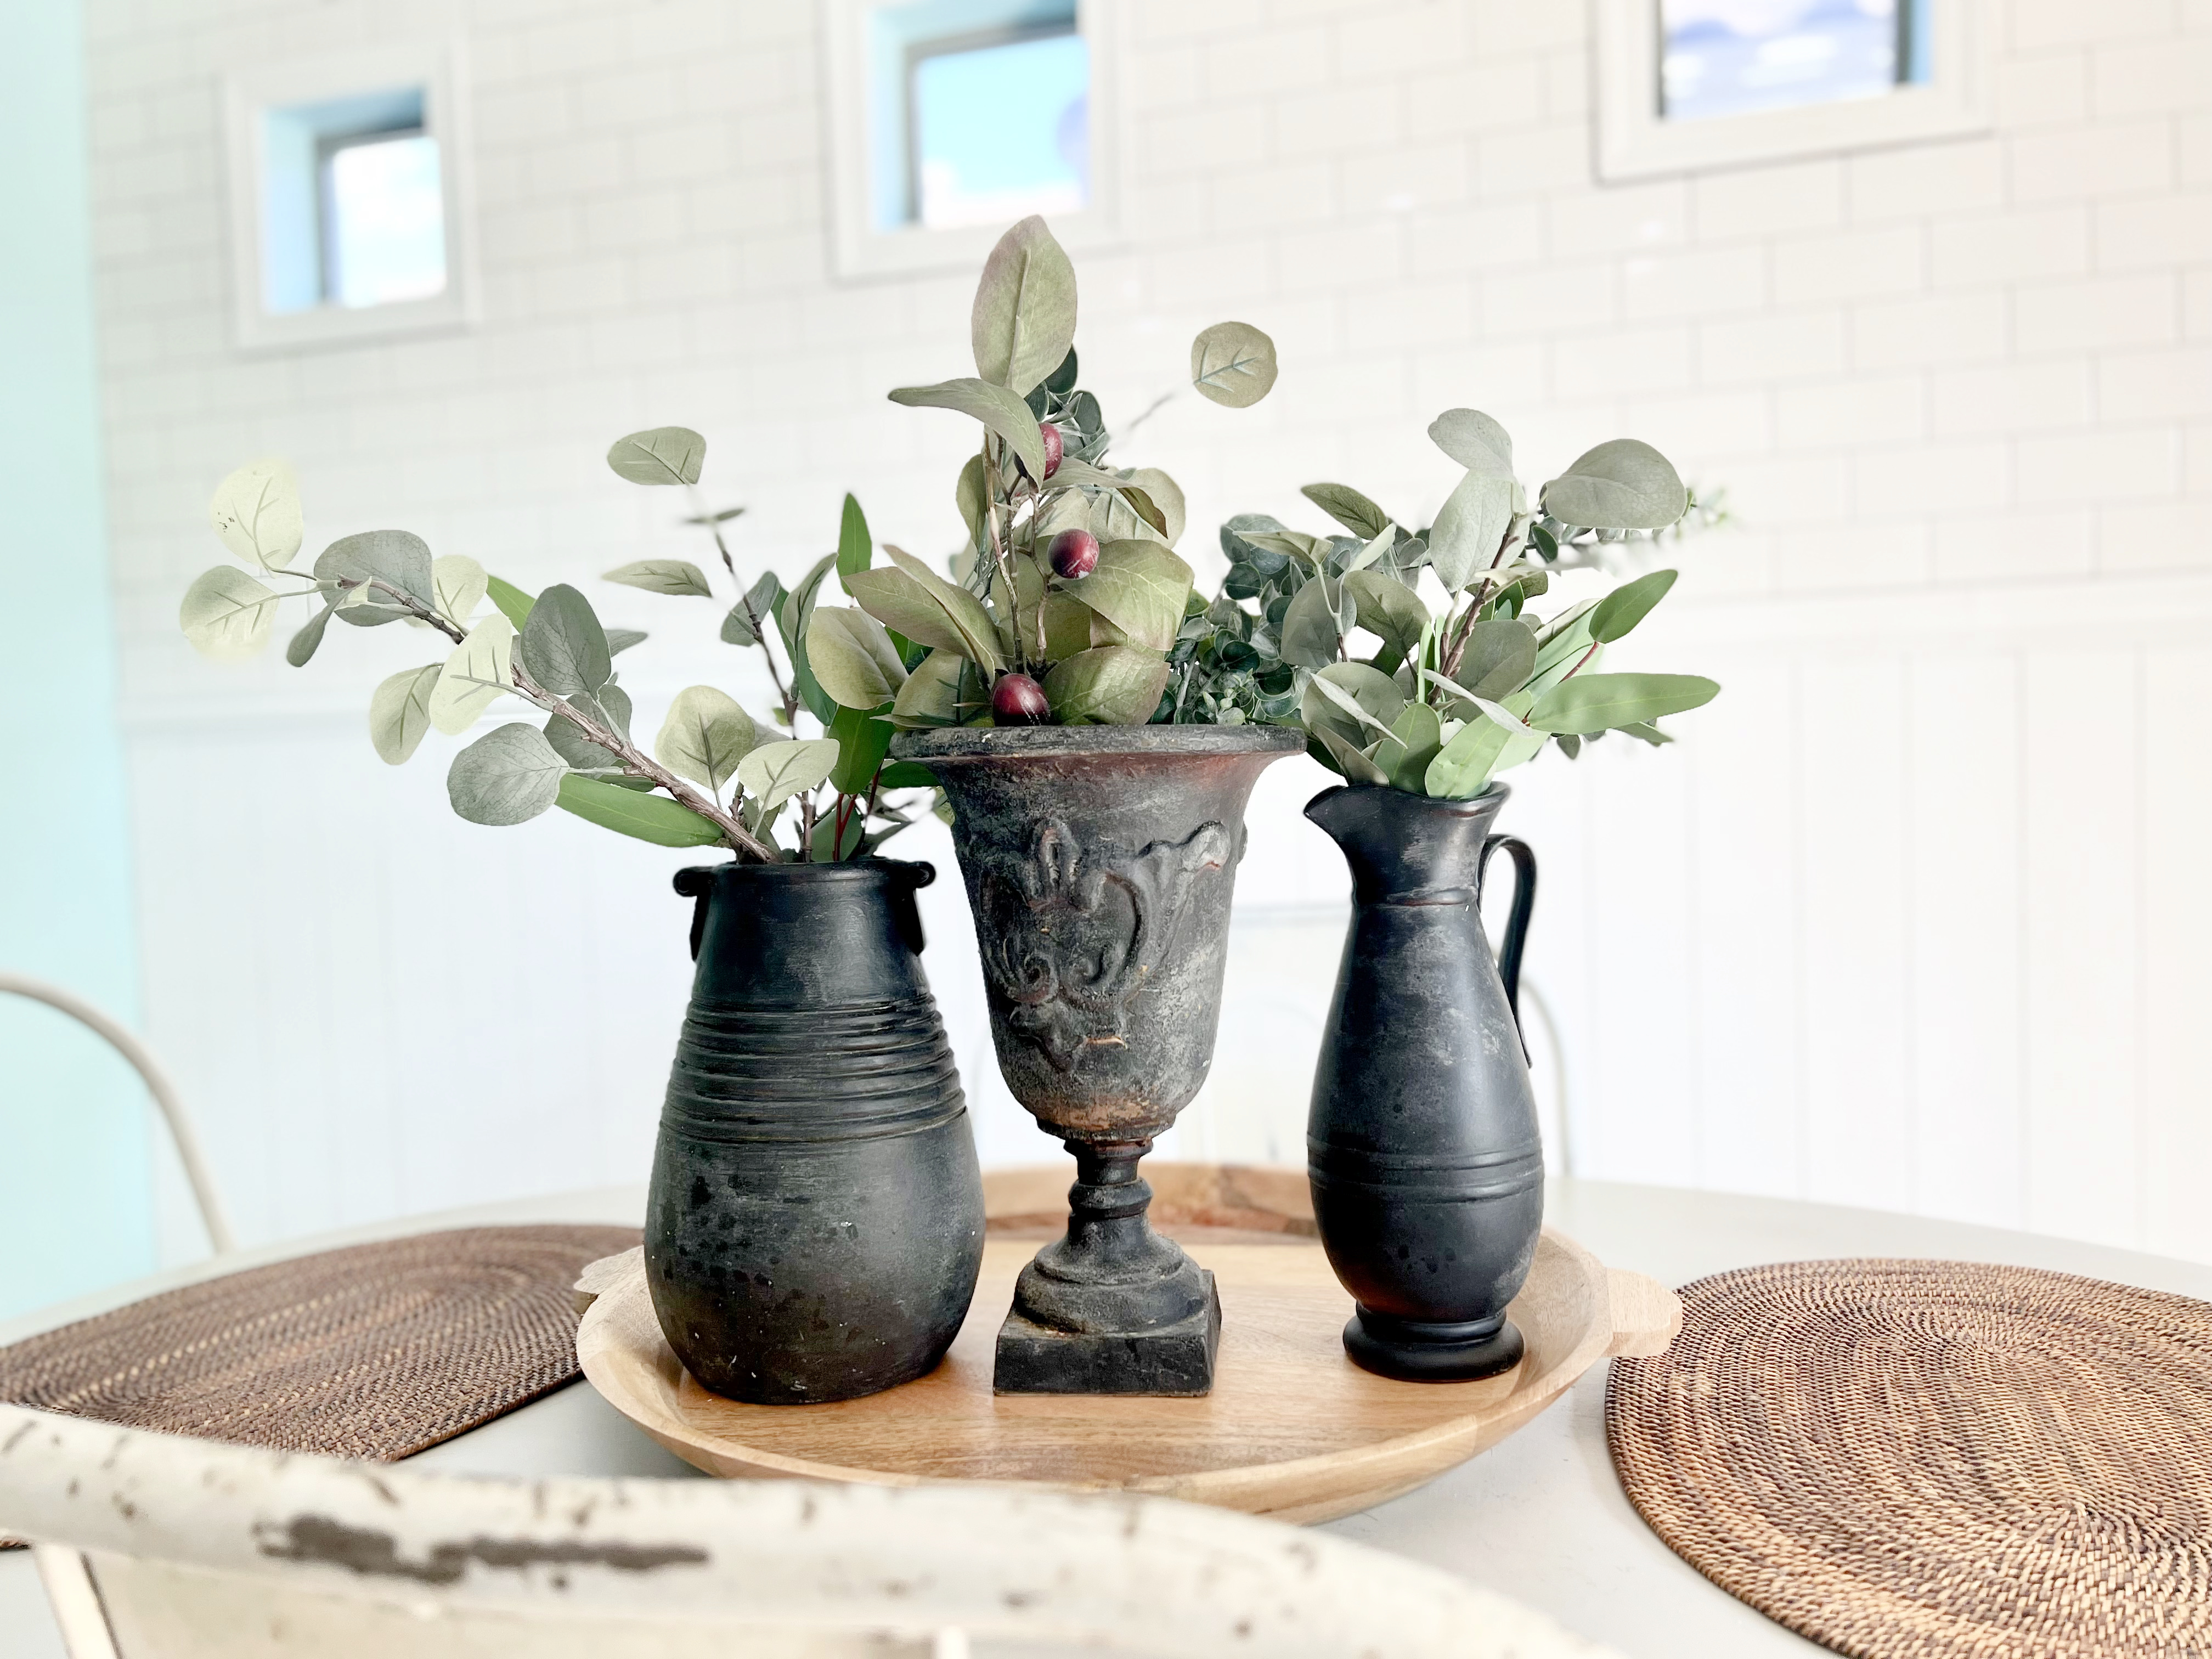
If so, I’ve got a fun DIY project idea anyone can easily do at home! A couple of years ago, I turned $12 worth of mismatched ceramic pottery pieces from Goodwill into a high-end-looking centerpiece for my dining room table! I totally enjoyed doing this simple project and am STILL in love with how it turned out.
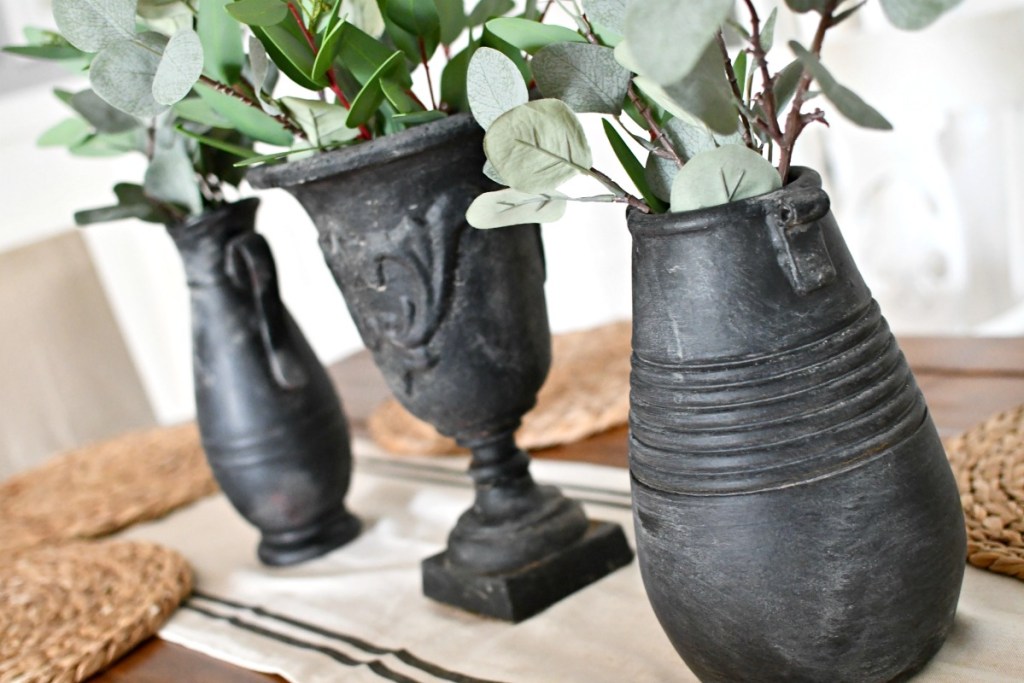
I get so many compliments to this day about how beautiful these pieces are everyone is surprised to learn they are from a thrift store! I’m hoping you’ll find some inspiration to do something similar in your home.
It’s all thanks to a can of matte finish black spray paint and some wet dirt. Yep, I said dirt, but stick with me because it’ll make sense later!
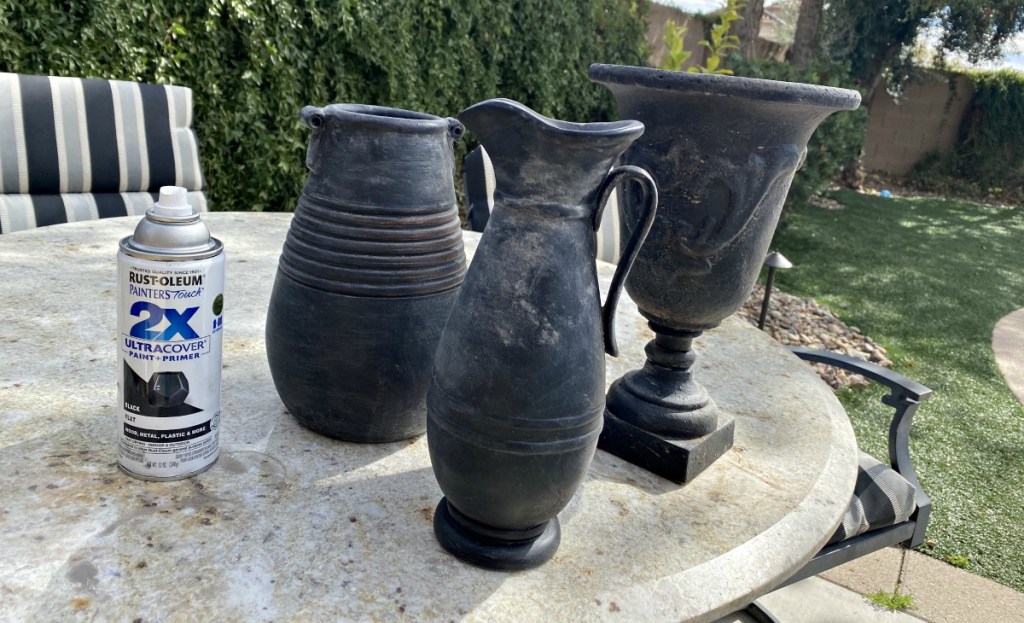
By spray painting all of these pieces the same color, they look like they all belong together, and I now have a stylish focal point for my table. If you were to look for these at your local import store or home boutique, they’d likely be so much more expensive.
Get this same beautiful DIY Pottery Barn-inspired look, but use thrift store pieces to save money and recycle.
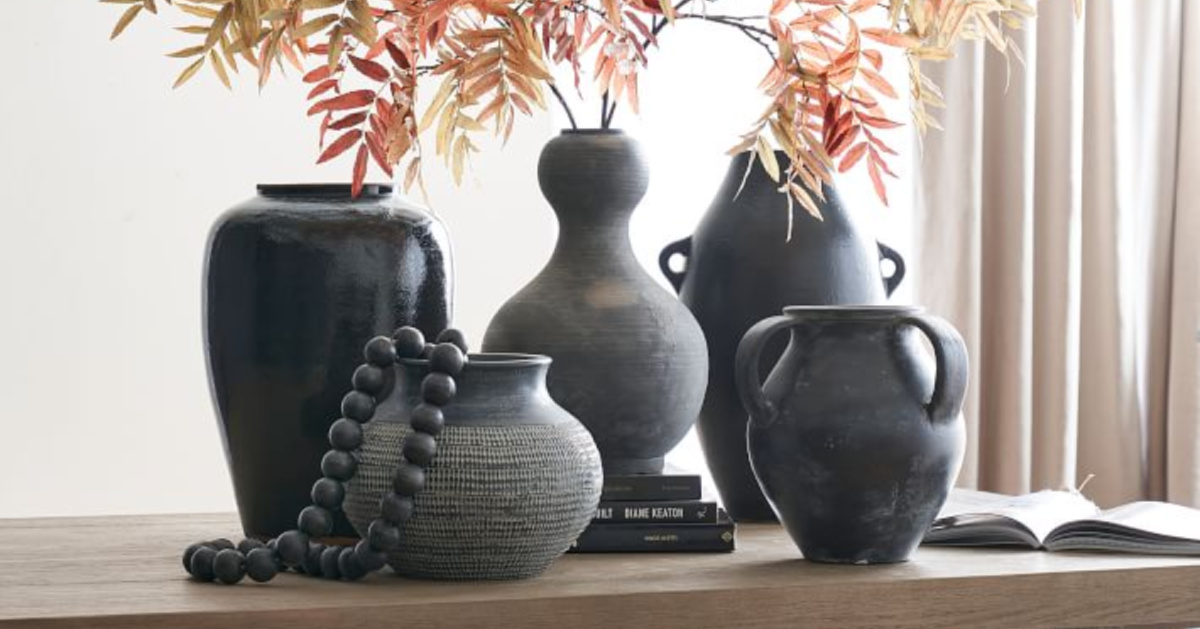
This type of old-world-looking vessel is super popular and trendy right now in home decor but can be pricey. As an example, I found these similar-looking black Pottery Barn vases that costs over $100 per vase! I love my thrift store makeover just as much.
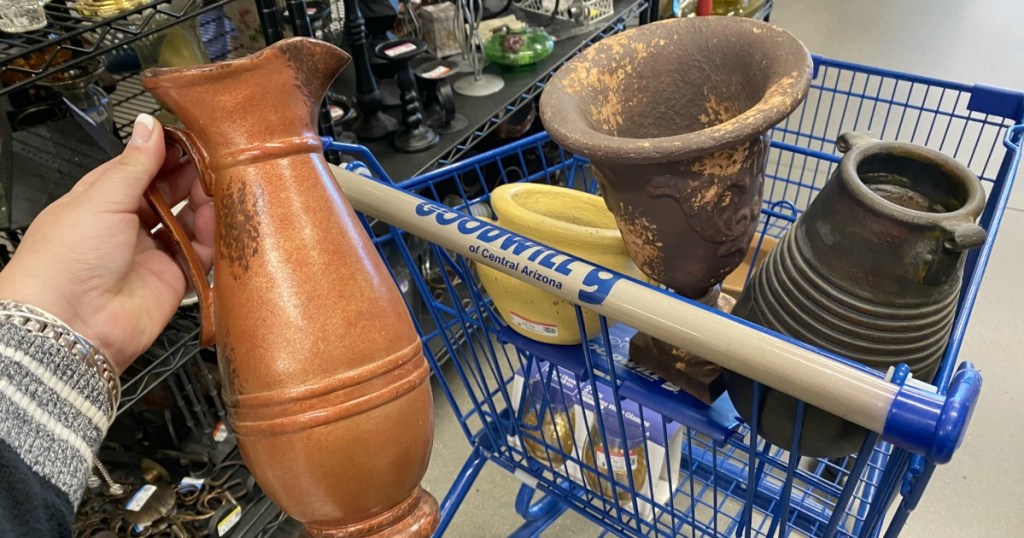
First stop: your local thrift store!
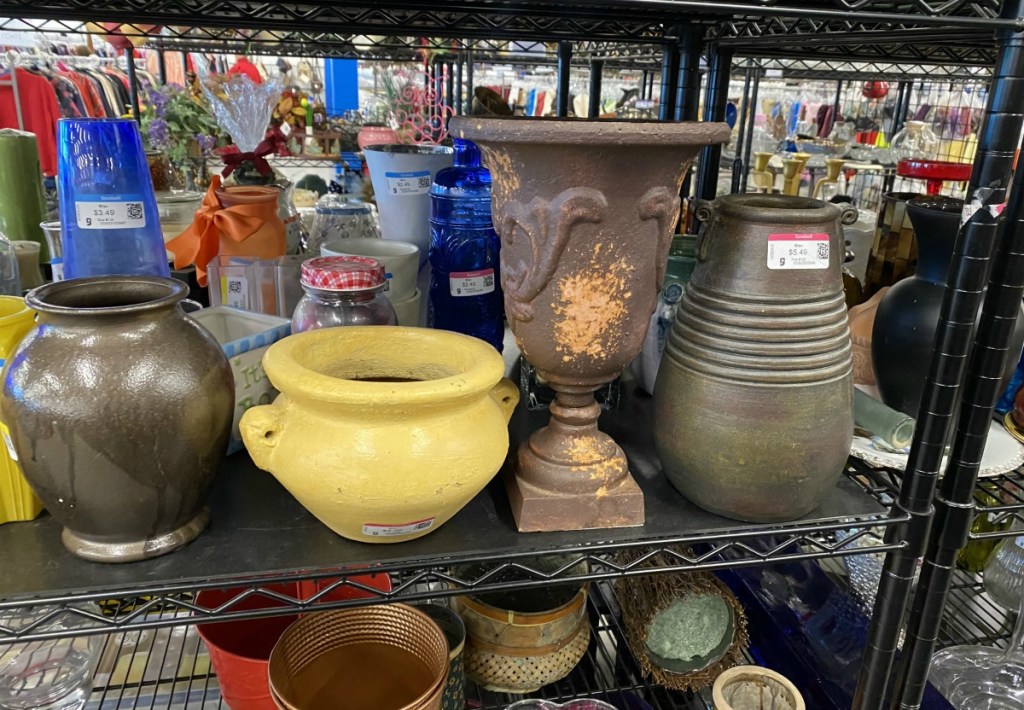
I love thrifting in general and especially enjoy checking out the home goods area first for interesting shaped pieces to makeover. You’ll likely find lots of mismatched pottery pieces that would be perfect for this project in most thrift stores. Mine were priced at $5 or less for each, so I invested around $12 for these pieces altogether.
Before shopping, take a look around your home to see if you already have some pieces in need of a makeover. This DIY is a wonderful opportunity to give them new life!
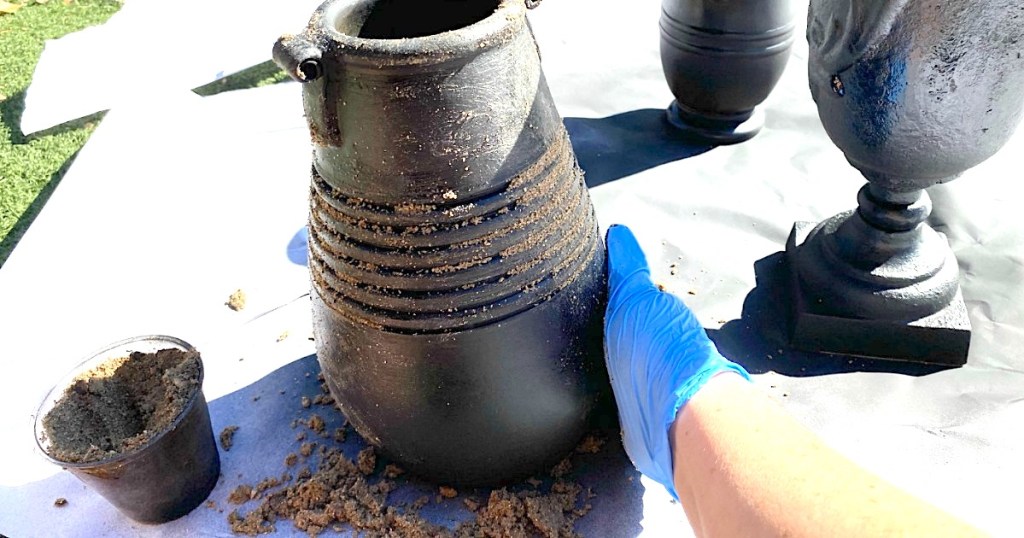
Spray paint and then rub with dirt for a worn finish.
This process could not be easier and more forgiving. After all, the point of it is to not have it look perfect. I first spray painted all of my pottery pieces using black matte spray paint, then went over them using dirt. Rubbing wet dirt on the pottery before it dries will give it a more rustic-worn look.
DIY Matte Spray Paint Vase Makeover
PrintSupplies Needed
- pottery vases or pitches
- matte spray paint (I used black)
- wet dirt
- gloves
Directions
1
Clean each vessel well and let dry. Spray paint each piece using spray paint. You may have to do a couple coats.
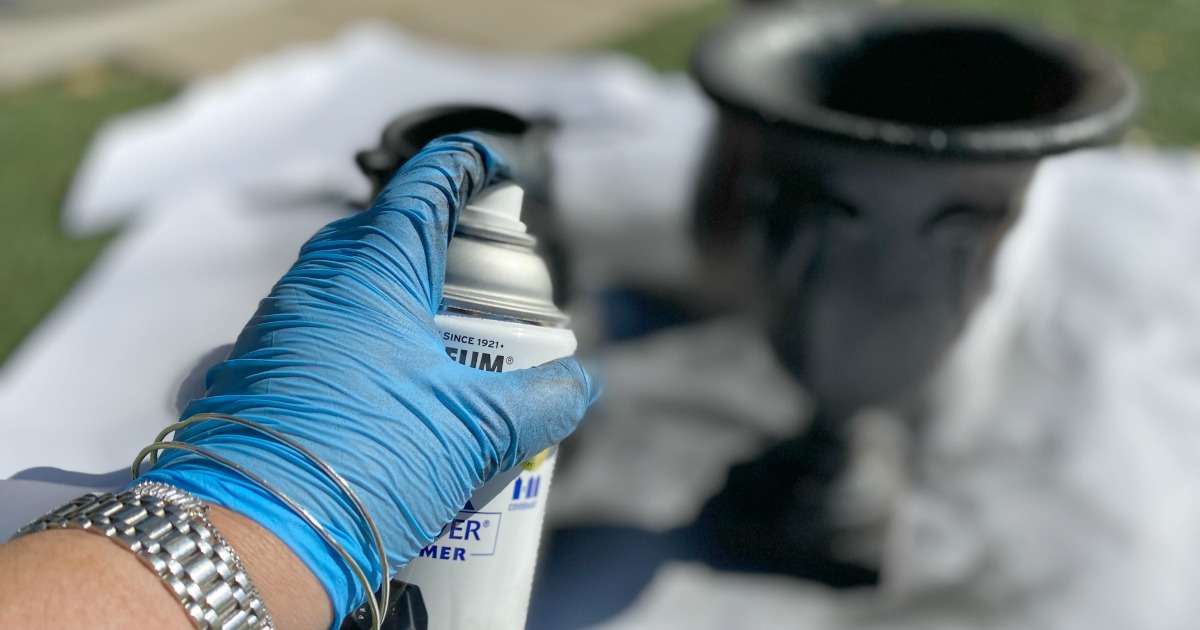
2
Before the last coat dries all the way, grab some of the wet dirt and rub back and forth over the pottery. Rub over the details of your piece so you’ll get a nice textured look. Let piece completely dry overnight.
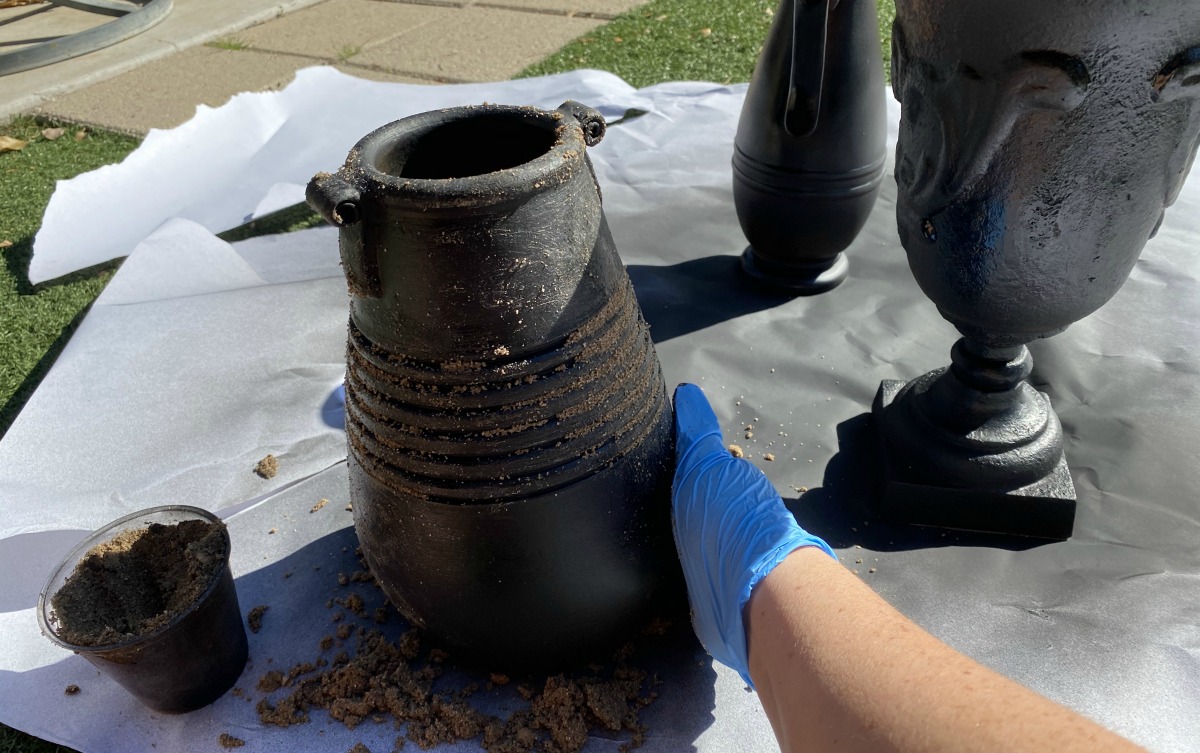
3
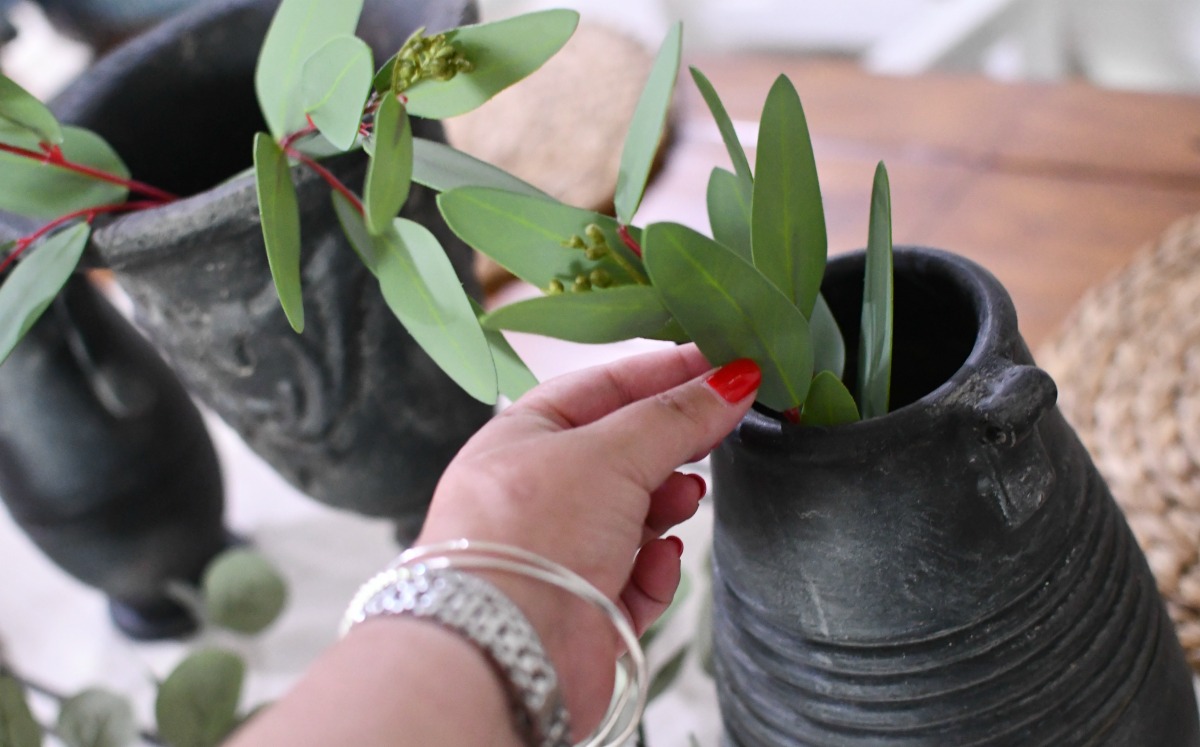
Once dry, come back and wipe off the excess dirt with a wet towel and clean the outside areas. Fill vases with any faux or real greenery stems. Style as desired on a table, mantel, or counter in your home.
Tips for pulling off this pottery thrift store makeover:
- Look for pieces that have interesting shapes and textures. I think large and medium pottery-type vessels work perfectly. Also, consider lamps! You can definitely makeover an old outdated pottery lamp very easily with this method. If you don’t have space in your home, you could use this idea for outdoor pottery as well.
- This DIY project is not limited to the color black. Pick a color that matches your style and decor. I think white or beige would be great neutrals to consider as well.
- Spray paint makes this project quick and easy, but you can experiment with other craft or house paint you have on hand. I prefer using matte finish paint for this project.
- Check out the faux silver dollar style eucalyptus and faux olive leaf style eucalyptus I found on Amazon to fill my vases. I think they look so pretty and realistic.
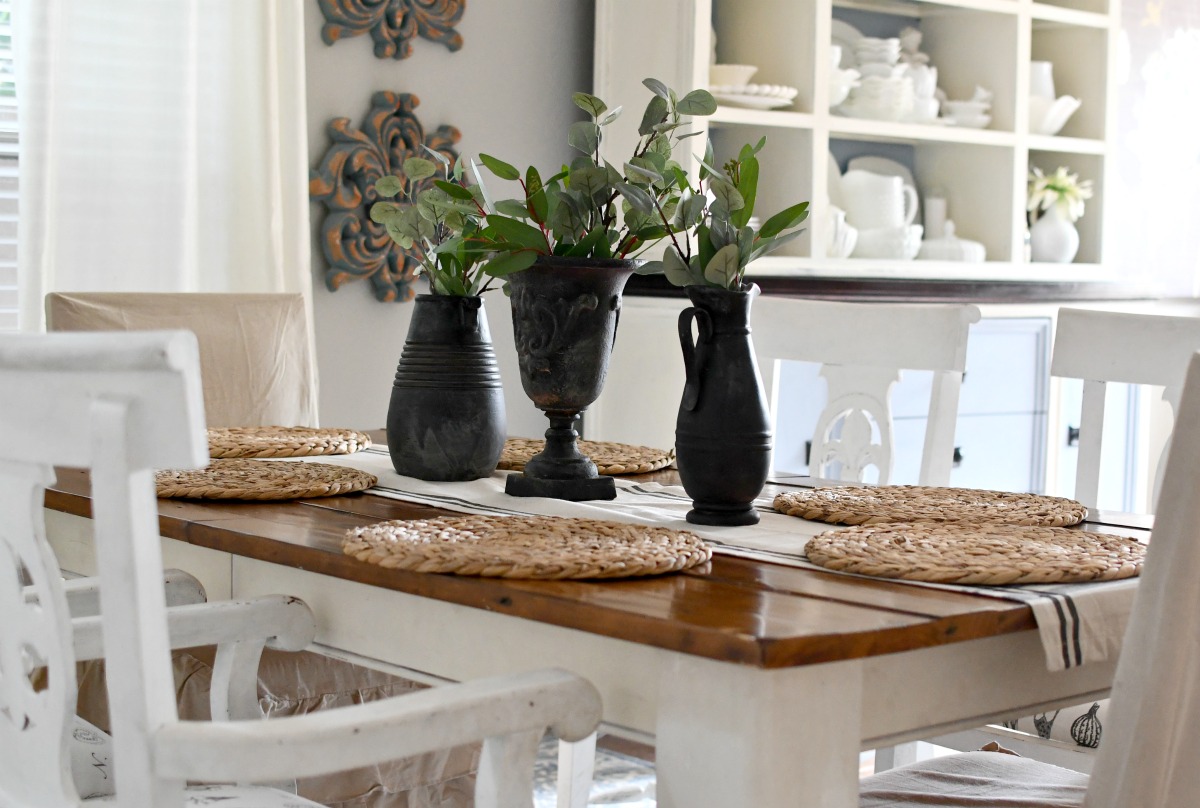
I still love how this project turned out!
I was initially inspired by a few posts on Instagram with before and afters of similar projects, and I’m so glad I took the time to try it for myself. I still have these vases years later! I think my arrangement looks pretty fancy and yet it’s from the thrift store — woohoo! I love frugal and easy to accomplish makeovers like this, don’t you?!



I LOVE this idea!!! Such a high end look!!! Thank you for these types of posts ♥️
Oh thanks he stopping by! You’re welcome ❤️
Very nice! Looks great!
Thanks so much!
I love it! Where did you get your greenery? Stems? Greens? What’s the word I’m looking for? 😂
Amazon – I linked them in the very bottom of post. Thanks so much!!
Thanks Lina!!
Love! Wish I had some laying around.
Thanks! Yes this was written before quarantine – so I hope you can find some afterwards!
Amazing!!
Thanks so much!
Beautiful, Lina. I’ve used sand and cream spray paint on terra cotta planters and cover plates for light switches. I just throw the sand on the wet paint. Let it dry and rub a little off. Want to try the dirt & black paint now! Thanks:)
Oh neat!! Yeah I bet lighter colors would be fun to experiment with!
I have a decorative box with a handle and snap. It’s unfinished cardboard. Any tips on painting it white?
Just remember to do a couple light coats and hold can further away to avoid dripping. Sounds like a fun project!
Beautiful! However if I did this I would be painted, the neighbors dog would be painted, somehow there would be paint in the bathtub.
Thanks! Oh ha!
Lina, These look beautiful. I think after everyone being quarantined for so long and spring cleaning, there will be lots of home goods at Goodwill and other thrift shops!
Thanks so much and YES! Great thinking- I can’t wait to go look when it’s safe. 🙂
i enjoyed making mine. i spray painted a champagne glass bottle after i removed the labels. then after i spray painted it pink, i rubbed the dirt onto it. the dirt stuck, and i did another layer of pink paint. it looks like glitter! its is now like a pinkish grey color , so vintage looking. i then taped these mini foam roses i bought off ebay to a pencil and walah ! all u see are mini roses in a pretty vintage pink vase….
https://www.ebay.com/itm/144-Heads-Mini-Foam-Rose-Fake-Flower-Heads-Home-Wedding-Party-Decor-Bouquet-GU/193183082855?hash=item2cfa9be967:m:m5Pb59UaGwT9KOw2YfFXkuQ
Oh wow! That sounds super creative and pretty. Thanks for sharing!
Lina I’m in love!!! I need to see ALL your projects. 😉You’re such an inspiration and love all your DIY projects. ❤️
Oh thanks so much for stopping by with kind words Ang!
Those turned out great – you have a good eye for design!
Oh thanks Justine!
That’s really cool
Oh thanks so much! Glad you are enjoying this.
I love your creativity, Lina! Great job! It’s inspiring, for sure! We just moved and I’m always looking for money-saving, stylish home ideas! Thanks again!
Oh yay! Thanks for sharing and for your encouragement!
Those turned out great and i LOVE the price tag! And you got to be crafty!! win-win!!! 🙂
Yes!!! i love projects like this. Thanks so much Jeanette 🥰
You can also use baking soda to get the texture. I use chalk paint mixed with baking soda. I also use Magic Calk tube from Dollar Tree, and a little water to add texture to my DIY vases, planters, and containers. It’s fun and and great alternative to create some high end decor pieces! I love he DIY posts here! Thanks
Oh I love your suggestions and will try that out! Thanks for sharing!