
I Made This Dollar Tree Moss Rock Wreath for Just $11!
Make an easy and affordable dollar tree moss rock wreath!

Make this super cute mossy wreath I created out of mostly Dollar Tree supplies! It’s a frugal craft I enjoyed completing, and it also looks fantastic in my home!
I love the classic farmhouse style of a moss wreath, but they can be pretty pricey. I once saw an identical one at Crate and Barrel priced at almost $100! You can make your own similar style for so much less, and today I’m sharing how to make my less expensive mossy wreath.

I only spent about $11 on supplies from Dollar Tree!
Unfortunately, Dollar Tree no longer carries the bags of moss I purchased, but there are many larger bags of moss available on Amazon. The 14-inch wreath form I used is from Dollar Tree. Other than that, you’ll need a glue gun, lots of glue sticks, and some patience.
Hip Tip: The ribbon I used to hang my wreath was a leftover inexpensive Christmas ribbon from Costco. I always look for the solid colors they carry during the holidays, like white and burlap, to stock up for crafts and wrapping throughout the year. Here’s a similar type of burlap ribbon on Amazon.

A super simple process to make this wreath!
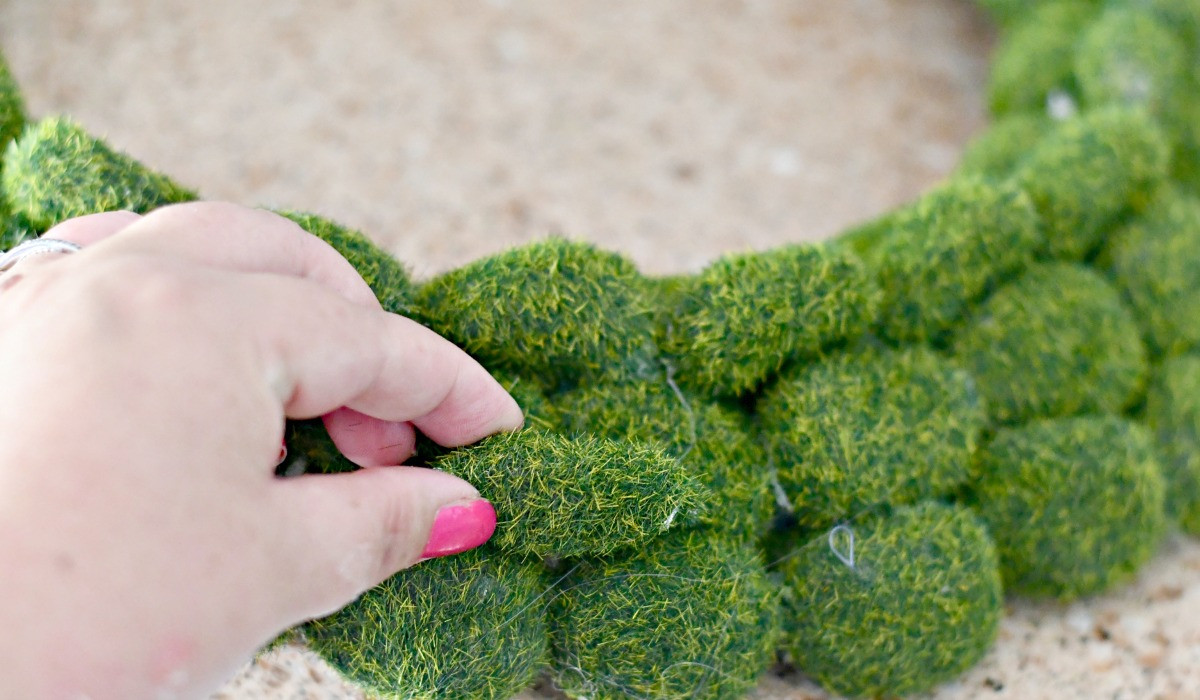
I created straight rows of moss stones all around the wreath. Then I figured out I could make the stones go further by cutting them in half lengthwise using scissors! I glued a couple of rows of those to fill in the gaps in the middle of the wreath.


DIY Moss Rock Wreath
PrintSupplies Needed
Directions
1
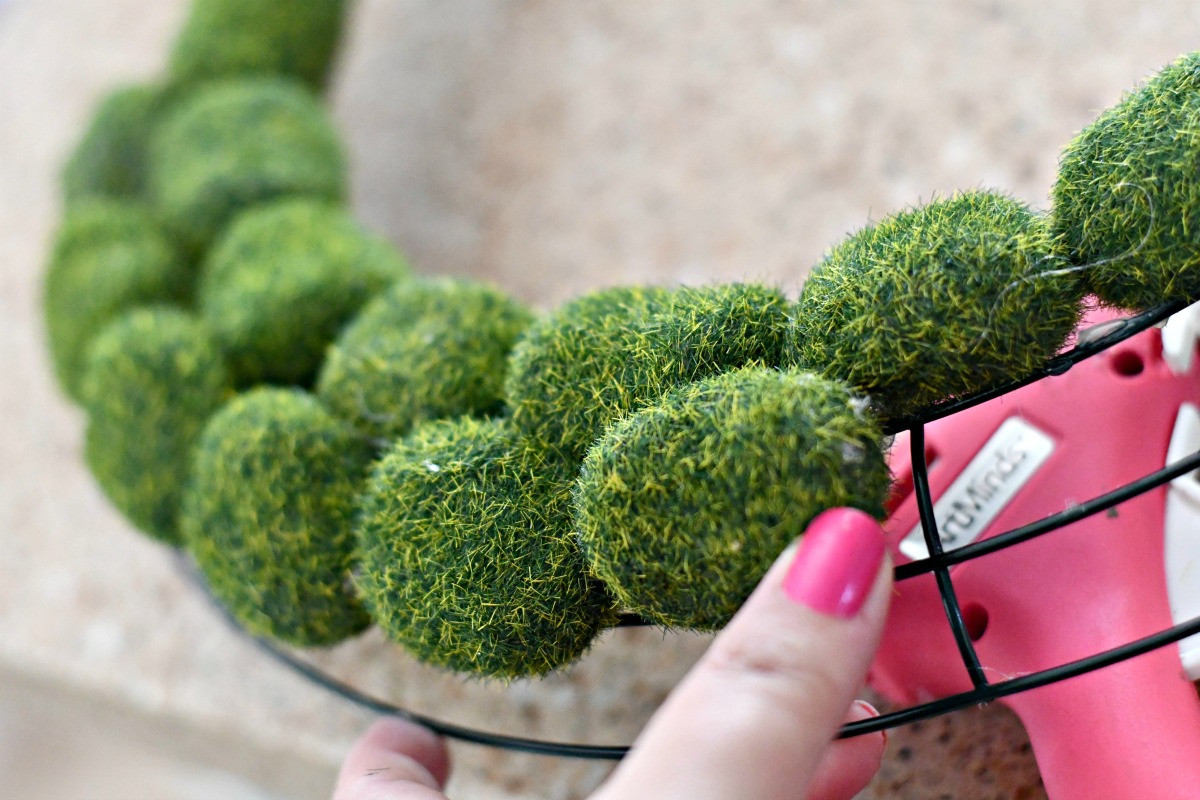
Apply hot glue to adhere the moss rocks to the wire wreath. I glued them in three rows: inner, middle, and outer row.
2
Cut remaining stones in half long ways and glue them above and below the middle row to fill in the gaps.
3
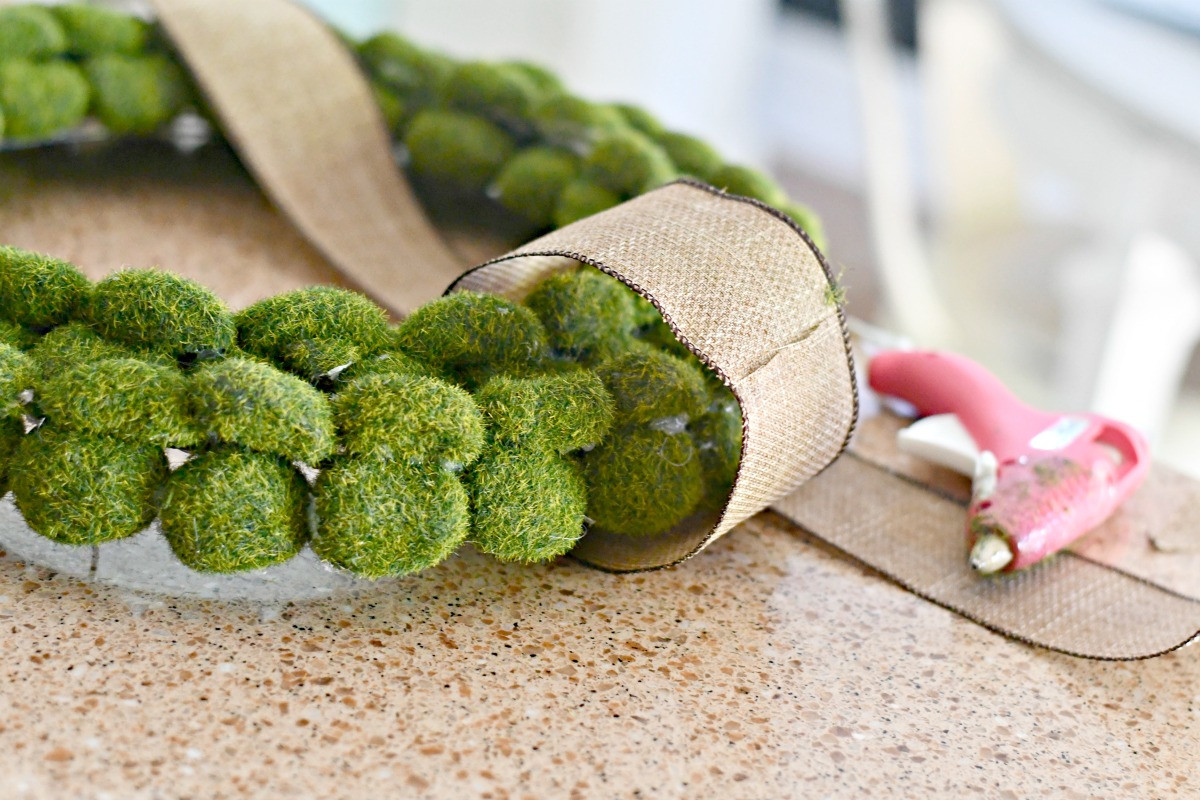
Glue a loop of ribbon around the top of the wreath, and then tie another piece of ribbon into a bow on top. Hang the wreath on a hook or wreath hanger.

Look how pretty this mossy wreath turned out!
I ended up placing it on my front door since it’s so cute and can be enjoyed year-round. You can always add some craft moss in between the rocks if you have any to fill in any gaps. I just liked this simplistic look. I really feel like this looks more high-end than the dollar store, and it was simple to create, too!
Hip Tip: Be careful with hot glue, as I sustained some painful burns while trying to rush. Next time I’m gonna invest in these silicone finger caps to protect myself! Super smart!


So pretty, thank you! I found finger protectors at Dollar Tree, in the craft section. 😊
Oh nice! That’s a great find 🎉