
Make This Trendy Farmhouse Sign for Around $20 w/ Our Free Printable!
Add character to any room with a rustic DIY wood sign!
Stained wood signs with black and white typography are oh-so-popular for wall art. Today, I’m sharing a free printable and DIY idea that will add instant character and interest to your walls without breaking the bank!
Just get your favorite saying or use our free printable and get it printed in a simple black and white engineering poster size print from your local printing store. This is such a frugal idea and makes for really stylish wall art! It’s a decorating hack that I love and use often.
Personalize your space with poster-sized prints!
These poster-sized prints are typically used for building plans, but they can also be used as a fun and frugal way to customize your space! They’ll look just as nice as the more expensive-looking typography signs found in boutiques and home decor stores and websites.
No fancy craft machine needed for this DIY farmhouse wall decor.
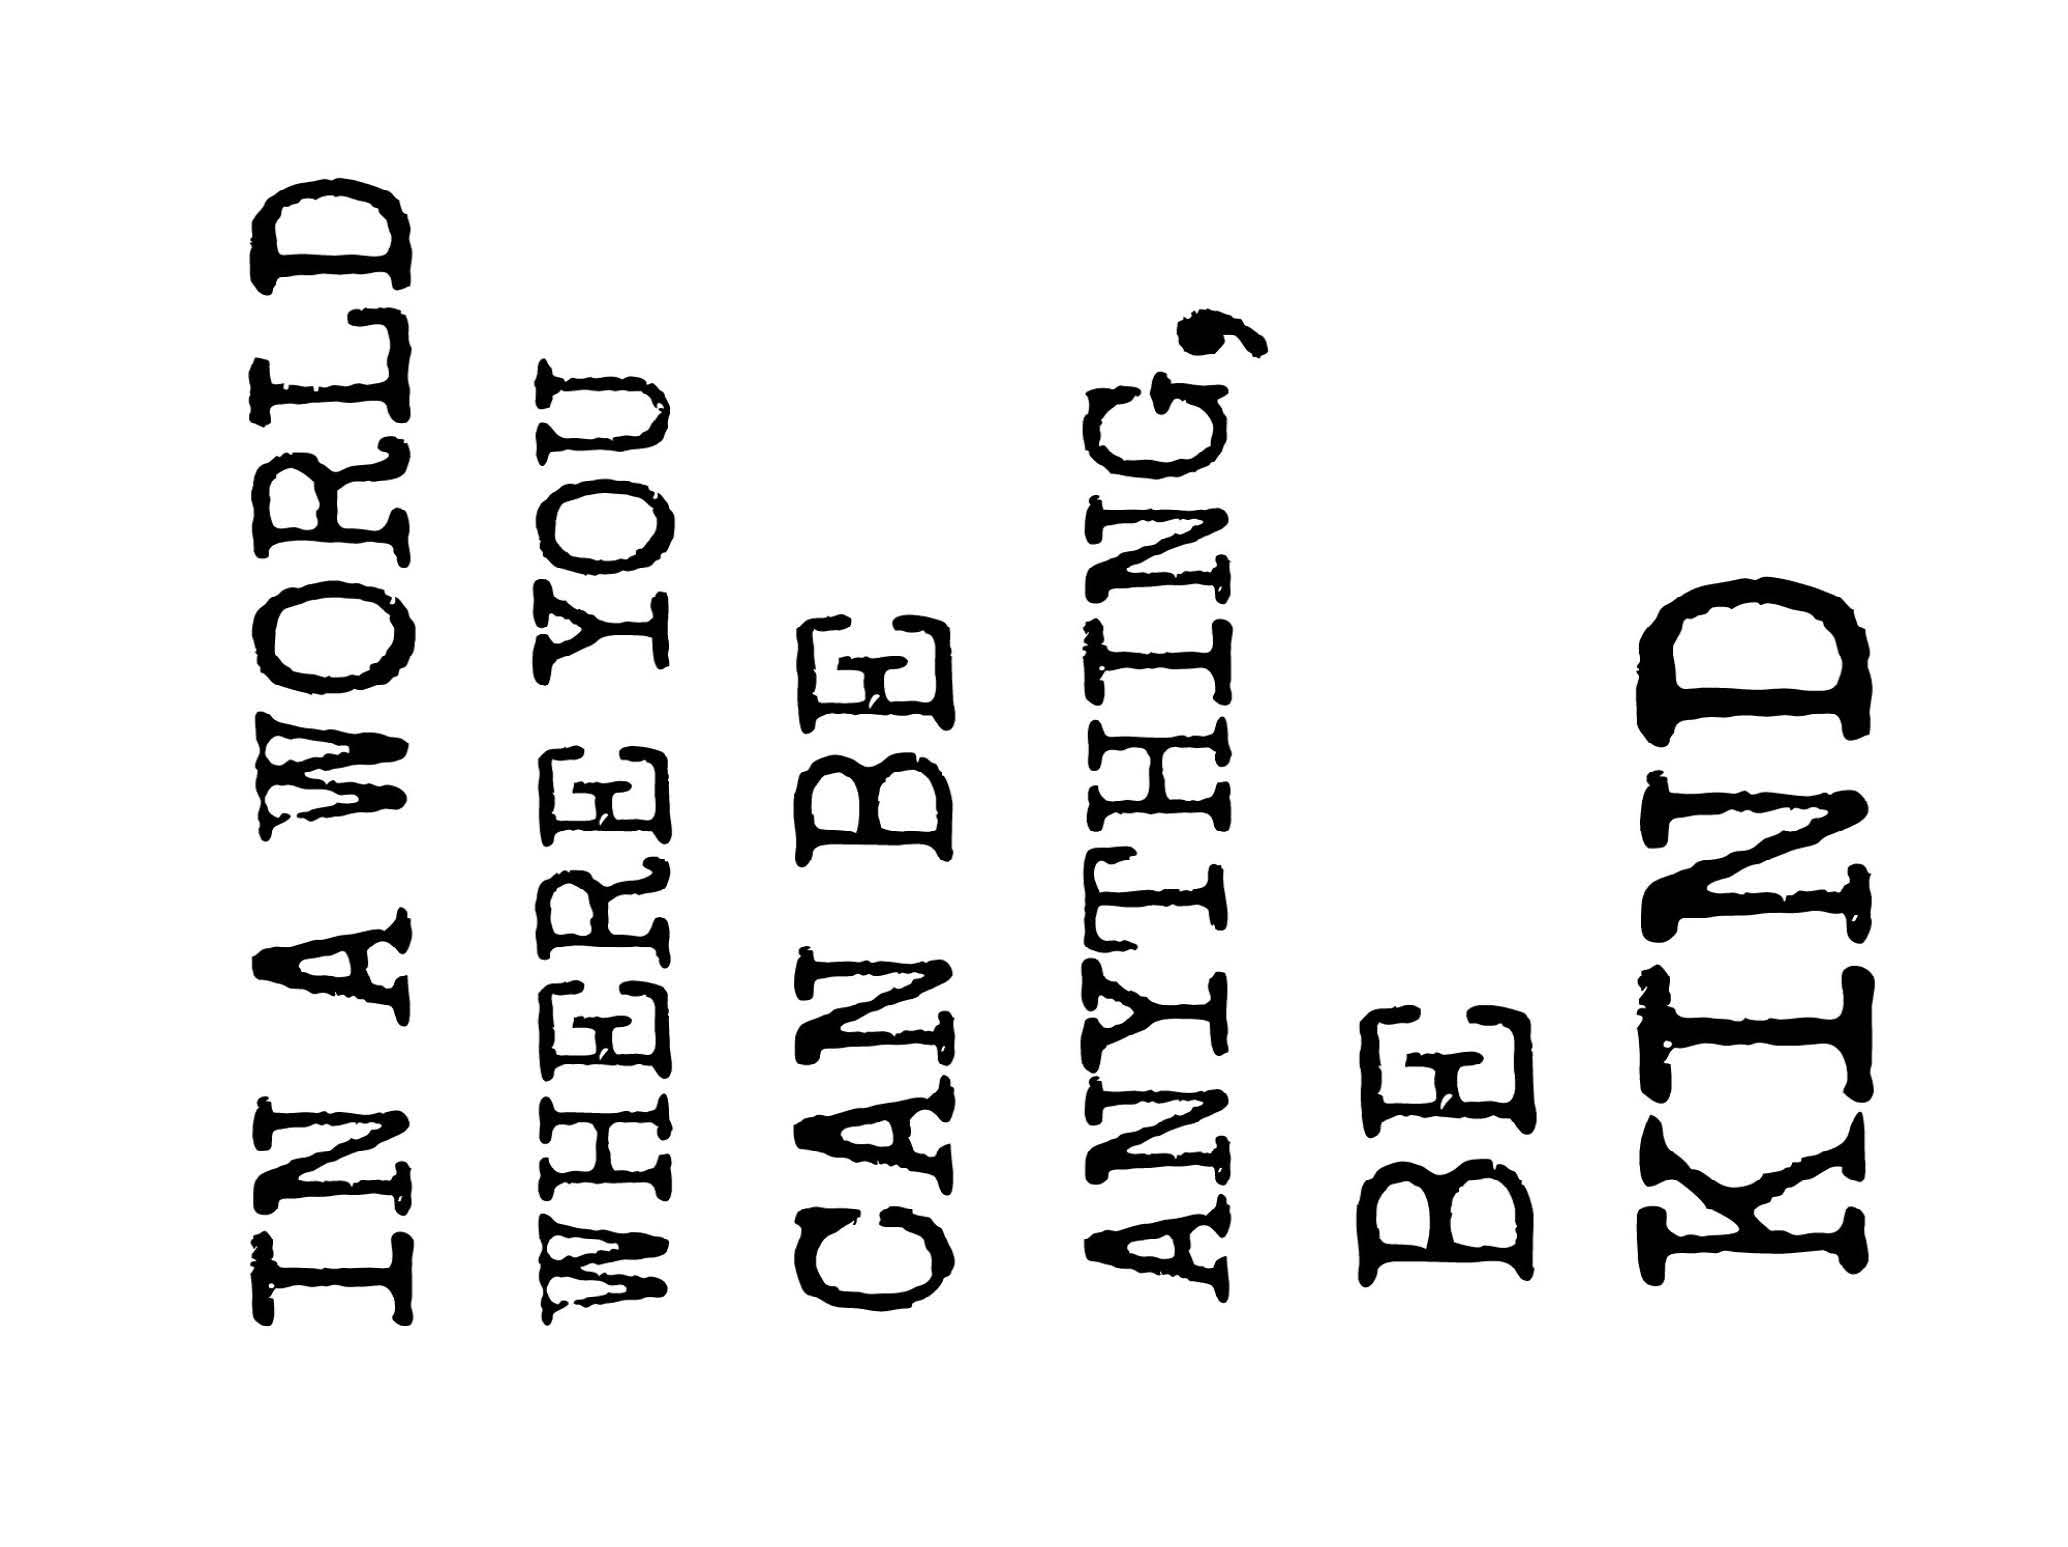
I LOVE this idea as it’s super simple and doesn’t require a stencil or vinyl cutting machine. Anyone can easily do this! In fact, feel free to use the image below that I created for my project (if you like it).
Want a different quote or saying on your farmhouse sign?
Create your own printable quote easily by using free online design tools, such as PicMonkey.com or Canva.com.
We decided to make our own farmhouse style frame using a few inexpensive pieces of wood from the hardware store, and I’m including how we did that below. If you wanted to skip the DIY steps and use a poster frame, that is definitely an option, too!
DIY Farmhouse Sign
PrintSupplies Needed
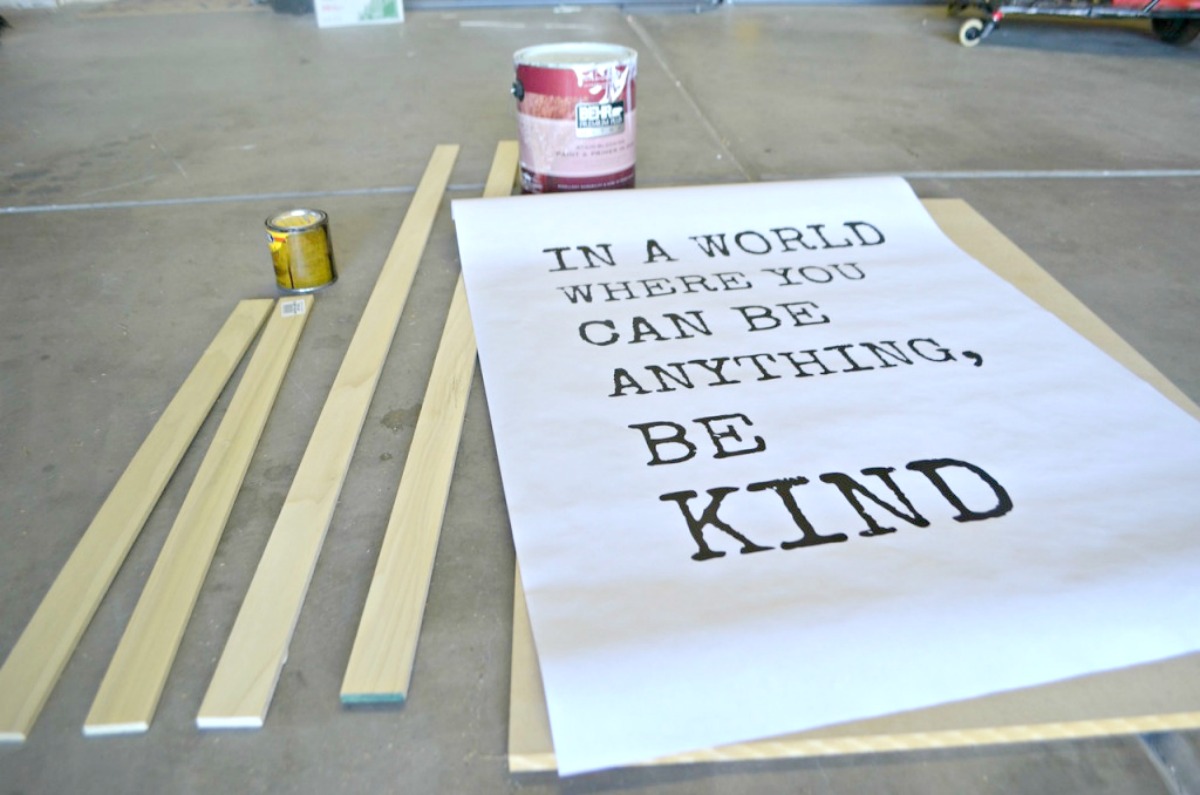
- 24 x 36 inch black & white engineering print
- 24 x 36 inch wood board (I bought a 24 x 47 inch piece of MDF wood and cut to size.)
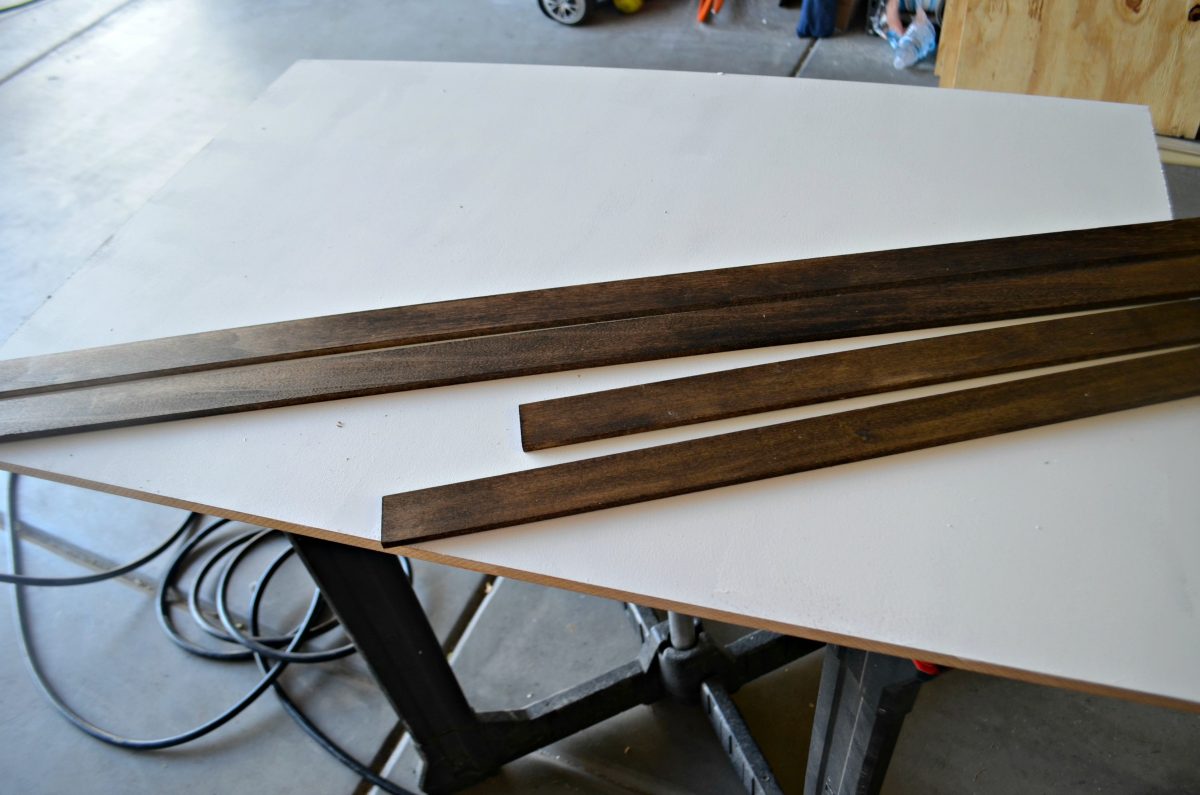
- 4 pieces of wood trim (I used wood Poplar Board cut to size)
- stain for wood trim
- any kind of white paint for board
- double-sided tape
- nail gun & compressor
Directions
1
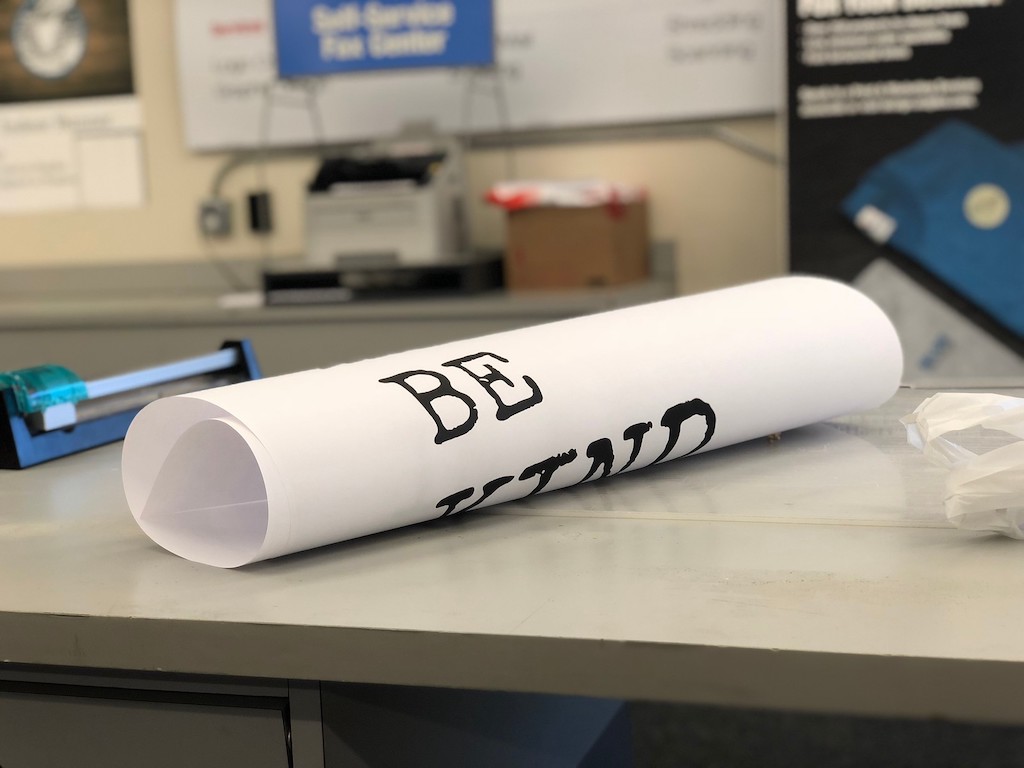
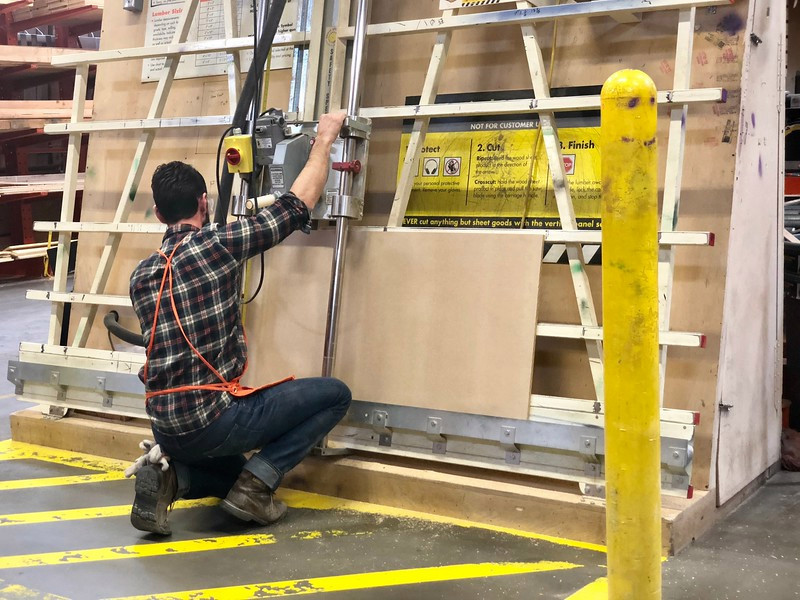
Get your enlarged engineering print made at a local print shop or office supply store. I purchased a 24×36 inch print for just $3.59 at my local Staples. (The store should provide you with an email to send your photo file.) Mine was printed within ten minutes!

2
If making a frame, choose a wood board for the backing. I used a 1/2 inch thick piece of MDF wood as it is much smoother than plywood. (Have the wood cut to the size of your print at the hardware store if desired.)
If you’d rather not make your own frame, you can always buy one at Michaels or at another store.
3
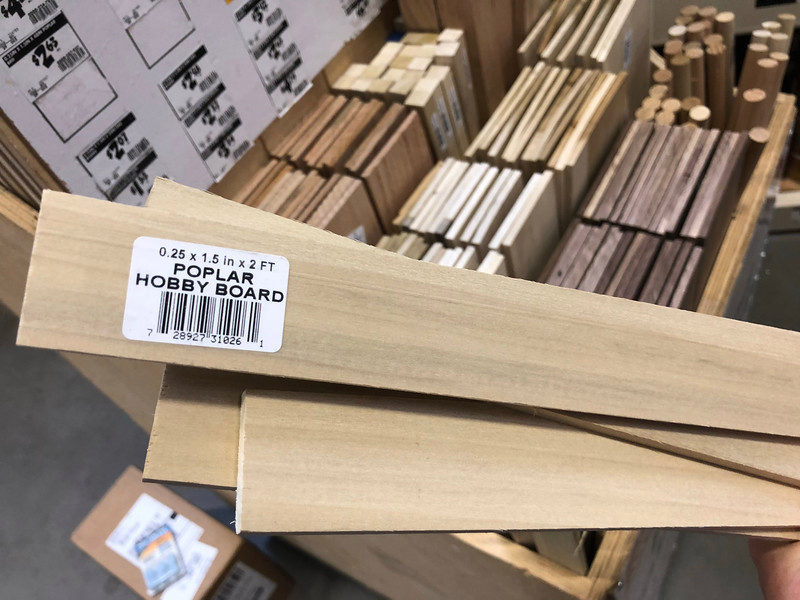
Choose a wood trim for the frame. There are so many different options and price points for this. I went with some inexpensive wood hobby boards.
4
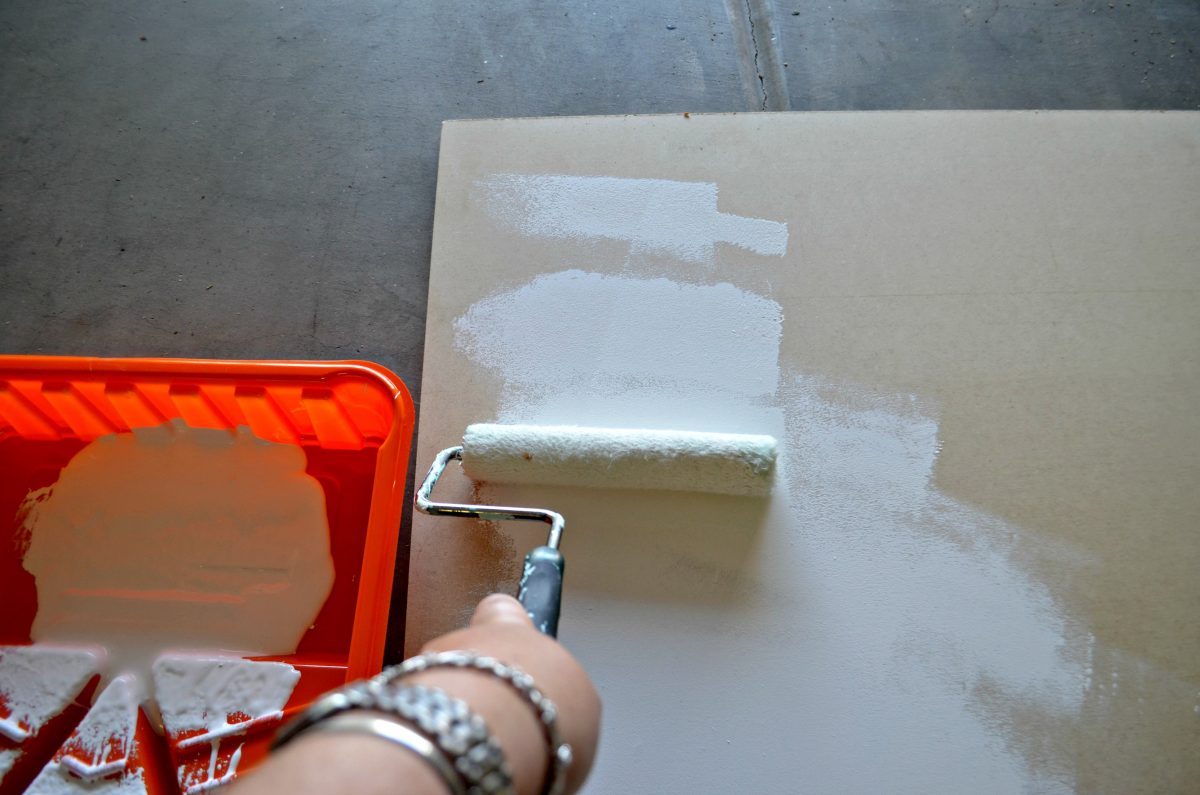
Paint the wood board white and let dry. I didn’t want any wood showing through, as the paper is really thin.
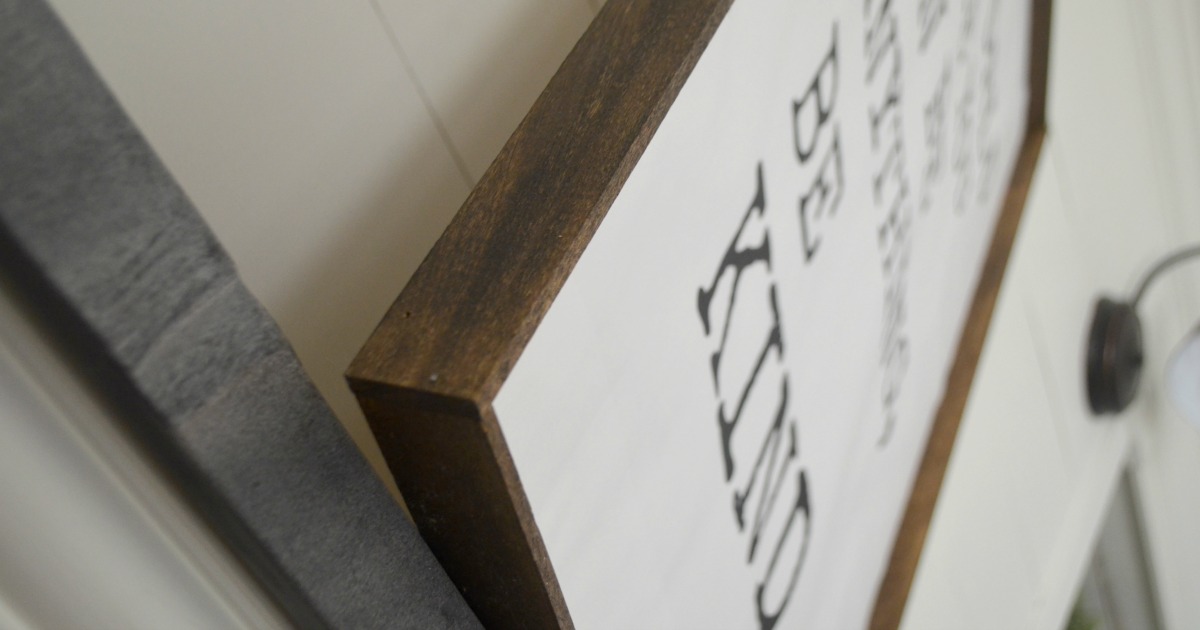
5
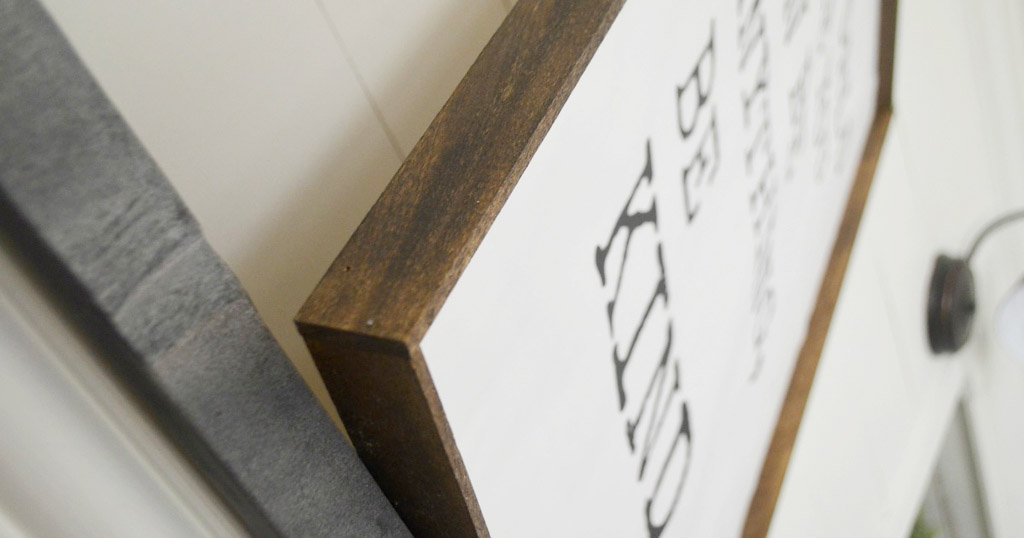
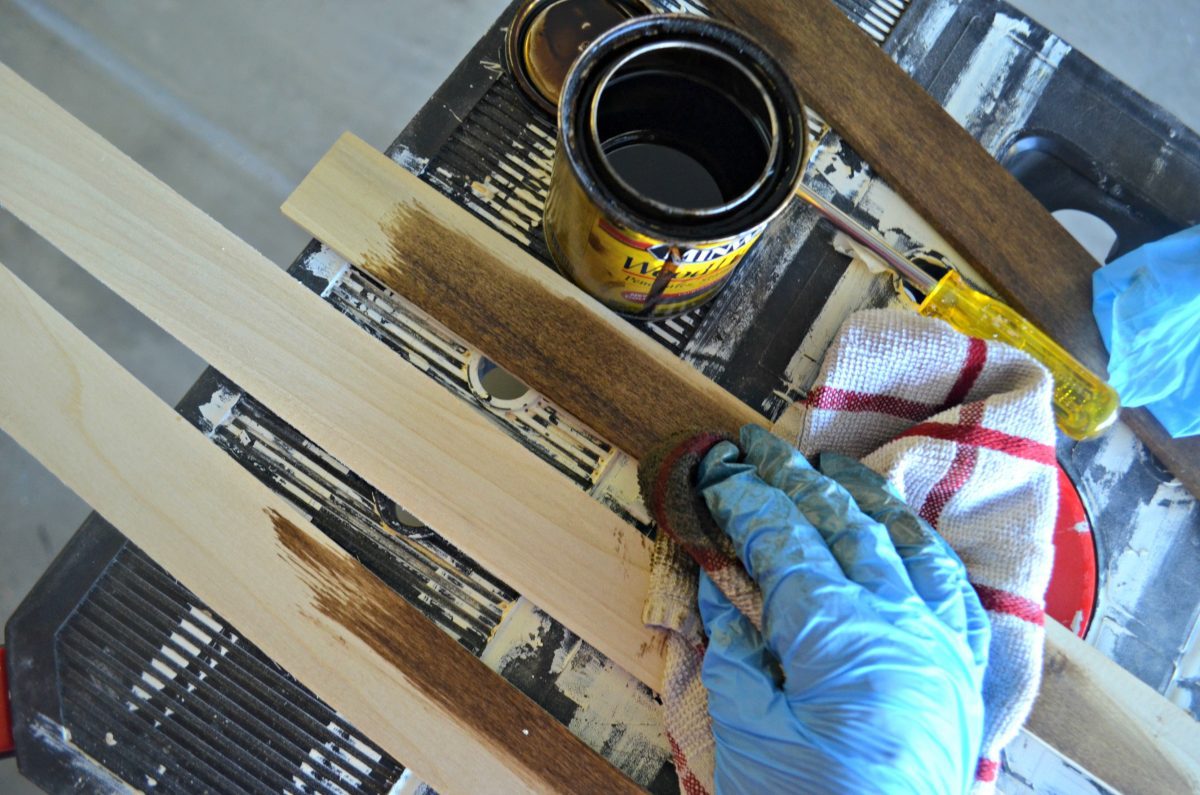
Stain the wood with a rag and let dry. I’m using Minwax in Expresso found here.
6
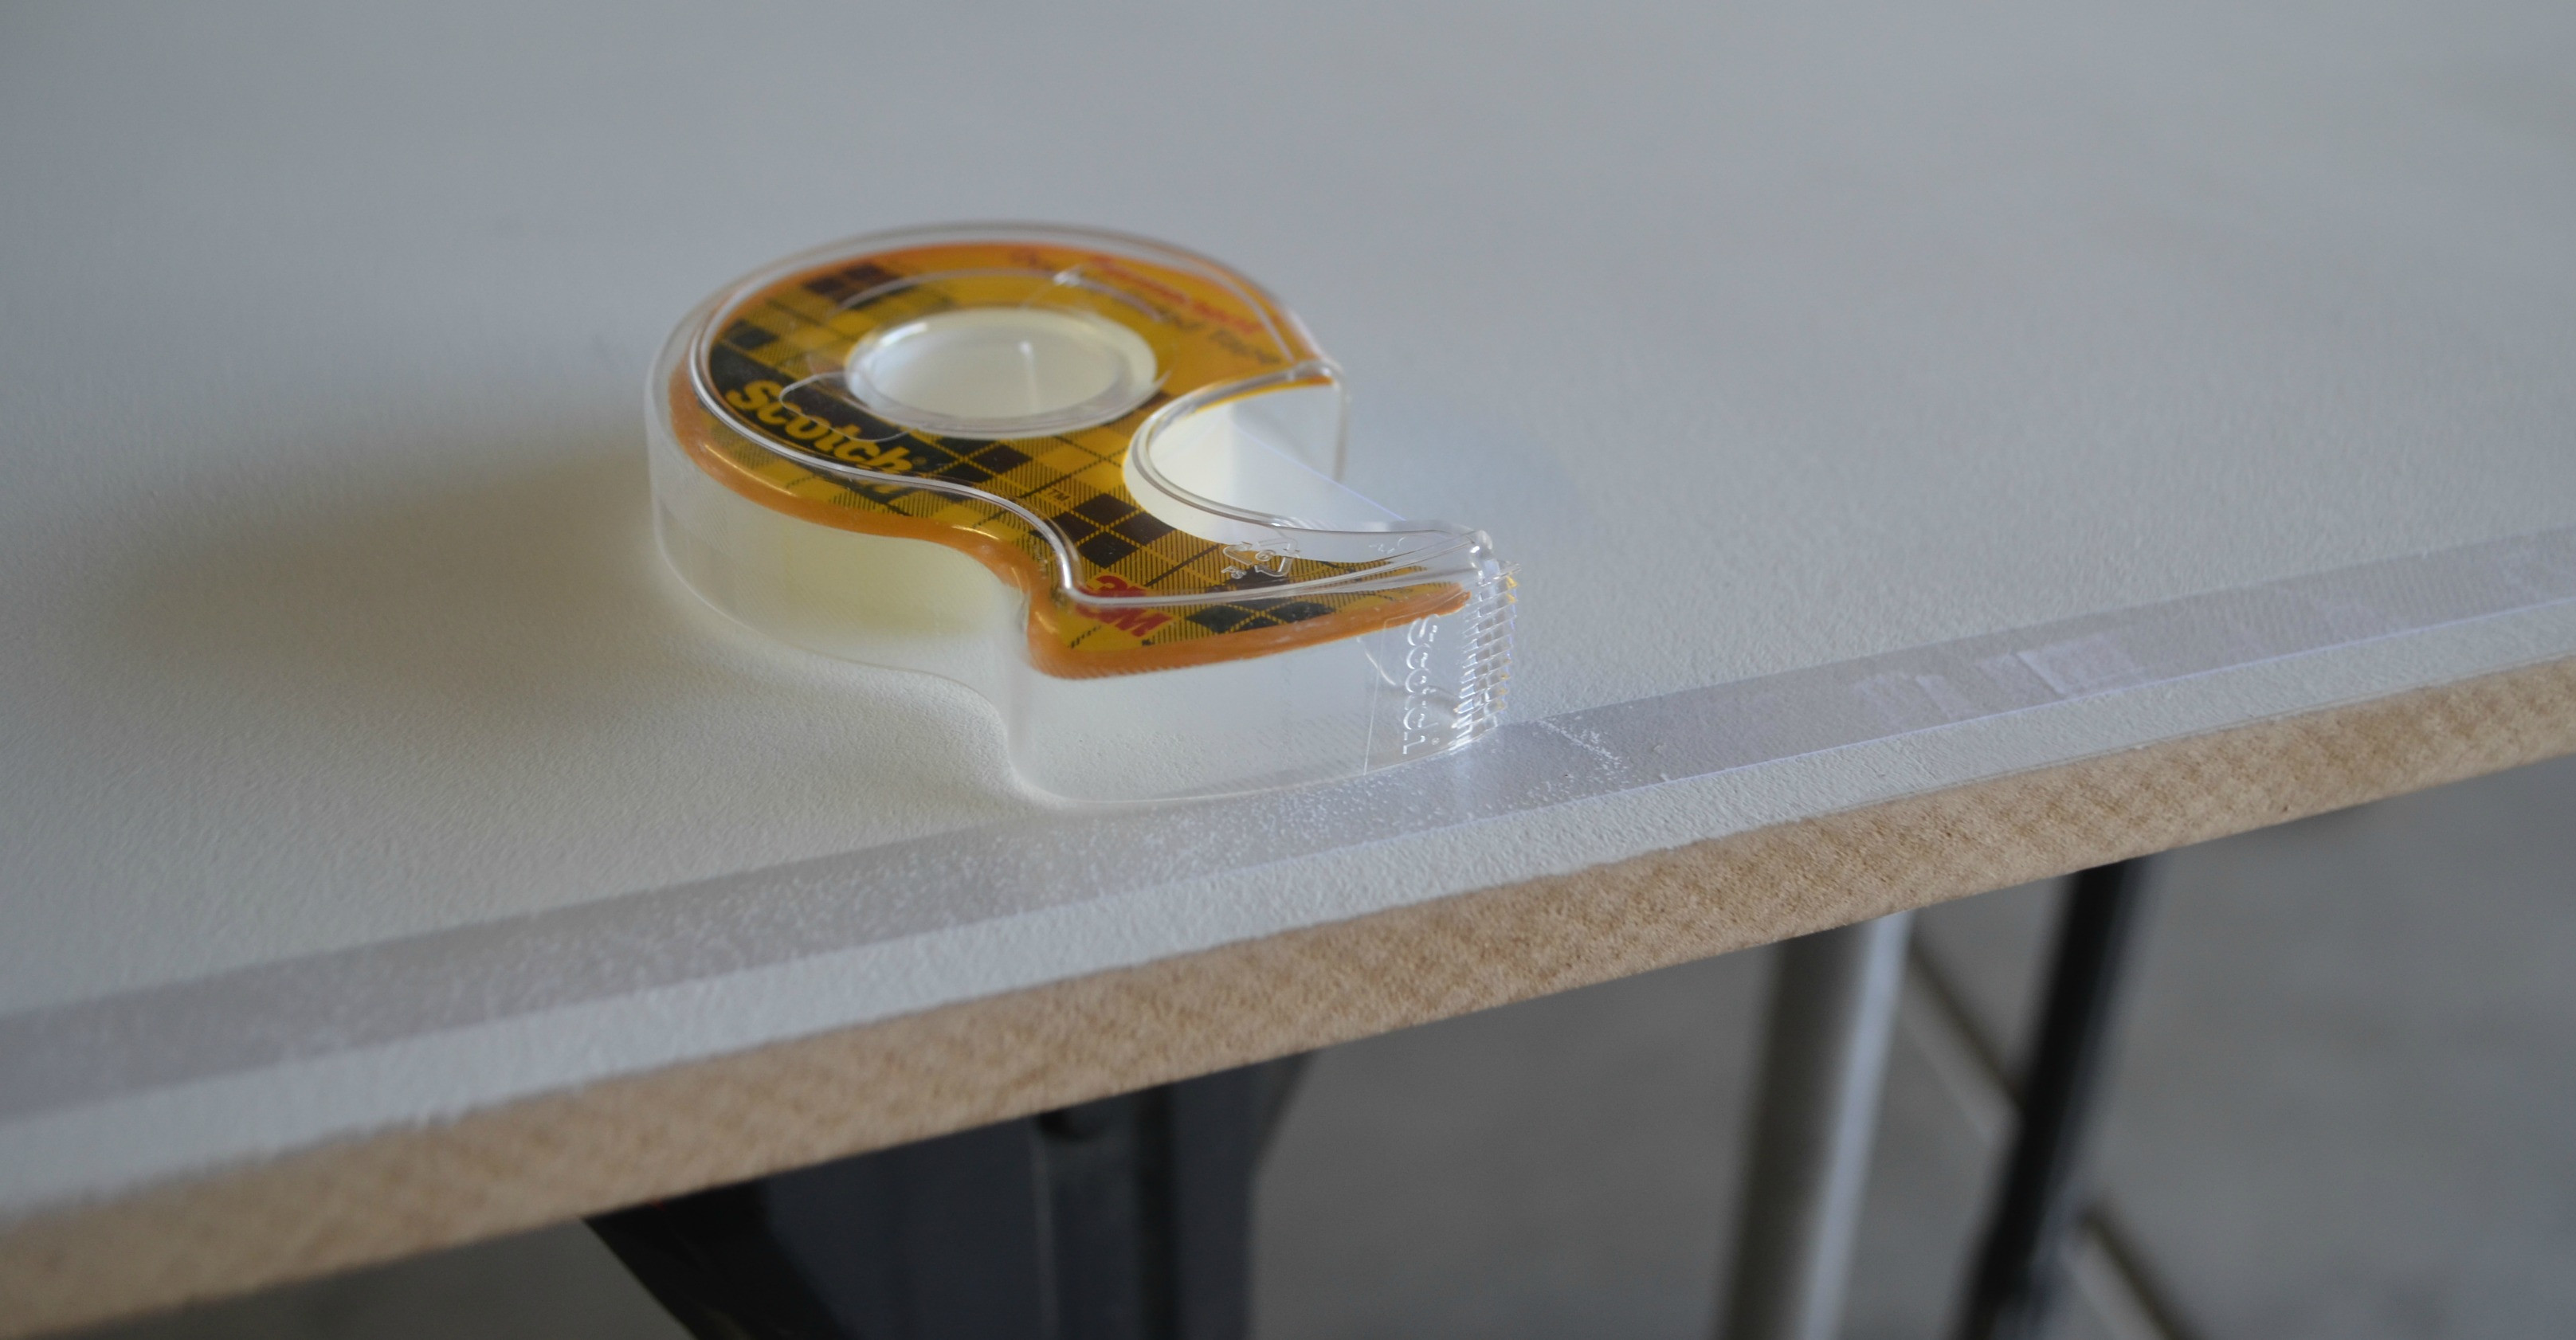
Attach the engineering print to piece of wood. I just used permanent double stick tape, but you could alternatively use a decoupage medium like Mod Podge.
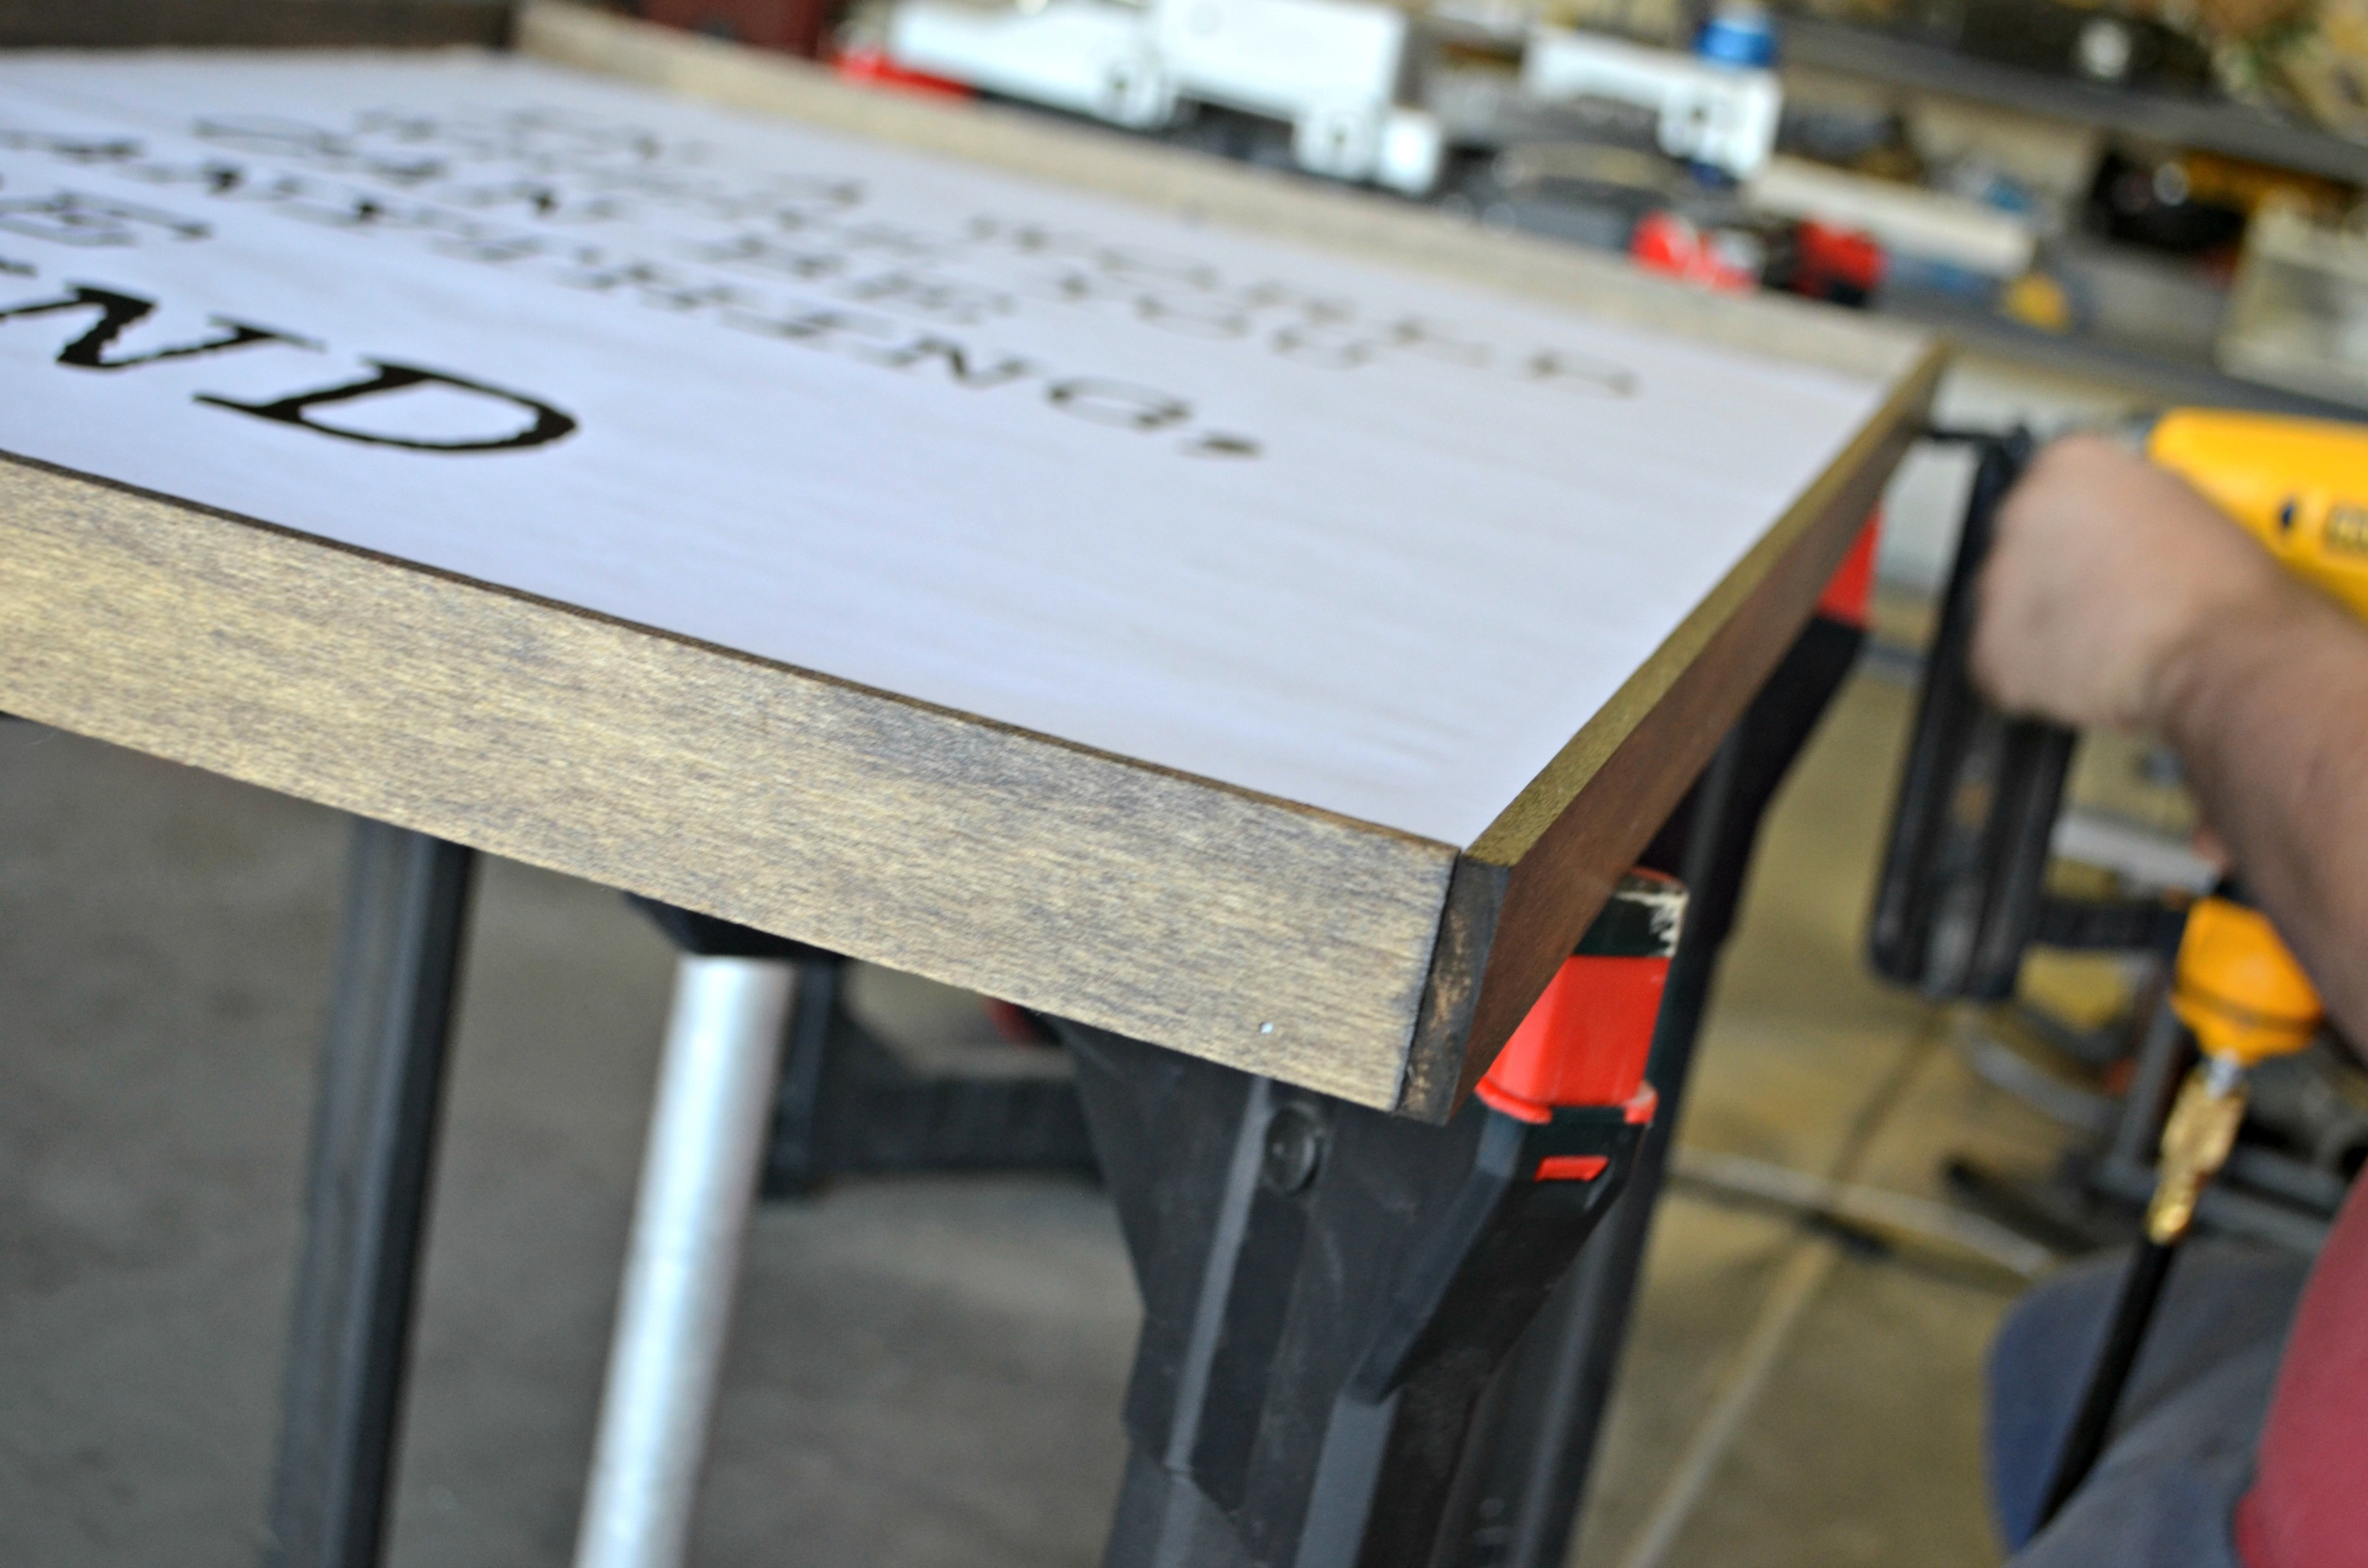
7
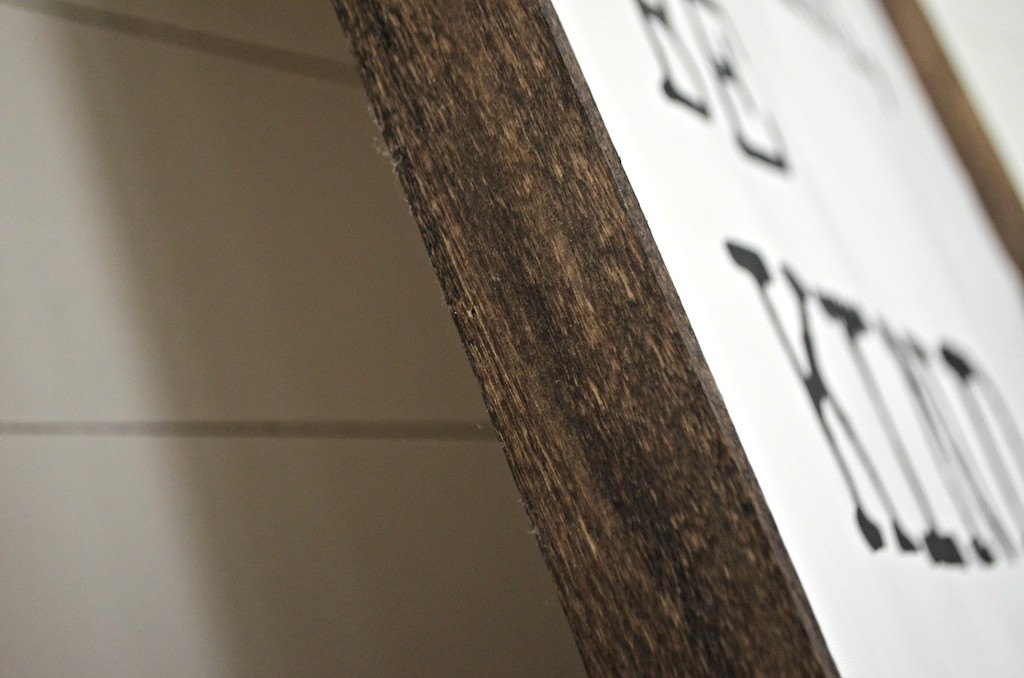
Nail the stained wood trim to the frame. My trim is placed flush to the wood board sideways, and then I nailed it down as a simple “butt joint.” The butt joint is the simplest joint to make since it involves cutting the wood to the appropriate length and butting them together.
8
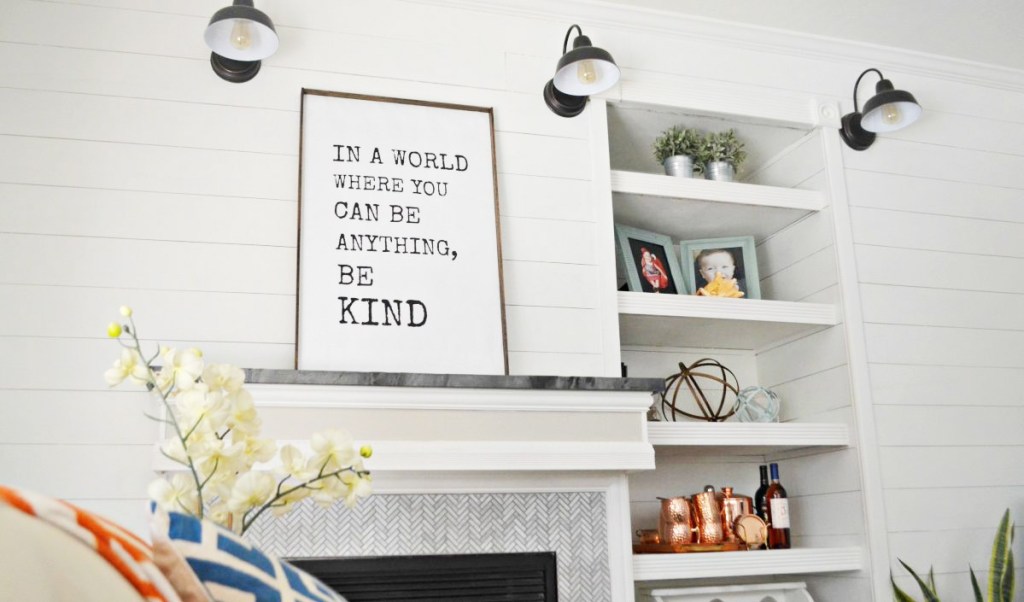
Find a spot to display your new farmhouse-inspired sign and get ready for loads of compliments!
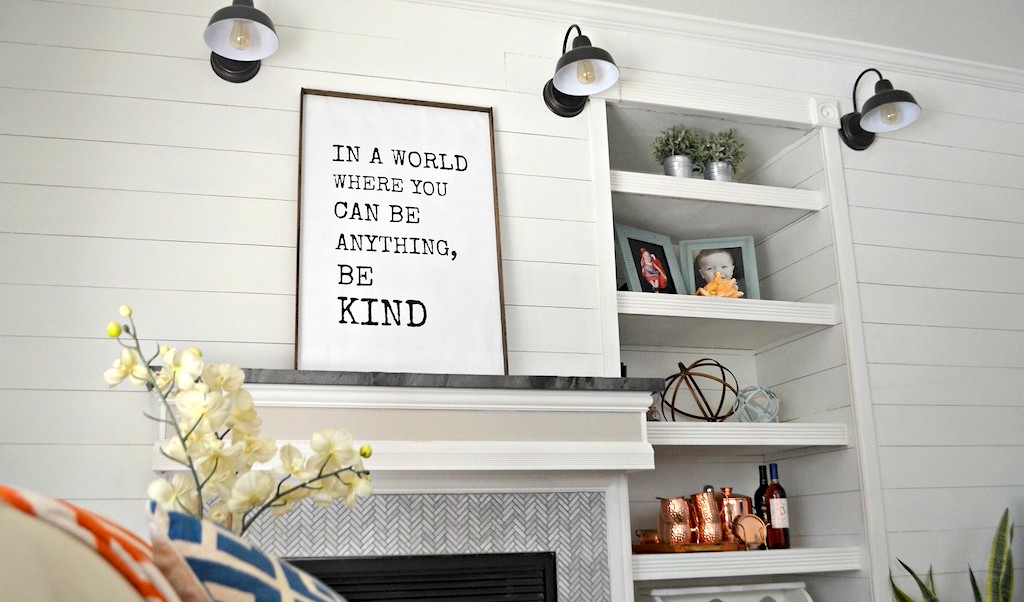
A farmhouse sign is the picture-perfect wall art that your living room needs!
What a neat focal point for the wall, and I didn’t have to spend a ton of money to get the look of a high-end large typography sign. And, ready for this? This project came in at about $20 total for materials… so fun and frugal!
Here are a few ways to get the shiplap look for less in your home!


What a fun project! I’m definitely doing this.
Thanks Lori!
What a easy fun idea!
Yes! Thanks so much Bex!
I made this when it was previously posted and love it! I’m not terribly crafty so I went the easy route and got a farmhouse style poster frame from Michaels for $24.99 (50% off). My 3rd grader loved the quote so much he asked me to make a smaller one for his classroom. ❤
What font did you use?
I have this in my living room. Love it! Make a simple clean decoration. I printed it at Office Depot when they had free poster promotion around 1-2 year ago.
Oh fun! Thanks for sharing 🥰
This is a great idea, I love it! So simple, yet I wouldn’t have thought about it without this post lol Thank you!
Oh thanks!
Nah, not my thing. Prefer valuable space to showcase art.