
Here’s How to Make Your Own DIY Mid-Century Modern Inspired Wall Art
Want DIY mod wall art that won’t break the bank?
If you love trendy minimalist hanging wood frames, it’s easy and fun to make mid-century modern wall art pieces yourself at home. Plus, you can personalize your space for just a few dollars!
These frames are perfect for photos, posters, maps, tapestries, or basically anything you’d like to hang on the wall to create interest and style.
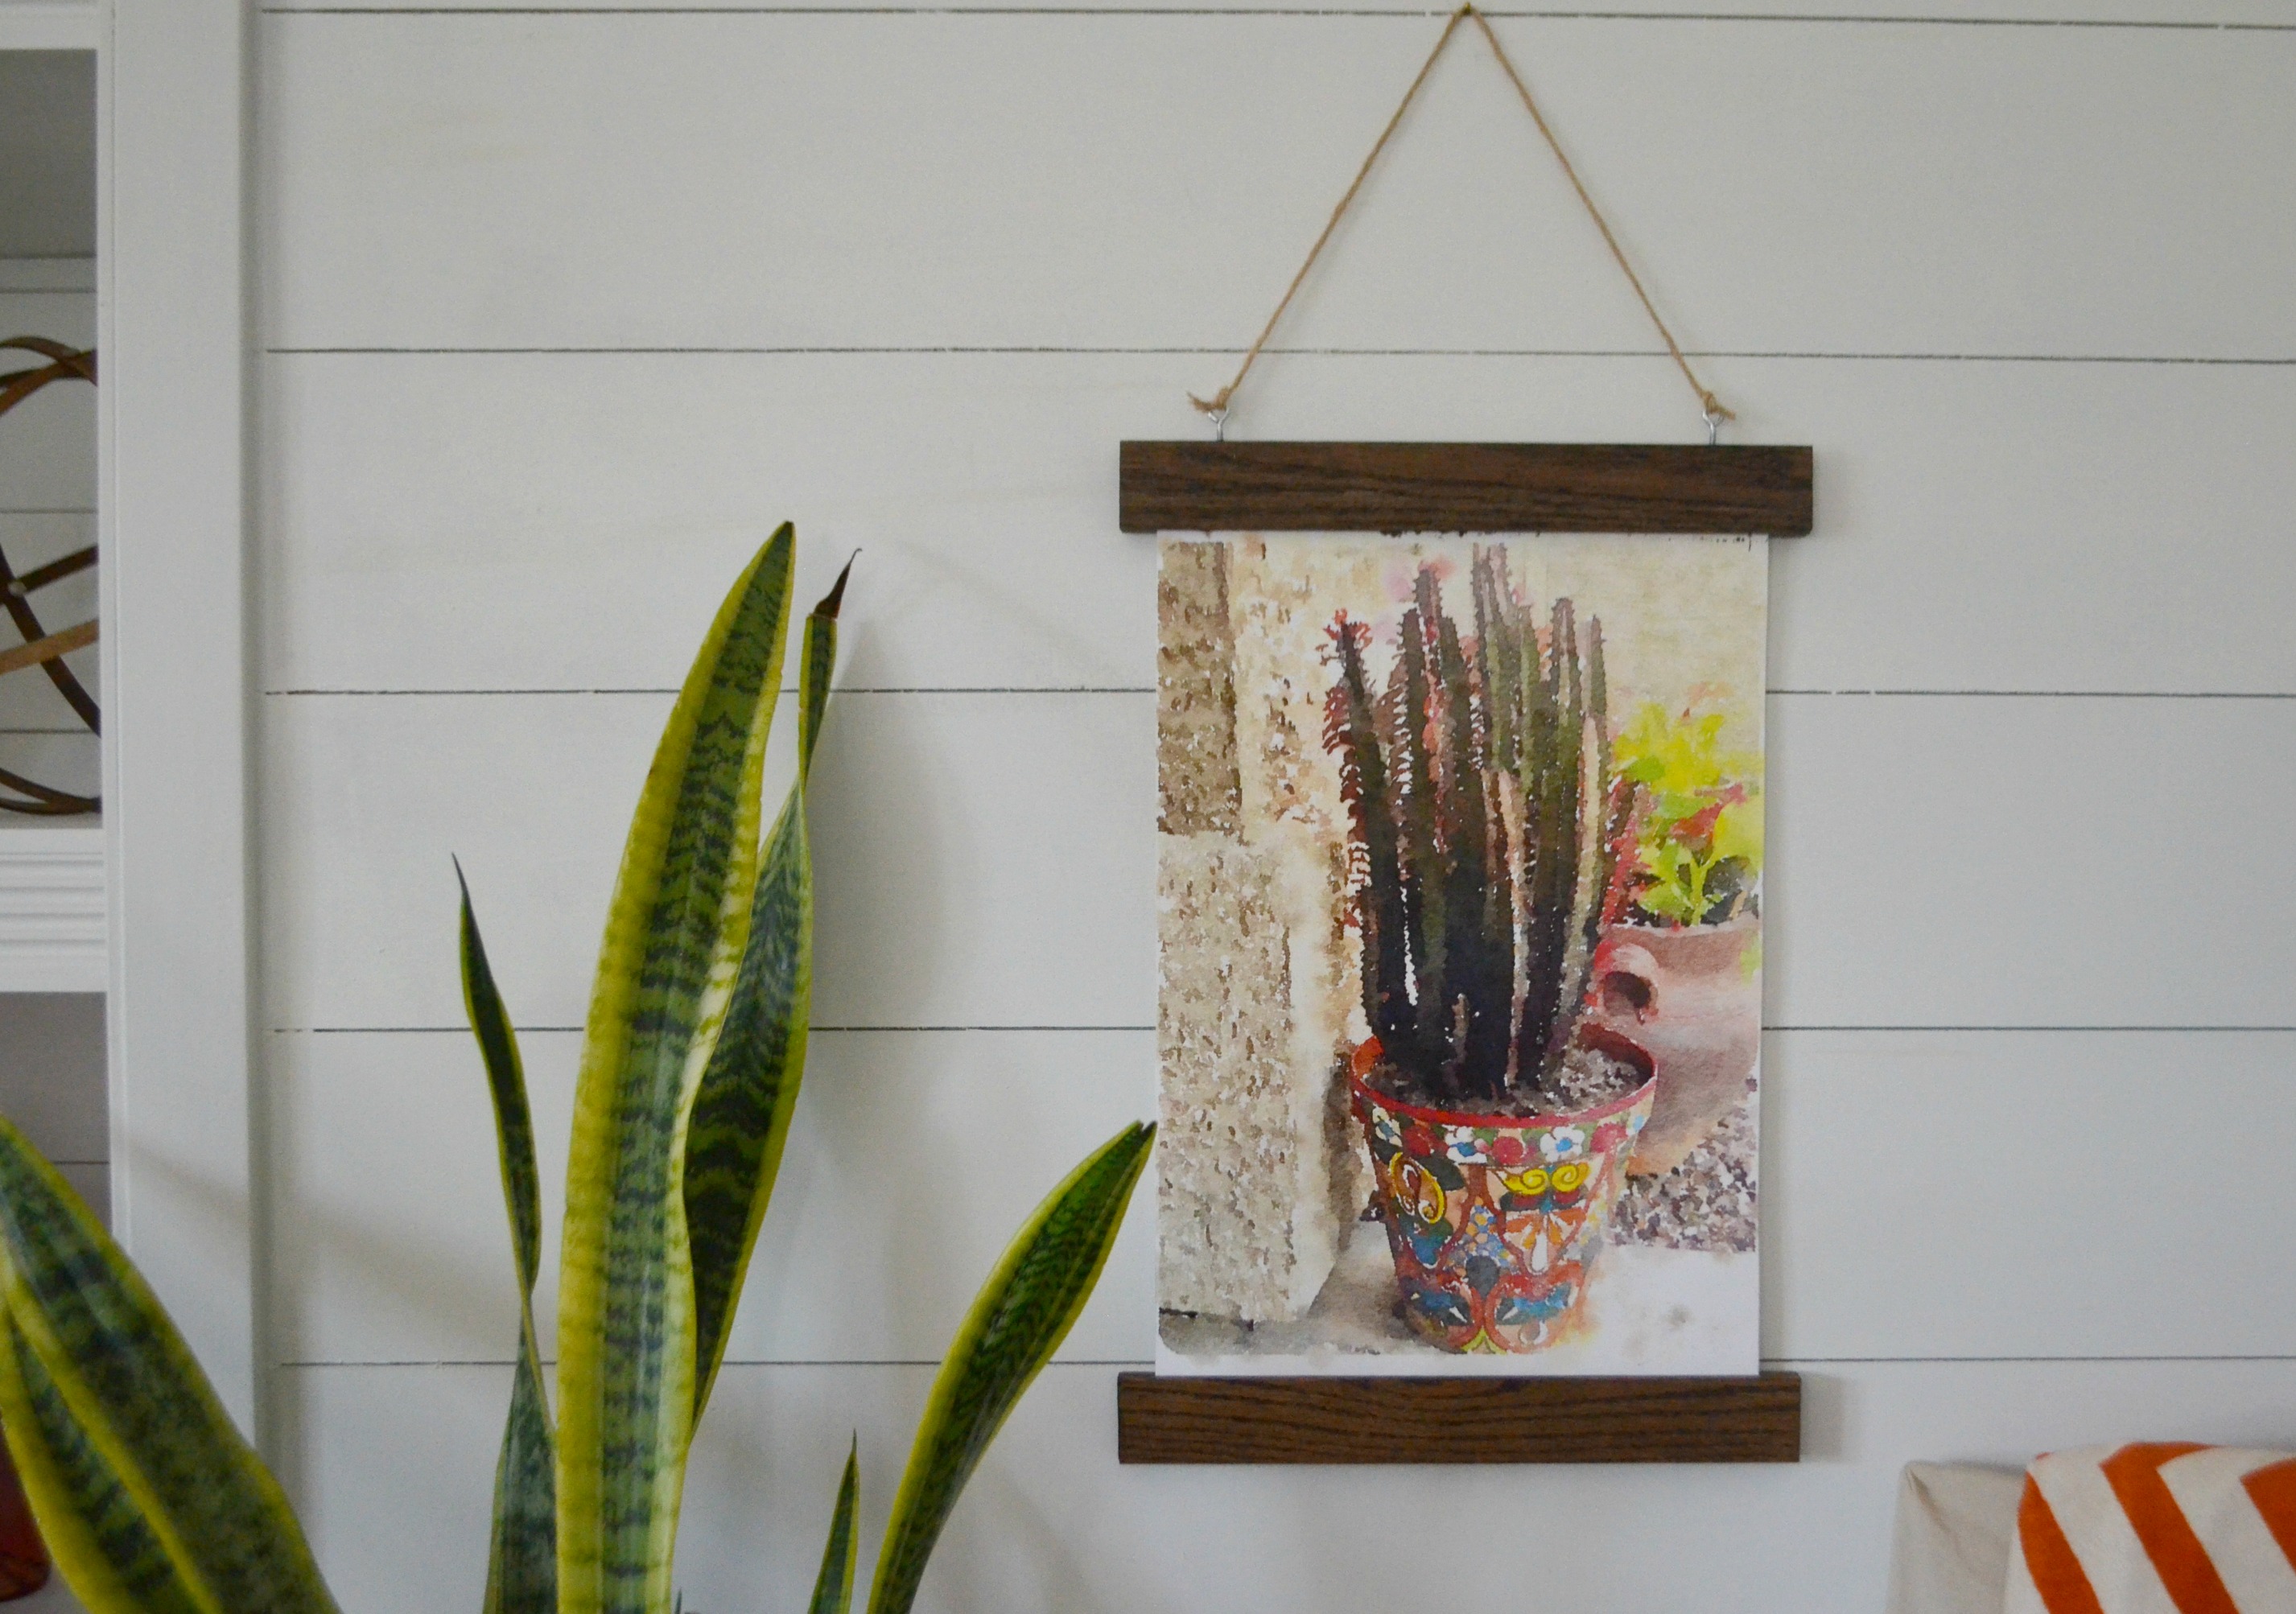
Today I’m sharing how I put together this 11×17 sized hanging frame (customize your frame to the size of your photo, map, tapestry, or poster).
Hip Tip: Want photographic art that’s guaranteed to match your decor? Capture portraits or depictions of items within your home: a plant, an interesting architectural feature, or a pet sitting in your favorite chair.
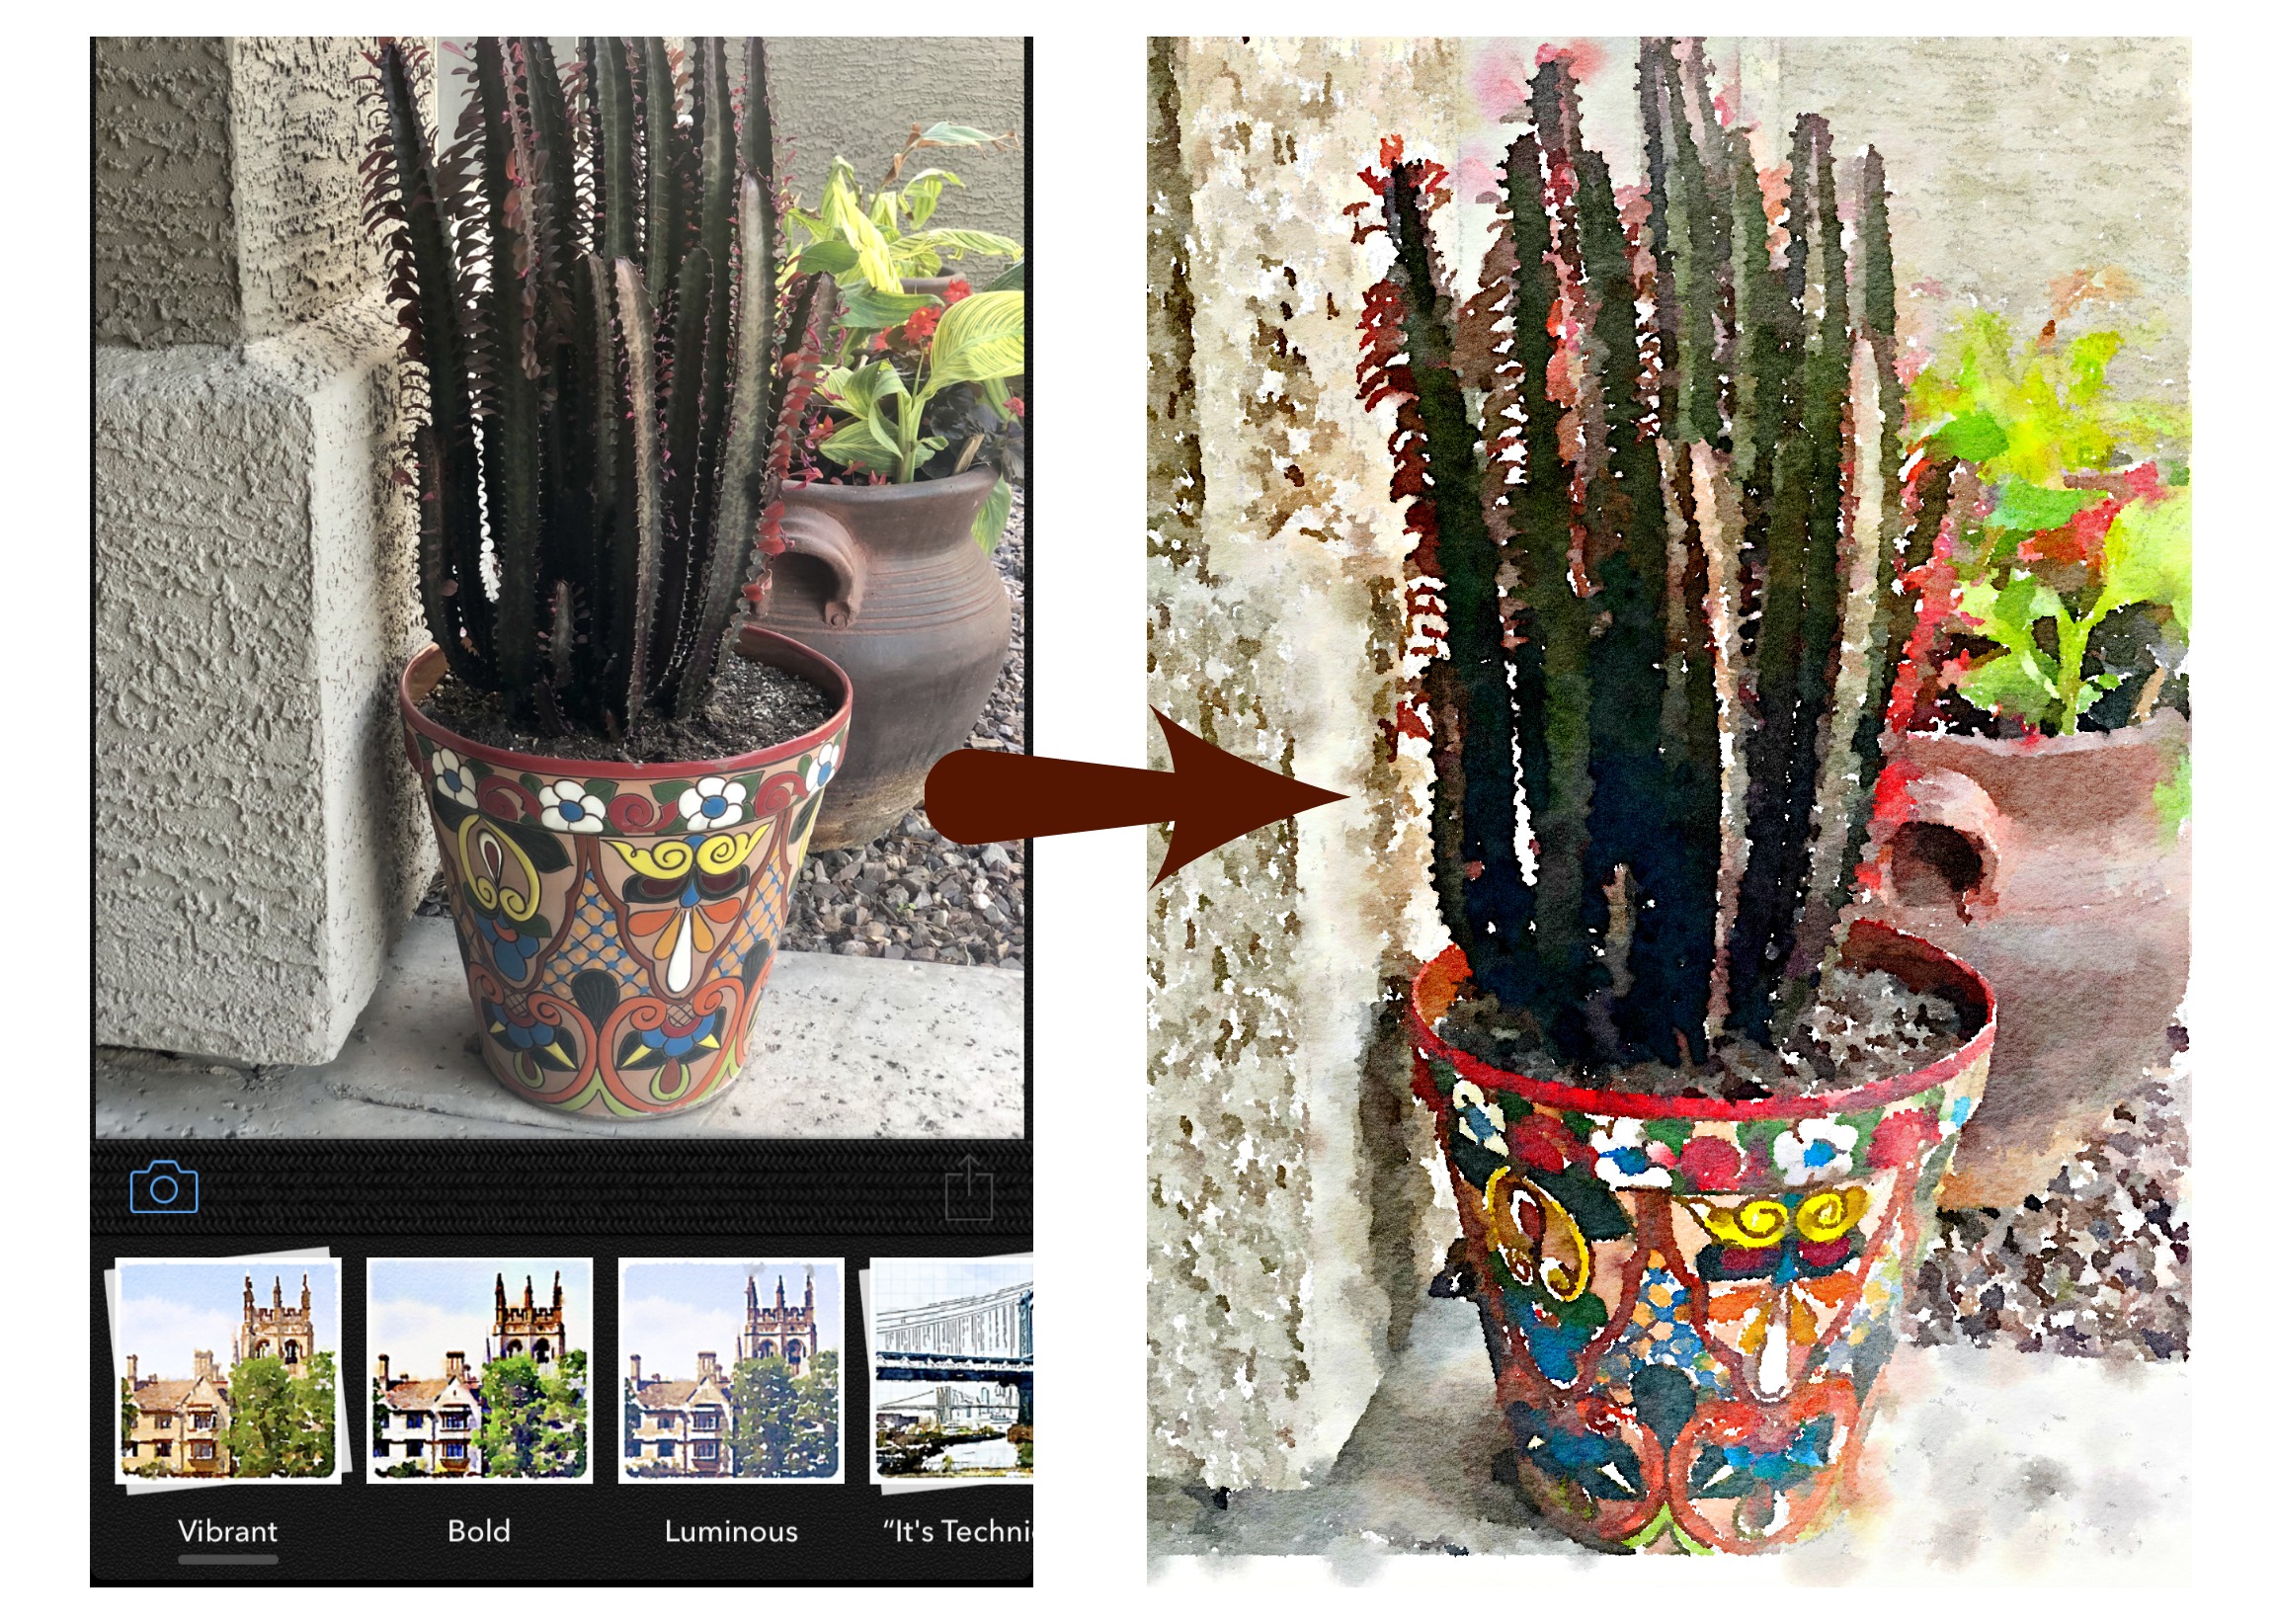
The photo I’m using is actually an iPhone photo of my front porch cactus that I’ve transformed into a watercolor print using a fun app called Waterlogue. I had it printed on thick glossy card stock at my local UPS store for just $3!
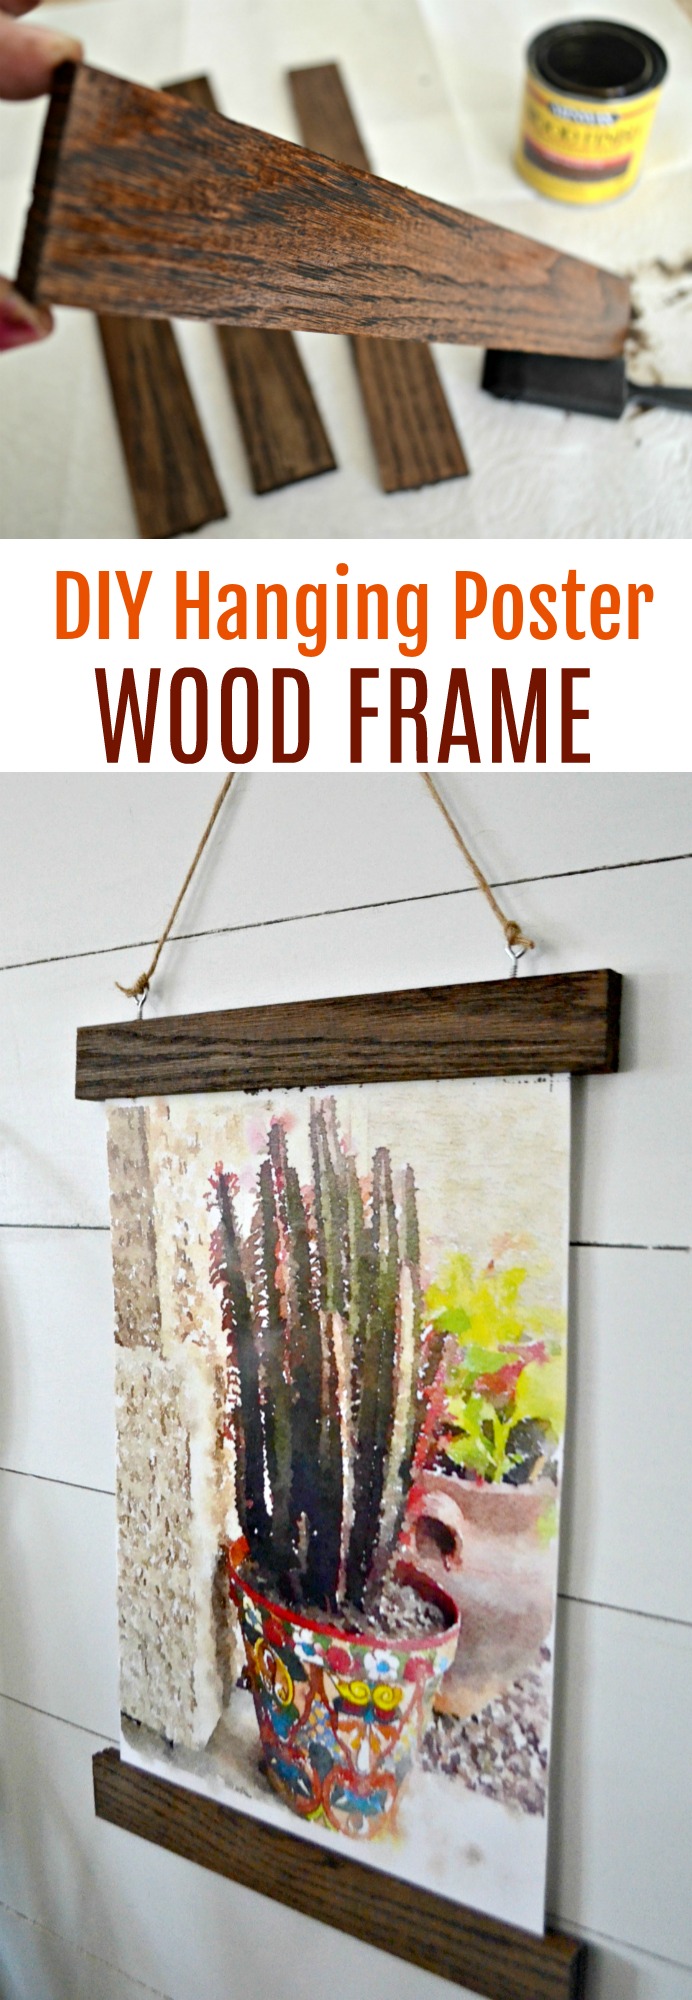
DIY Hanging Poster Frame
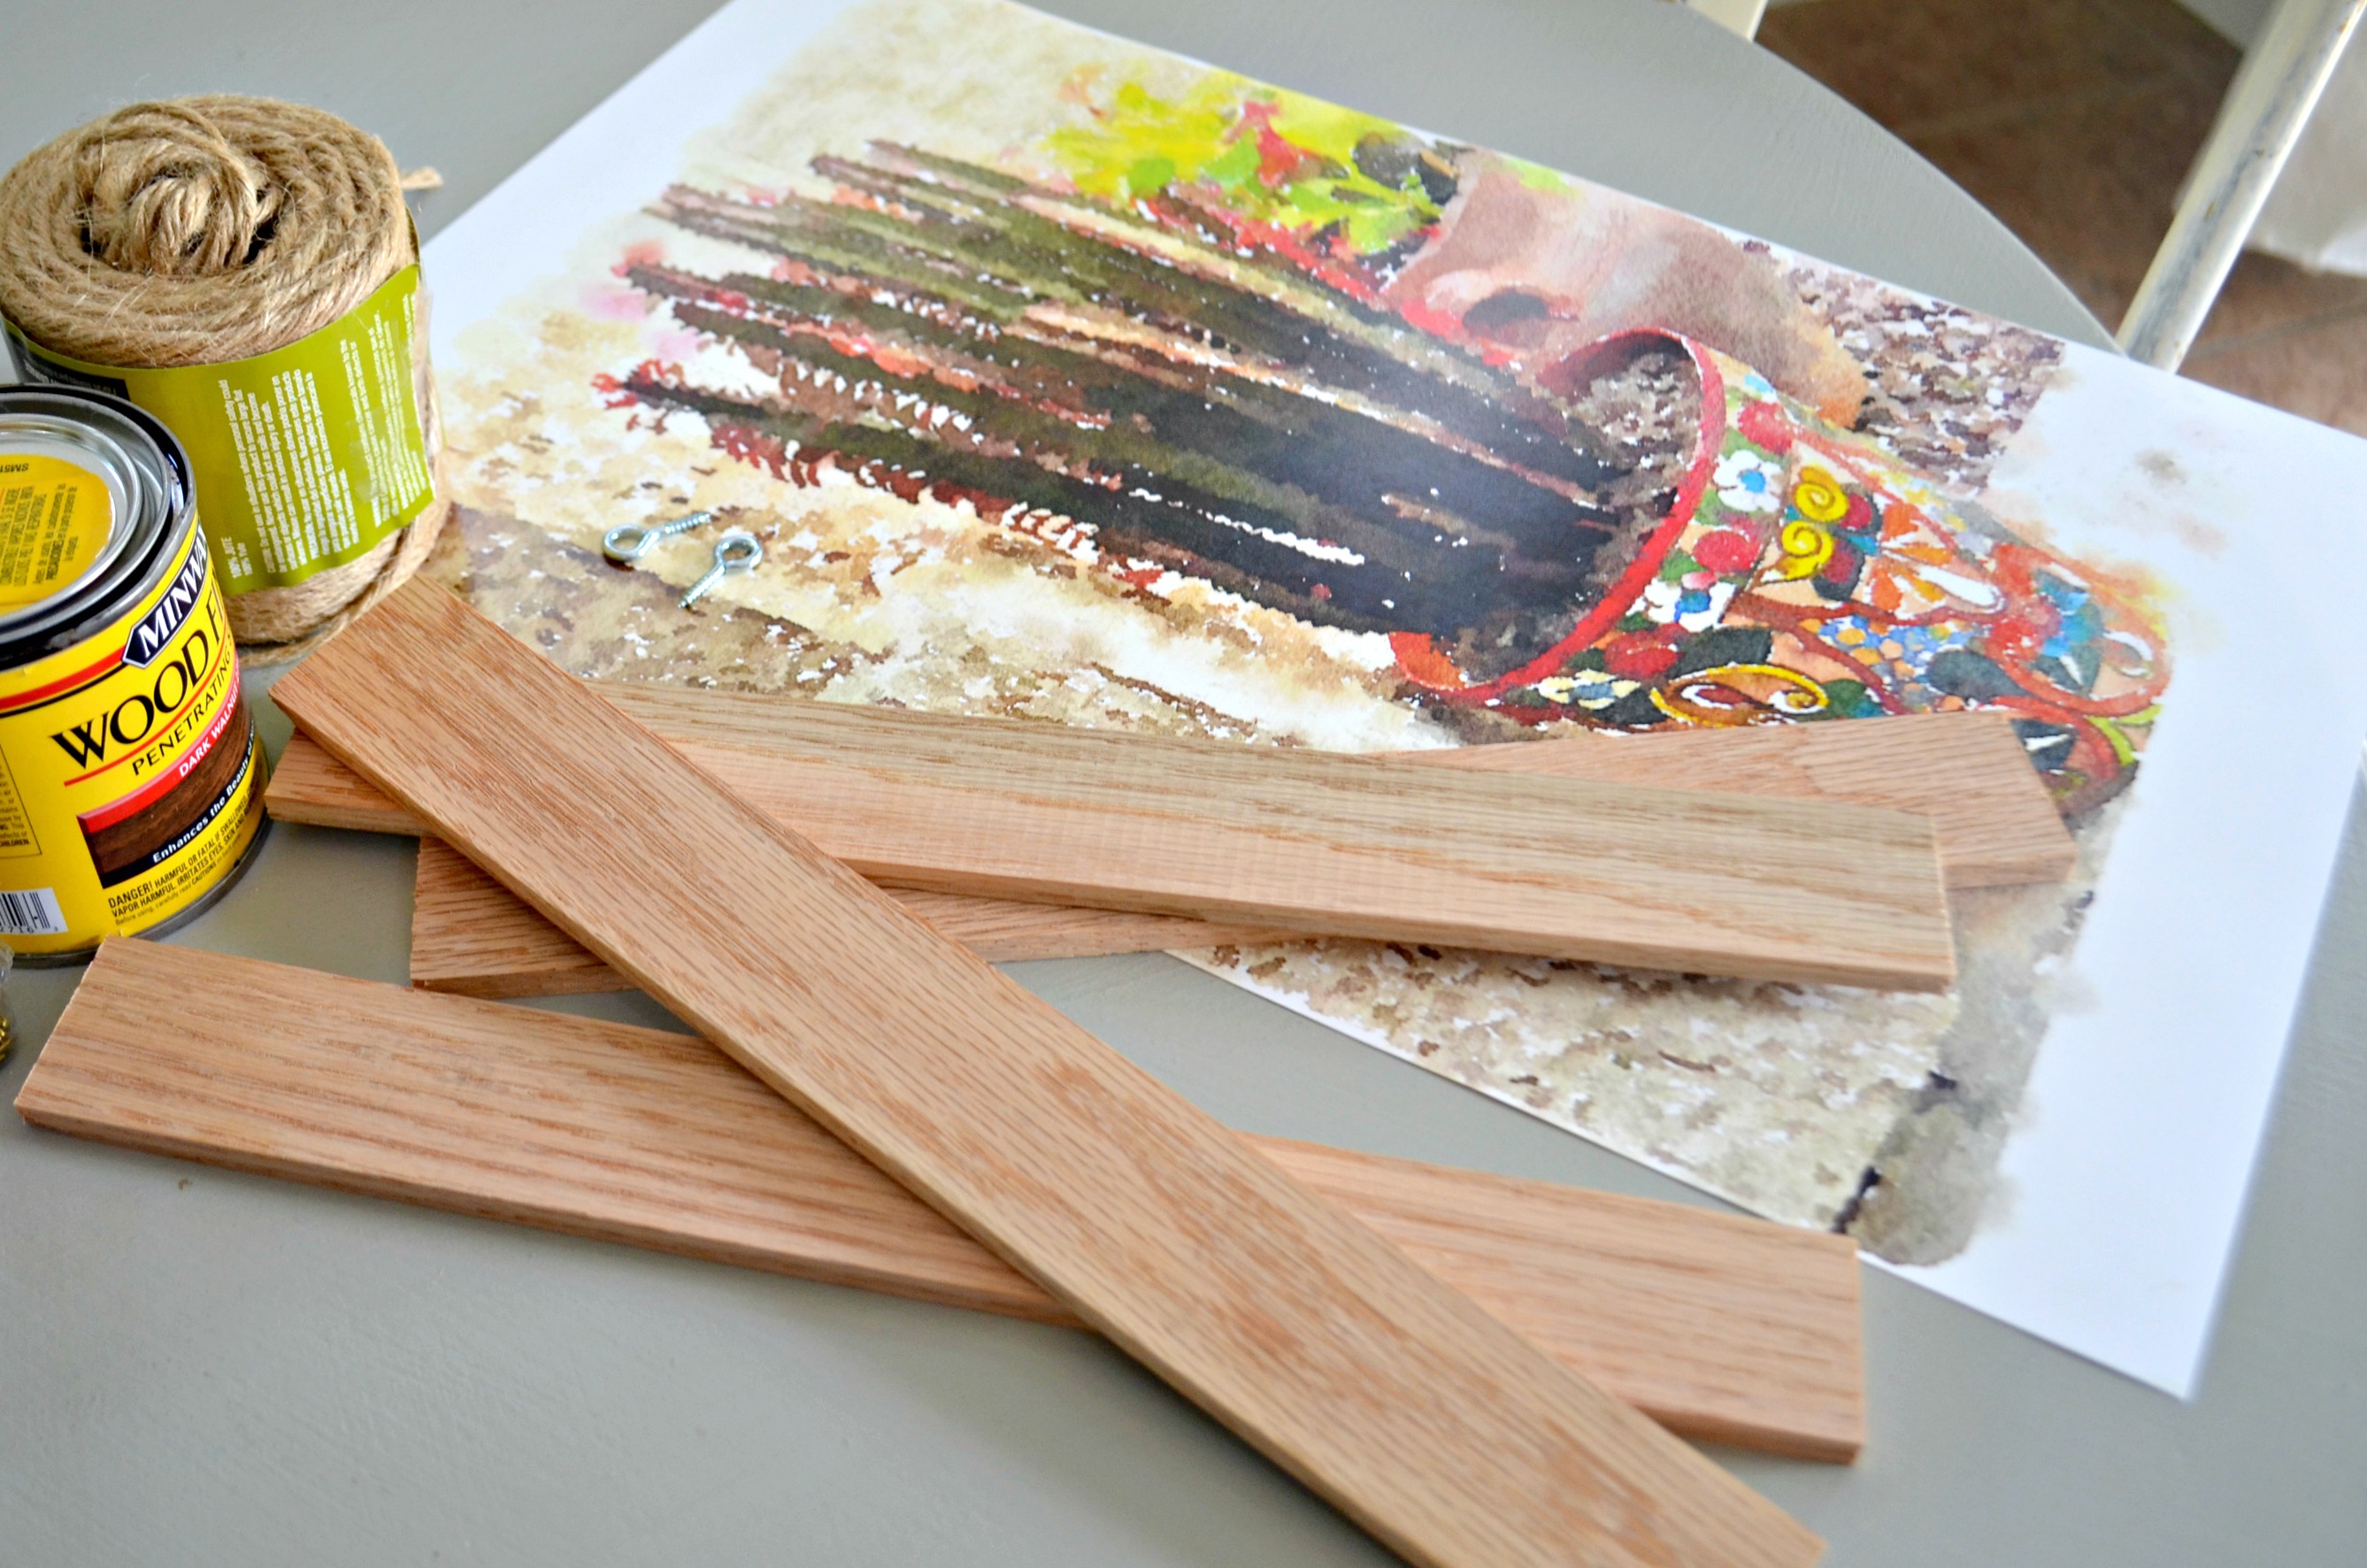
Supplies Needed:
- 11×17 print (Click here if you’d like to use my image)
- (4) – 12-inch long wood pieces (I used 2 pieces of flat hobby board and had them cut to 12 inches at the hardware store)
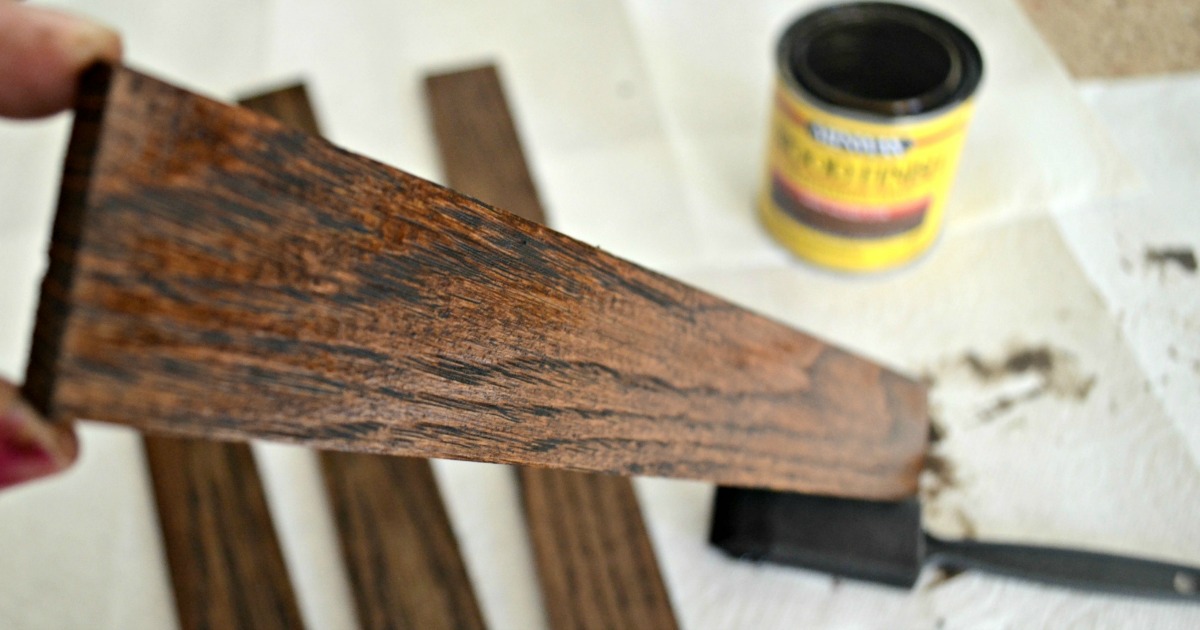
- wood stain
- craft sponge brush or rag
- 2 small eye hook screws
- small nails or screws
- tape
- jute twine
Directions:
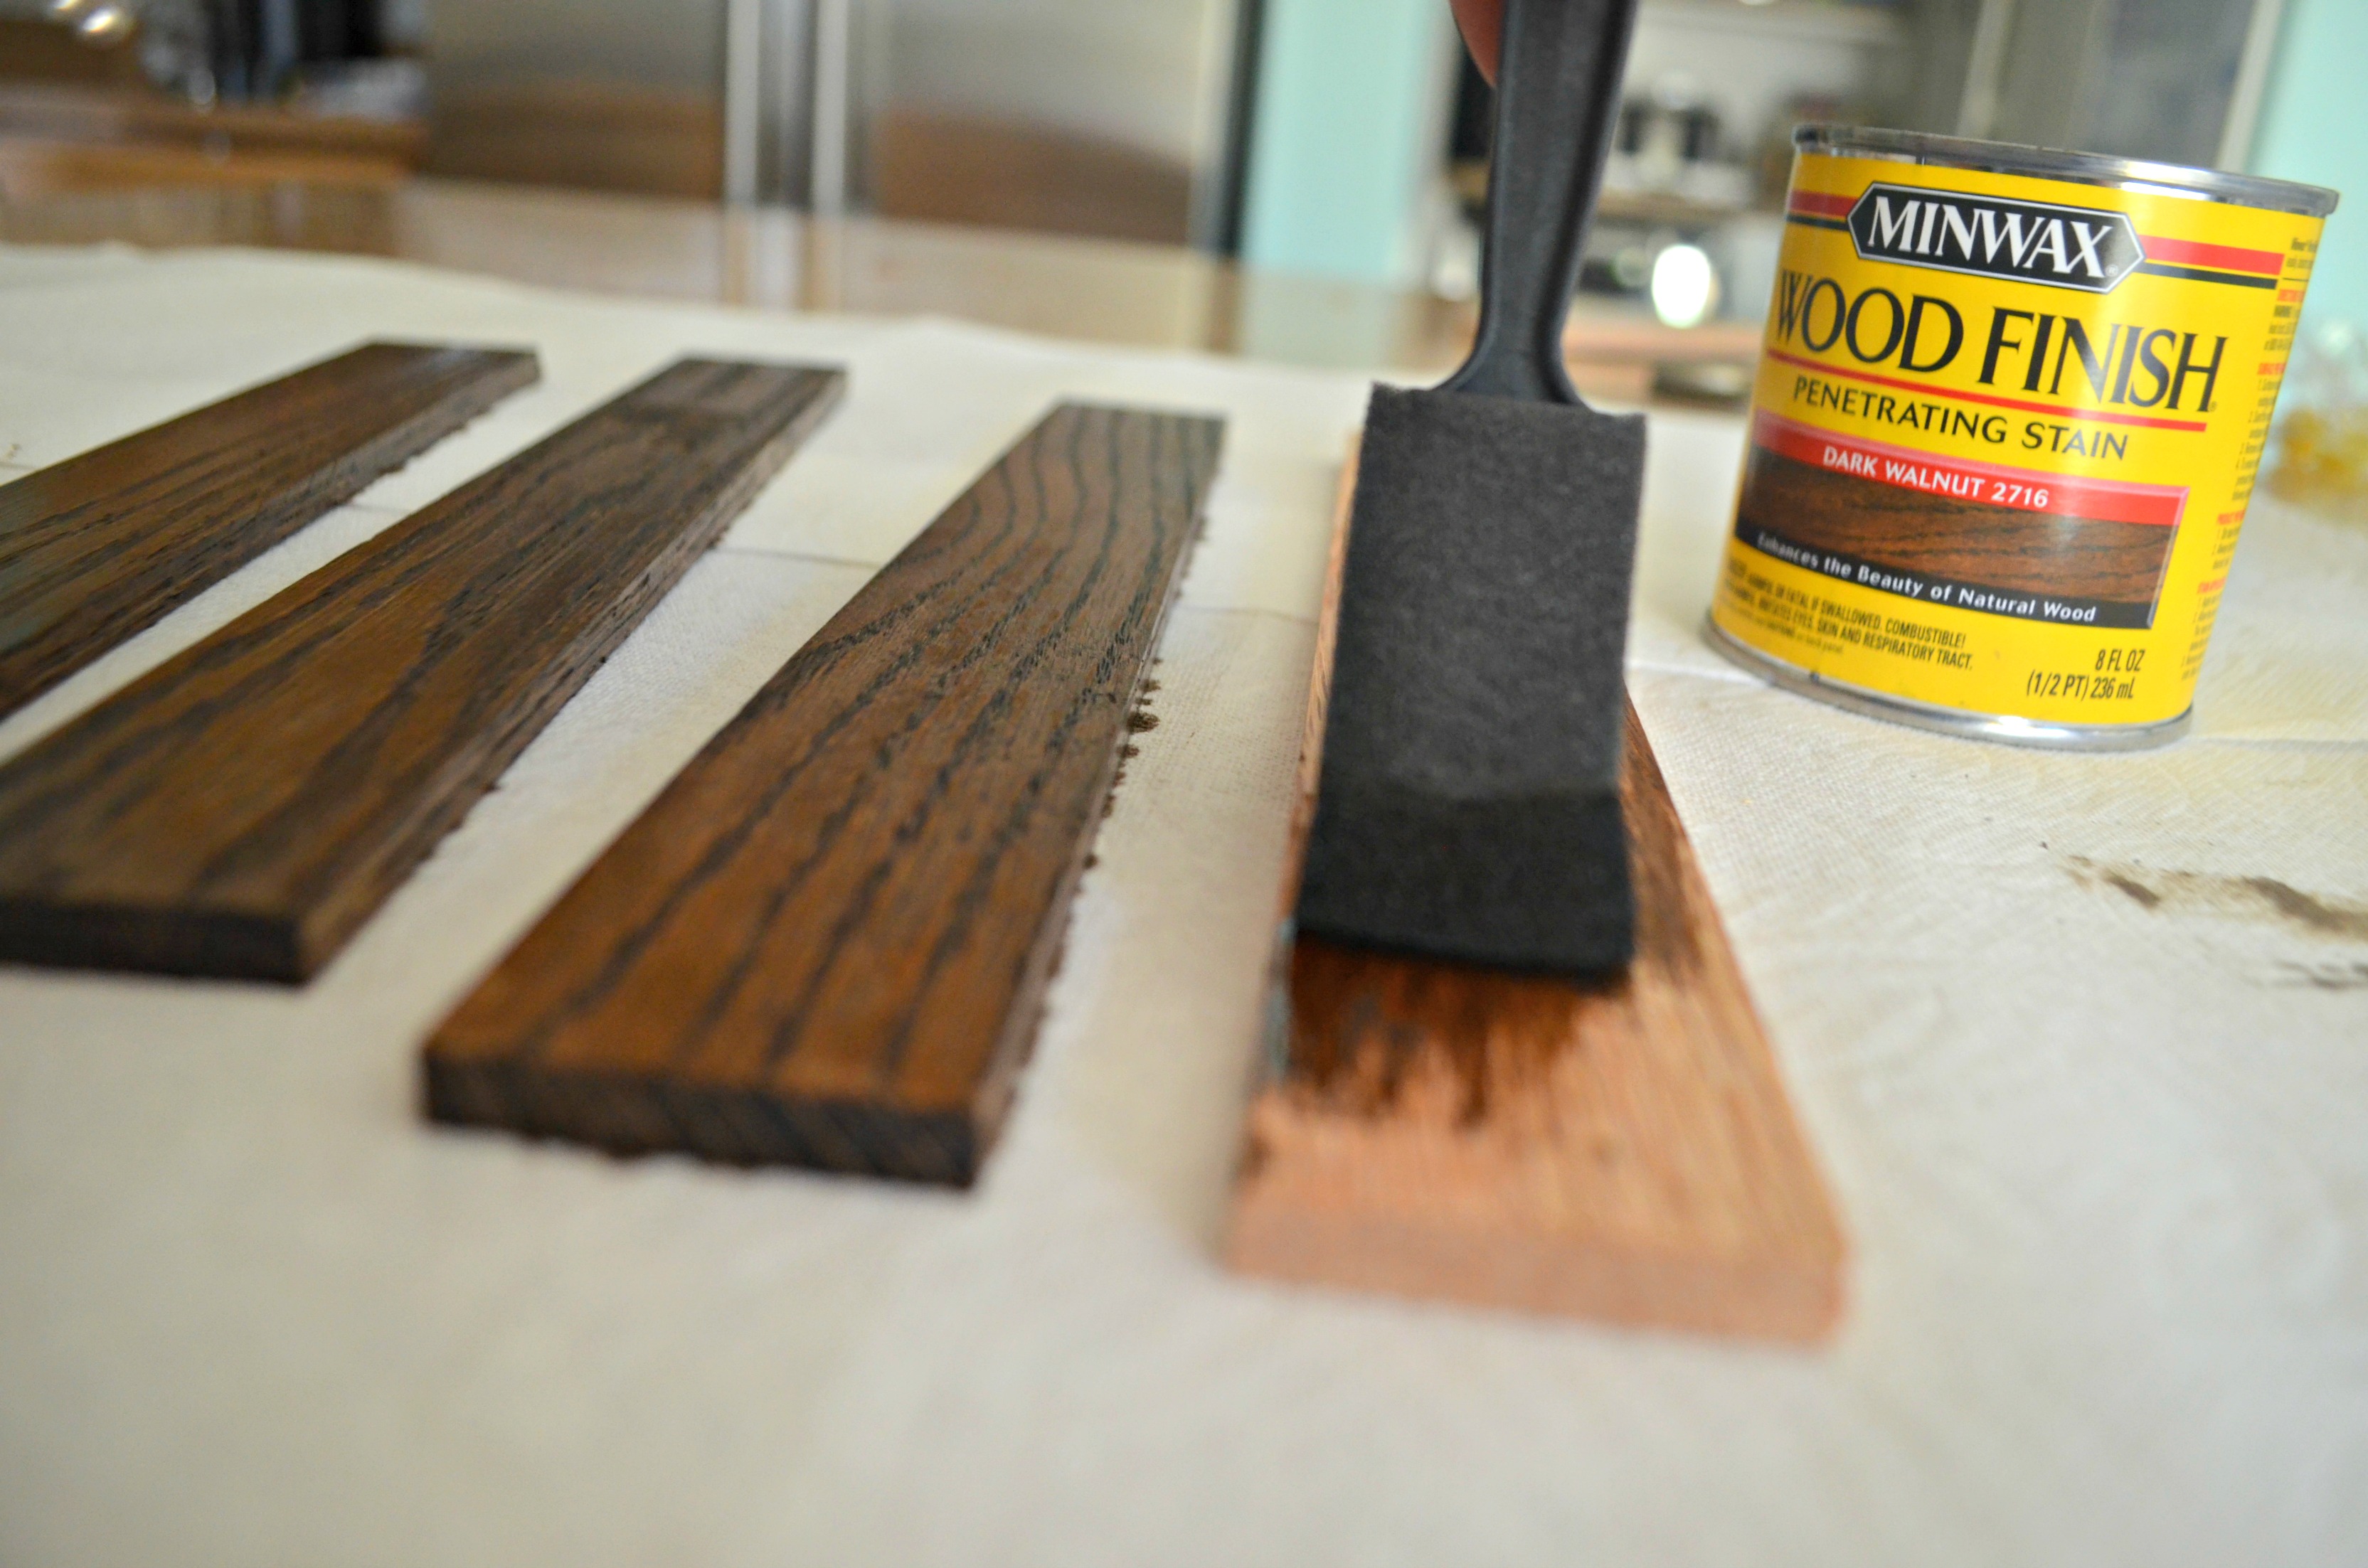
1.) Stain wood pieces and let dry. (You could also opt to leave them unfinished, or customize with whatever stain or paint you’d like.)
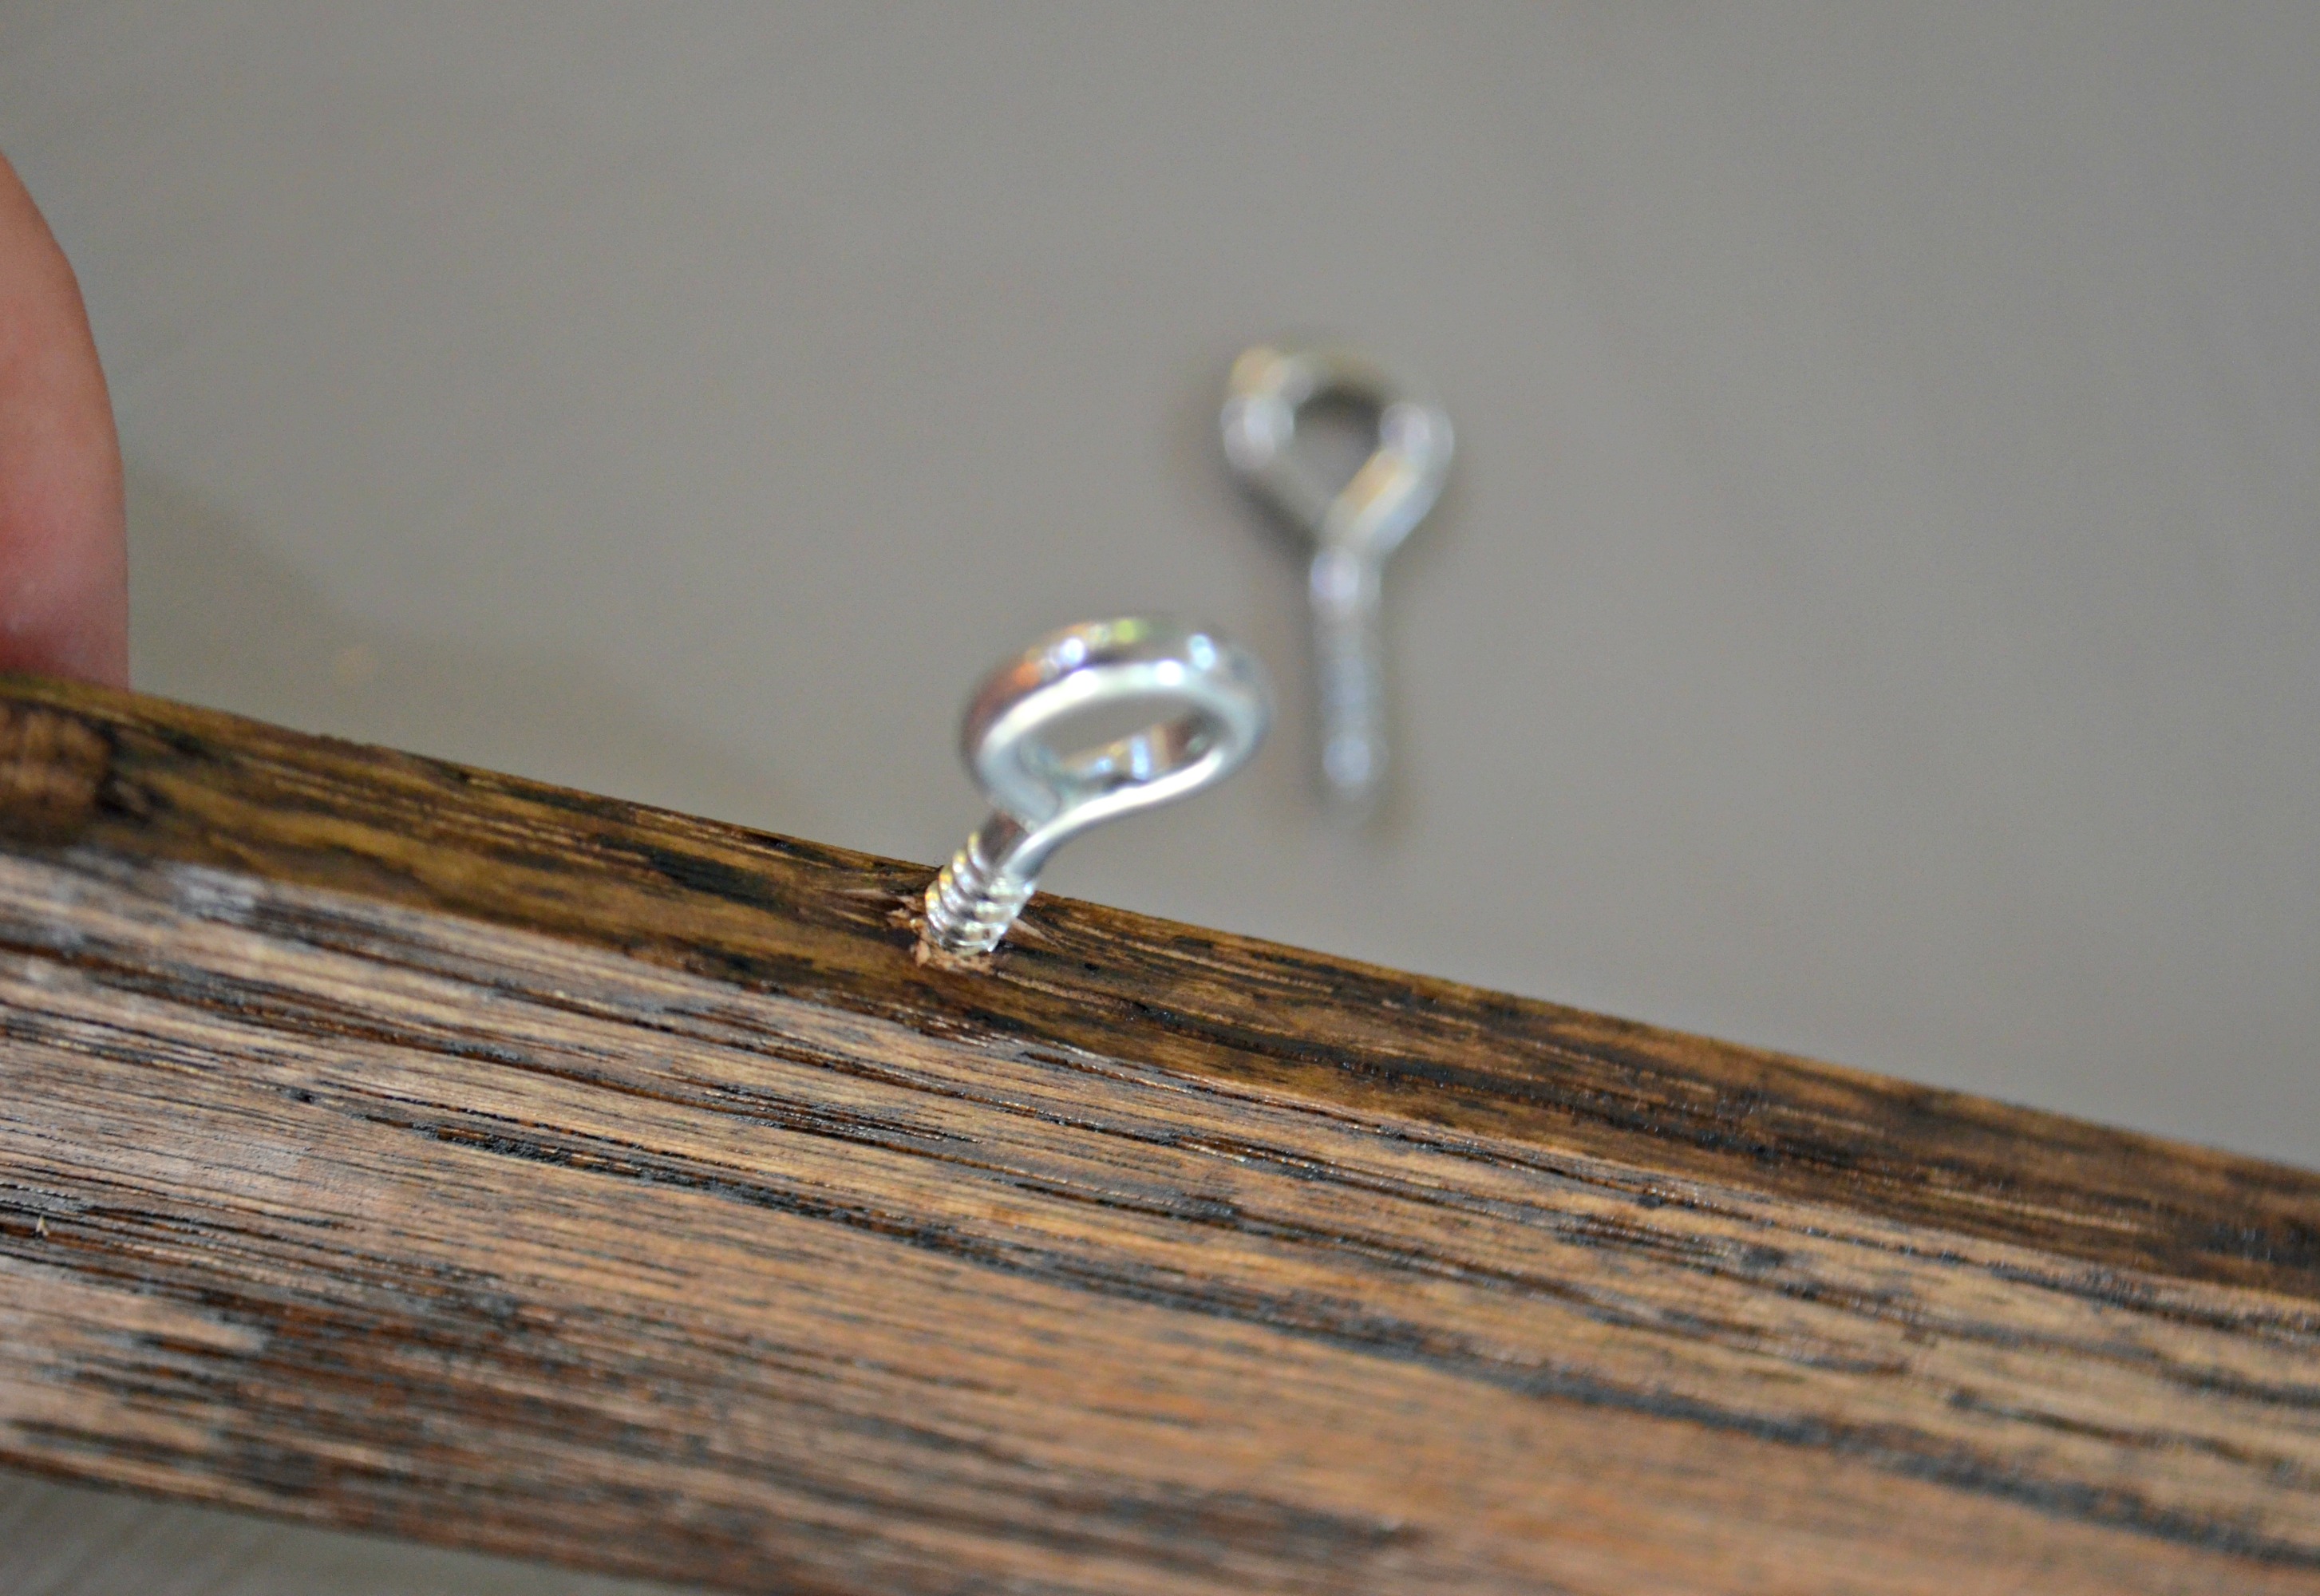
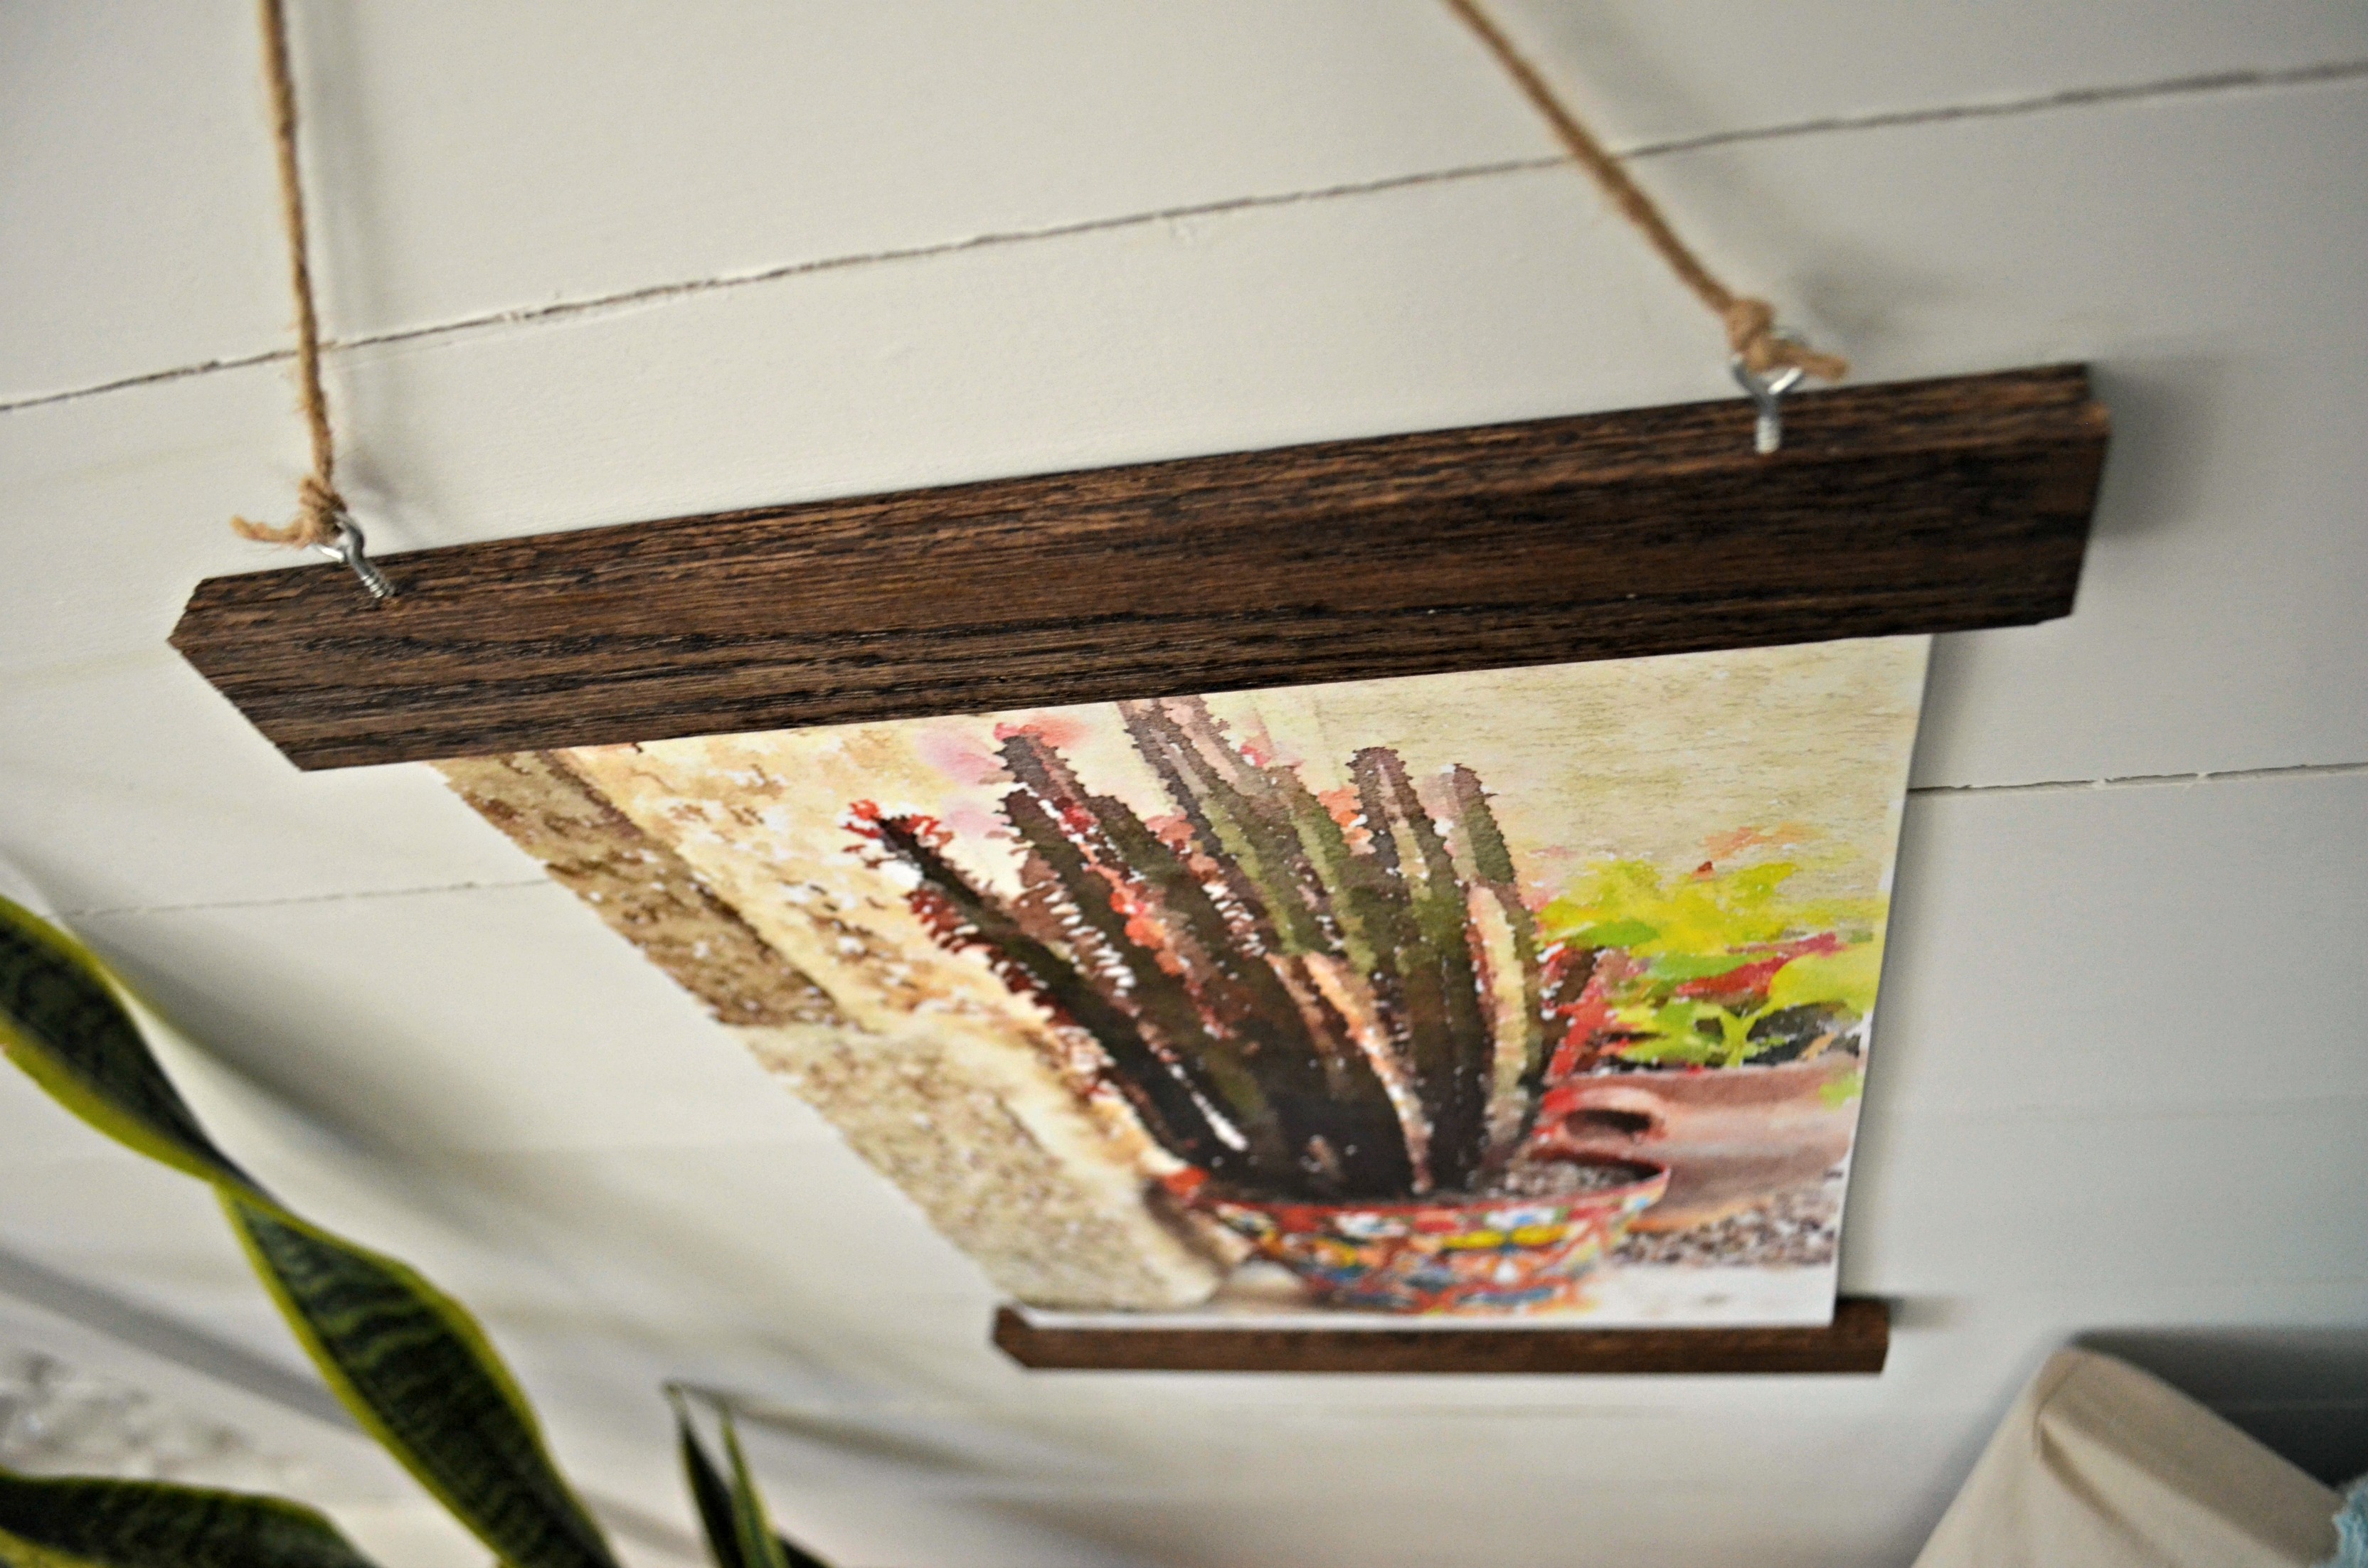
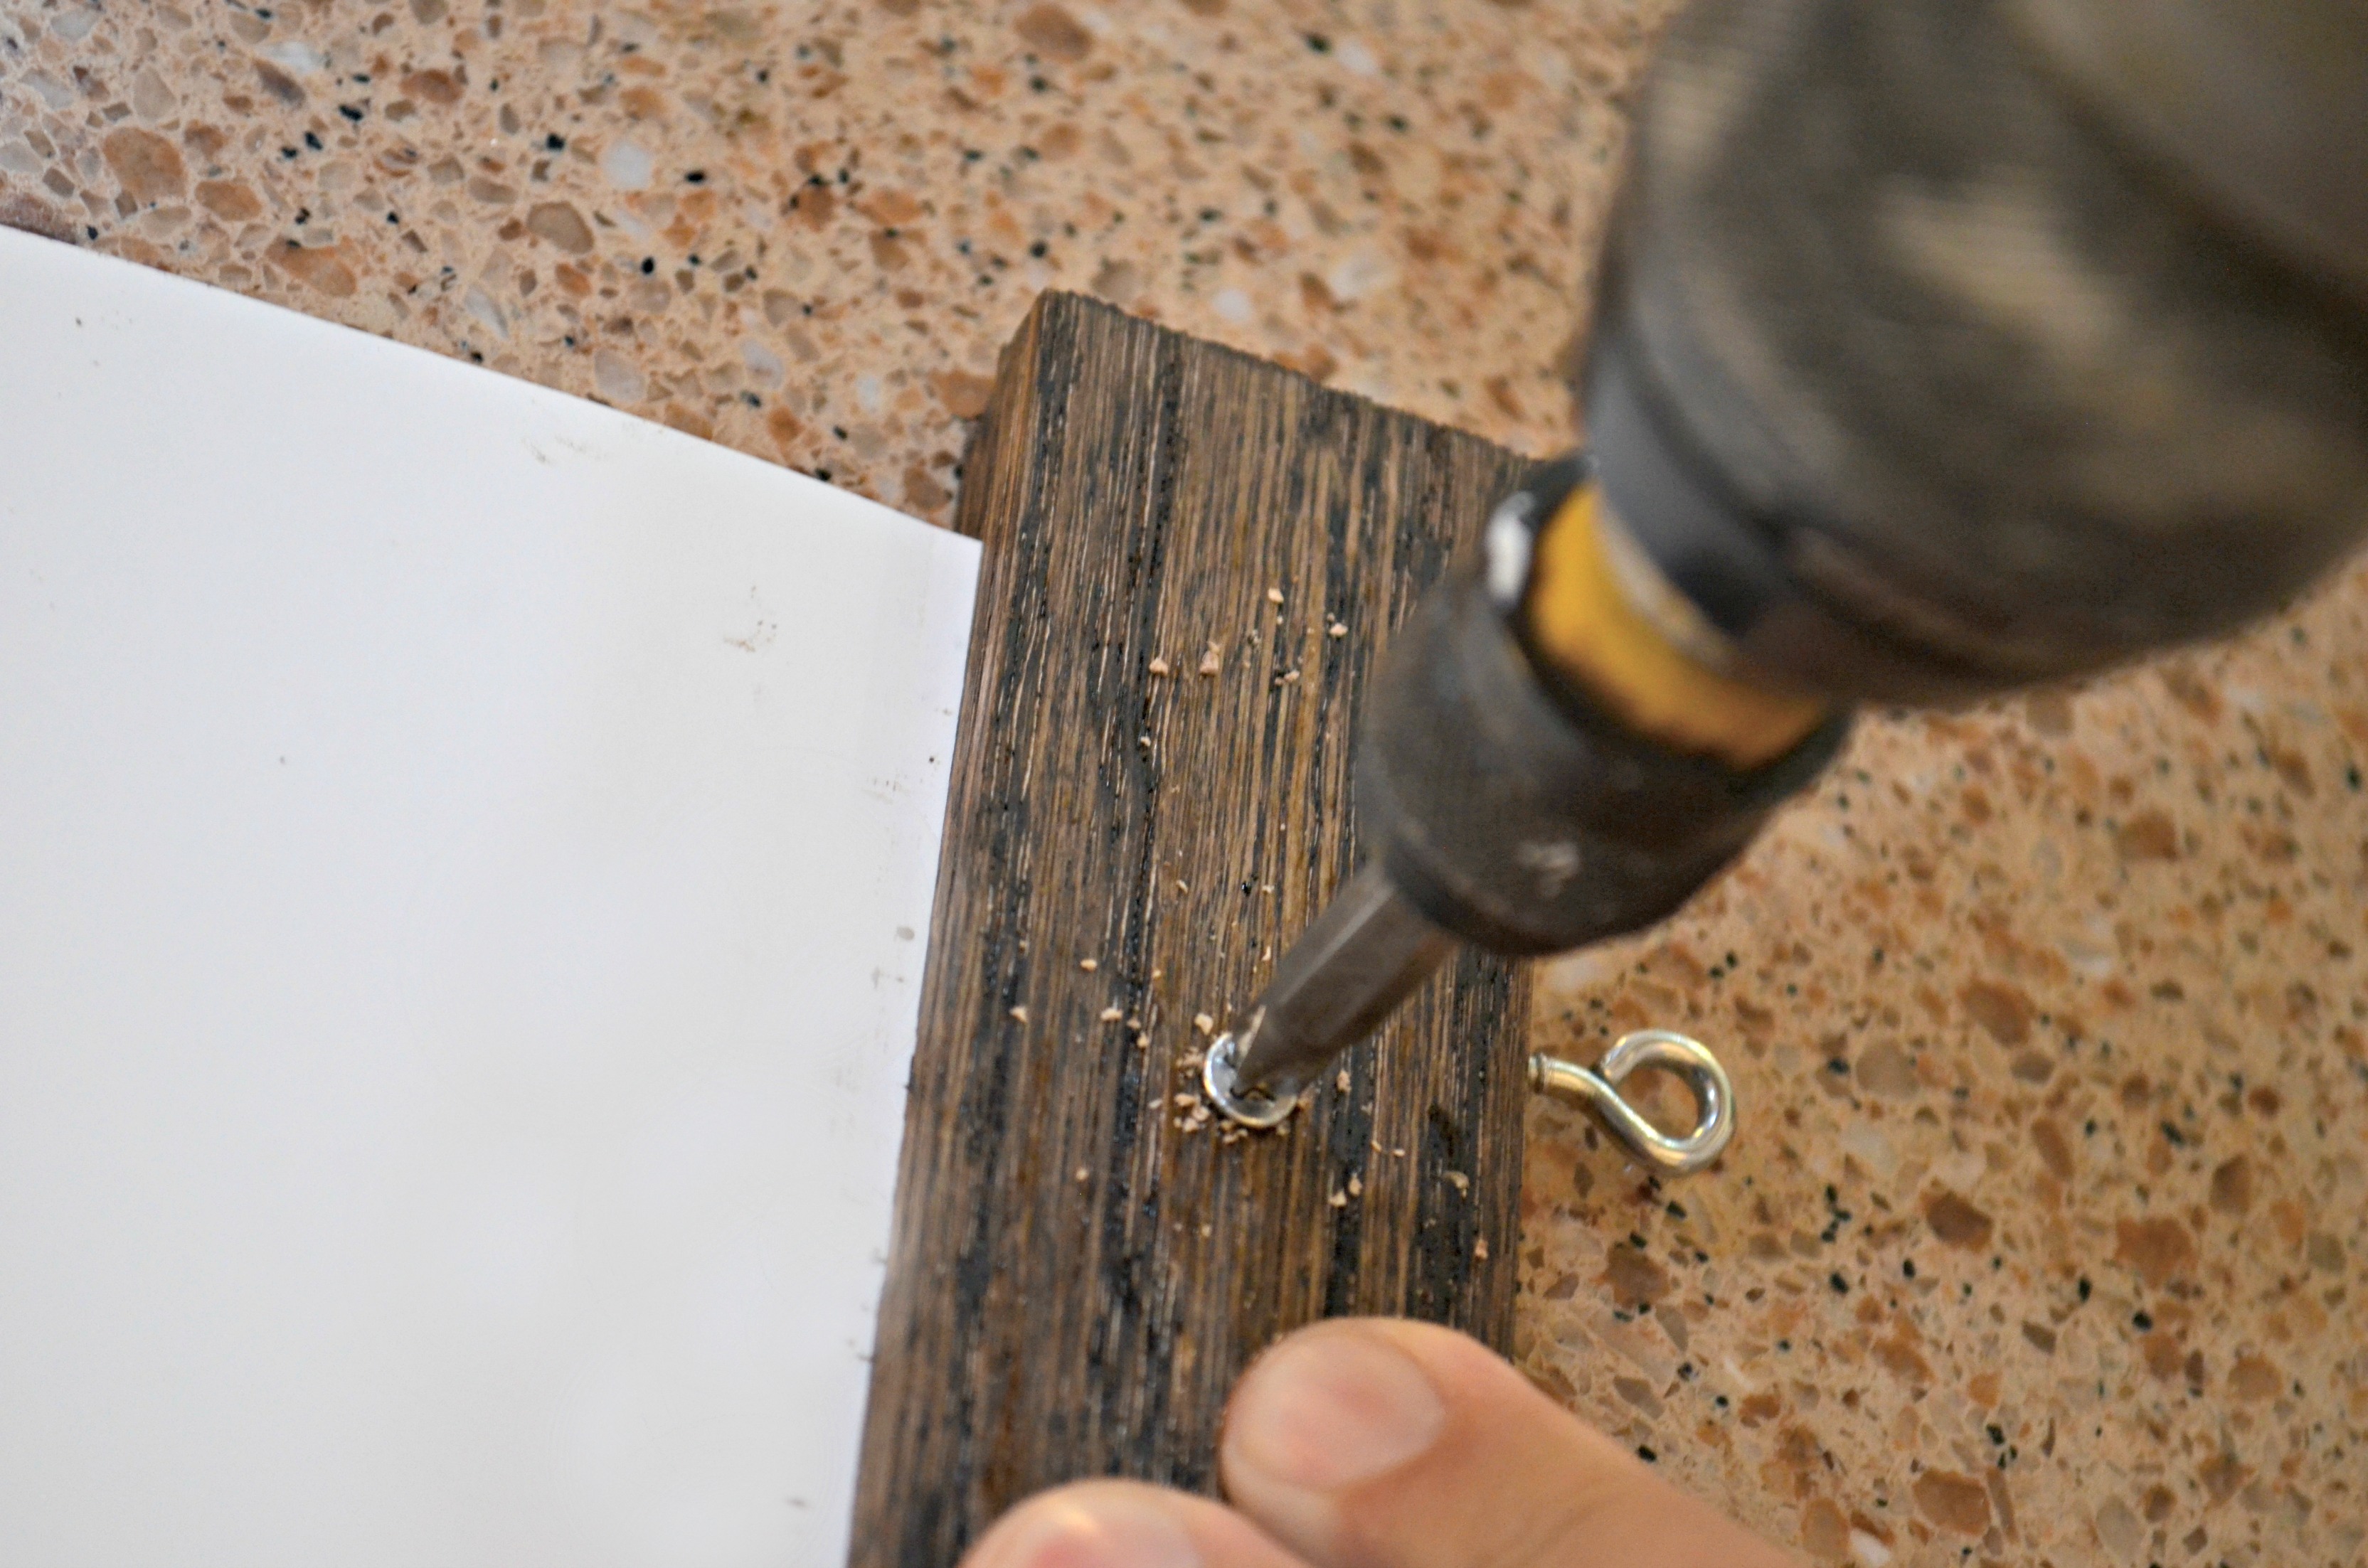
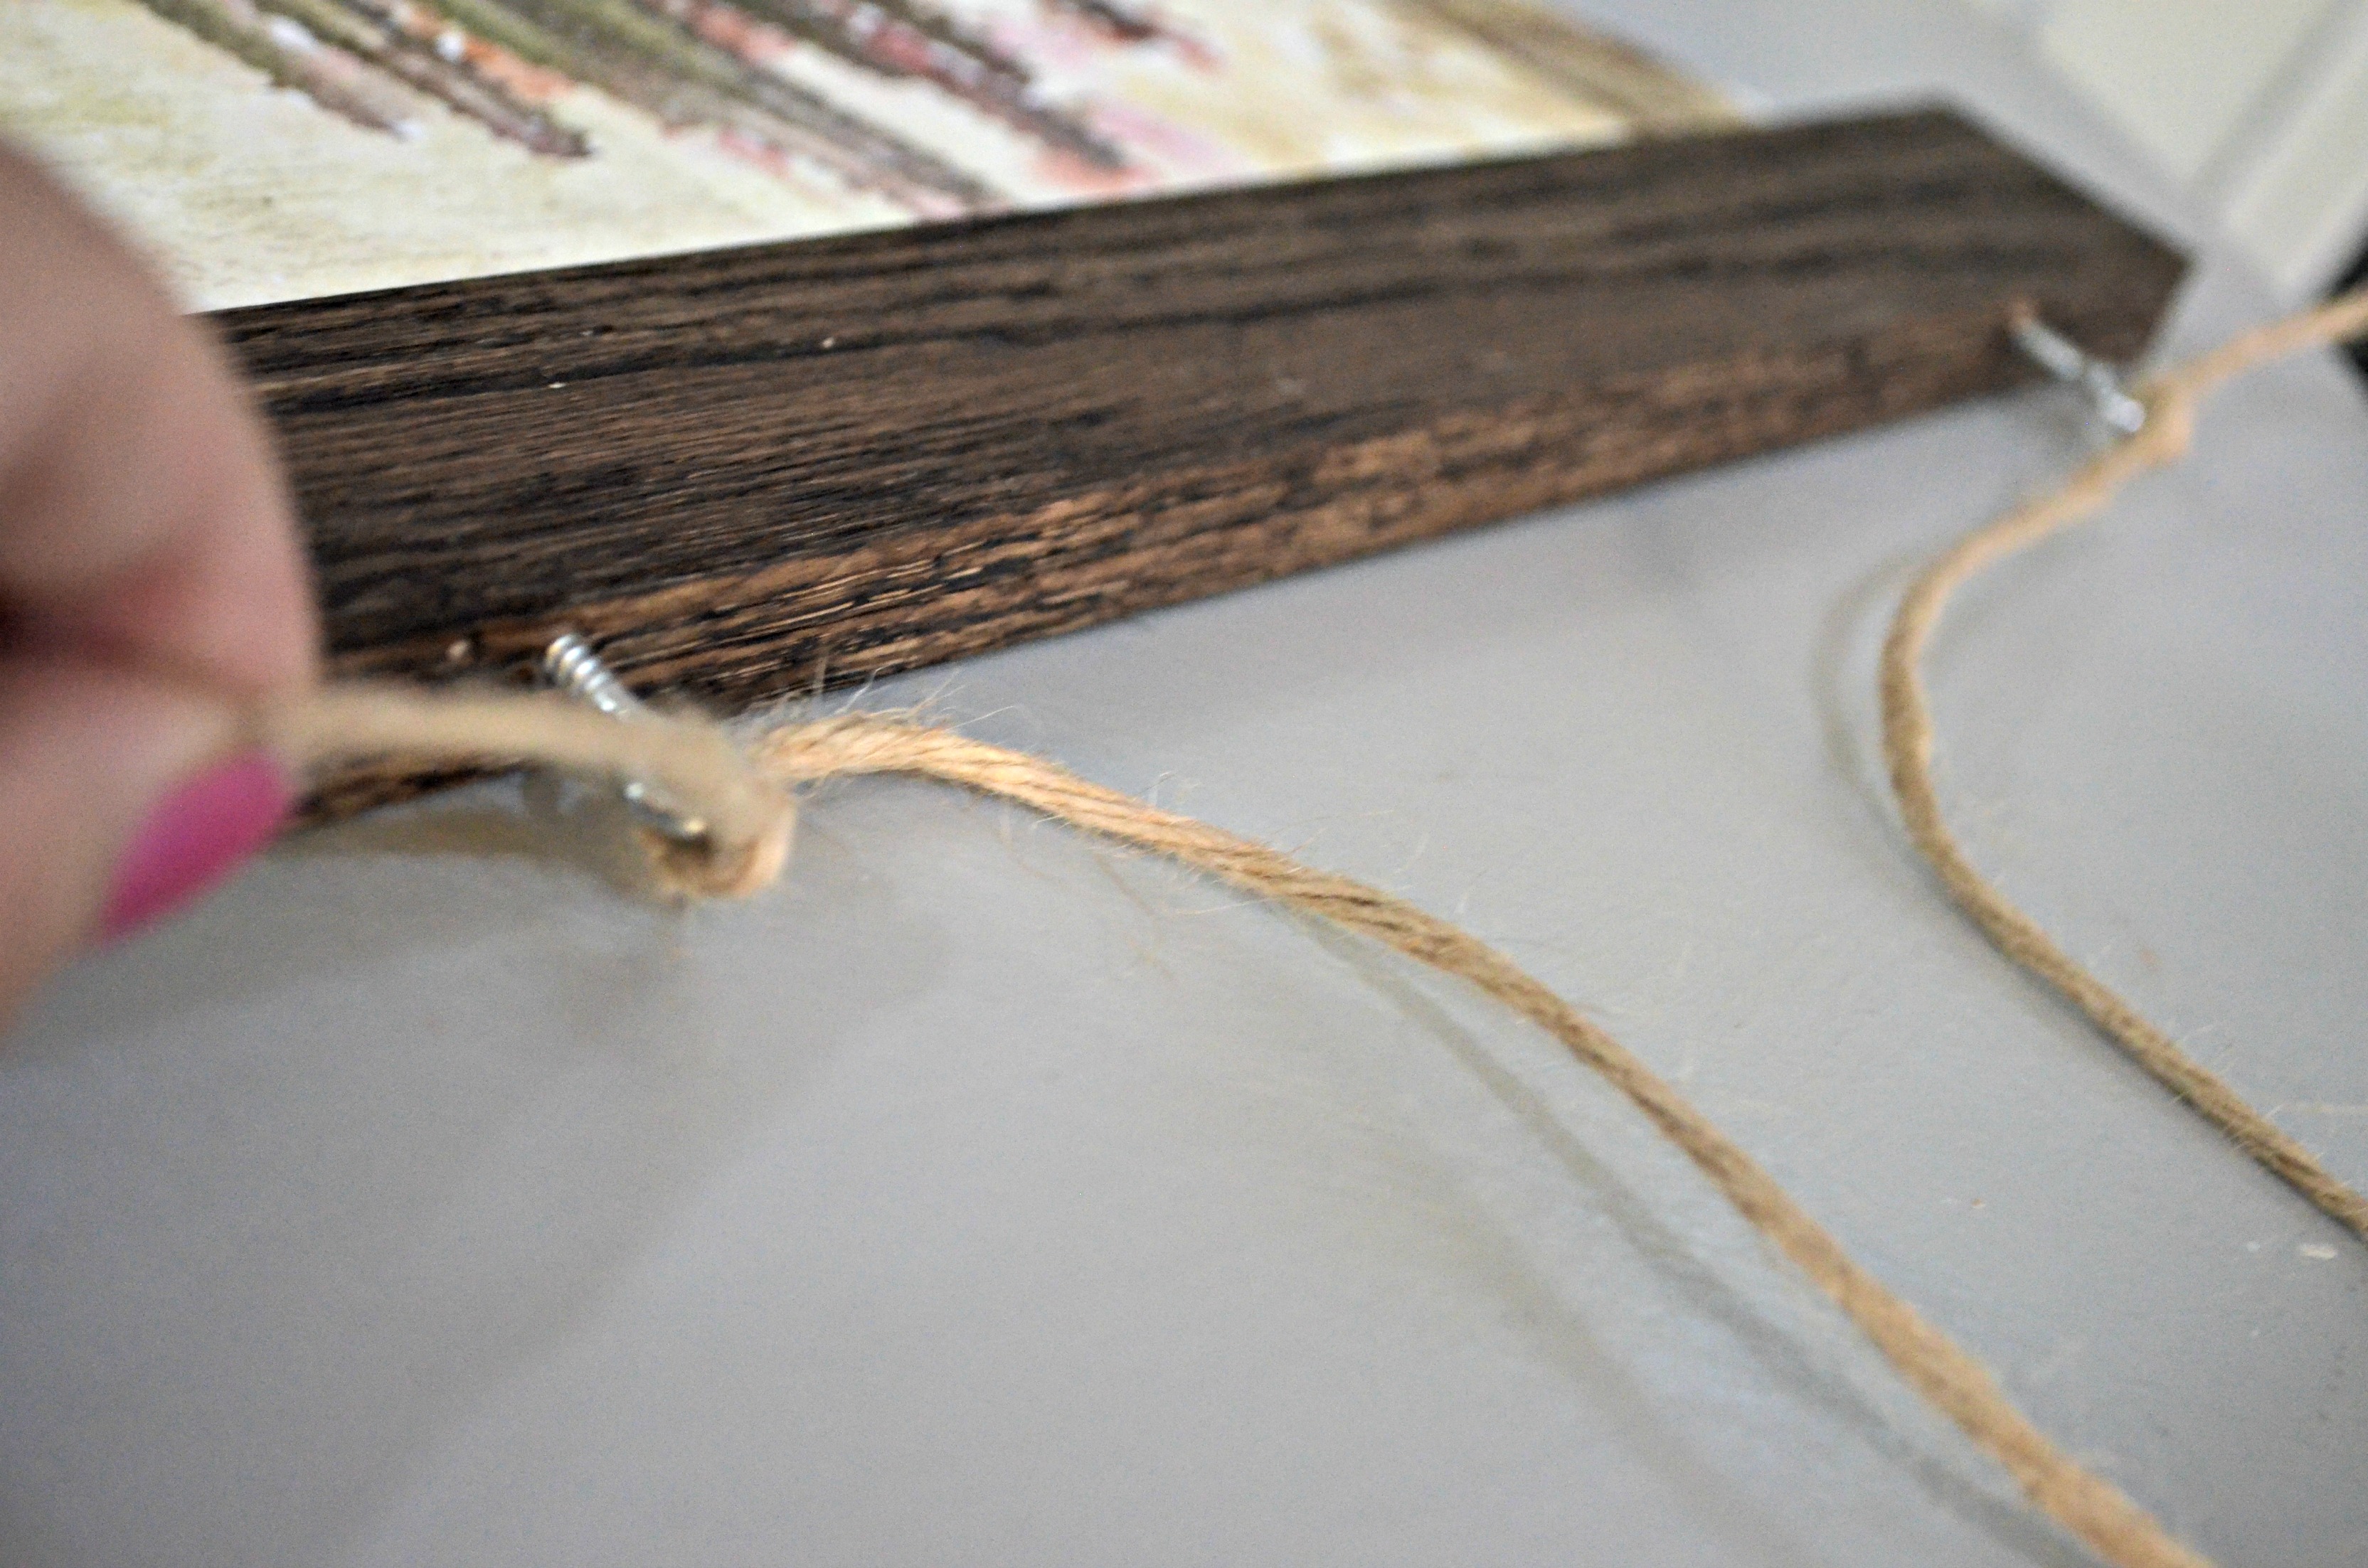
2.) Measure about an inch and a half in from each side of one piece of wood. Screw in eye hooks to the top.
3.) Sandwich your print between the piece of wood that has the eye screws and the other. This will be the top of your project. Make sure it’s centered and straight. (I taped my wood pieces together to hold them in place.) Screw or nail the two pieces together from the back so you can’t see the screws.
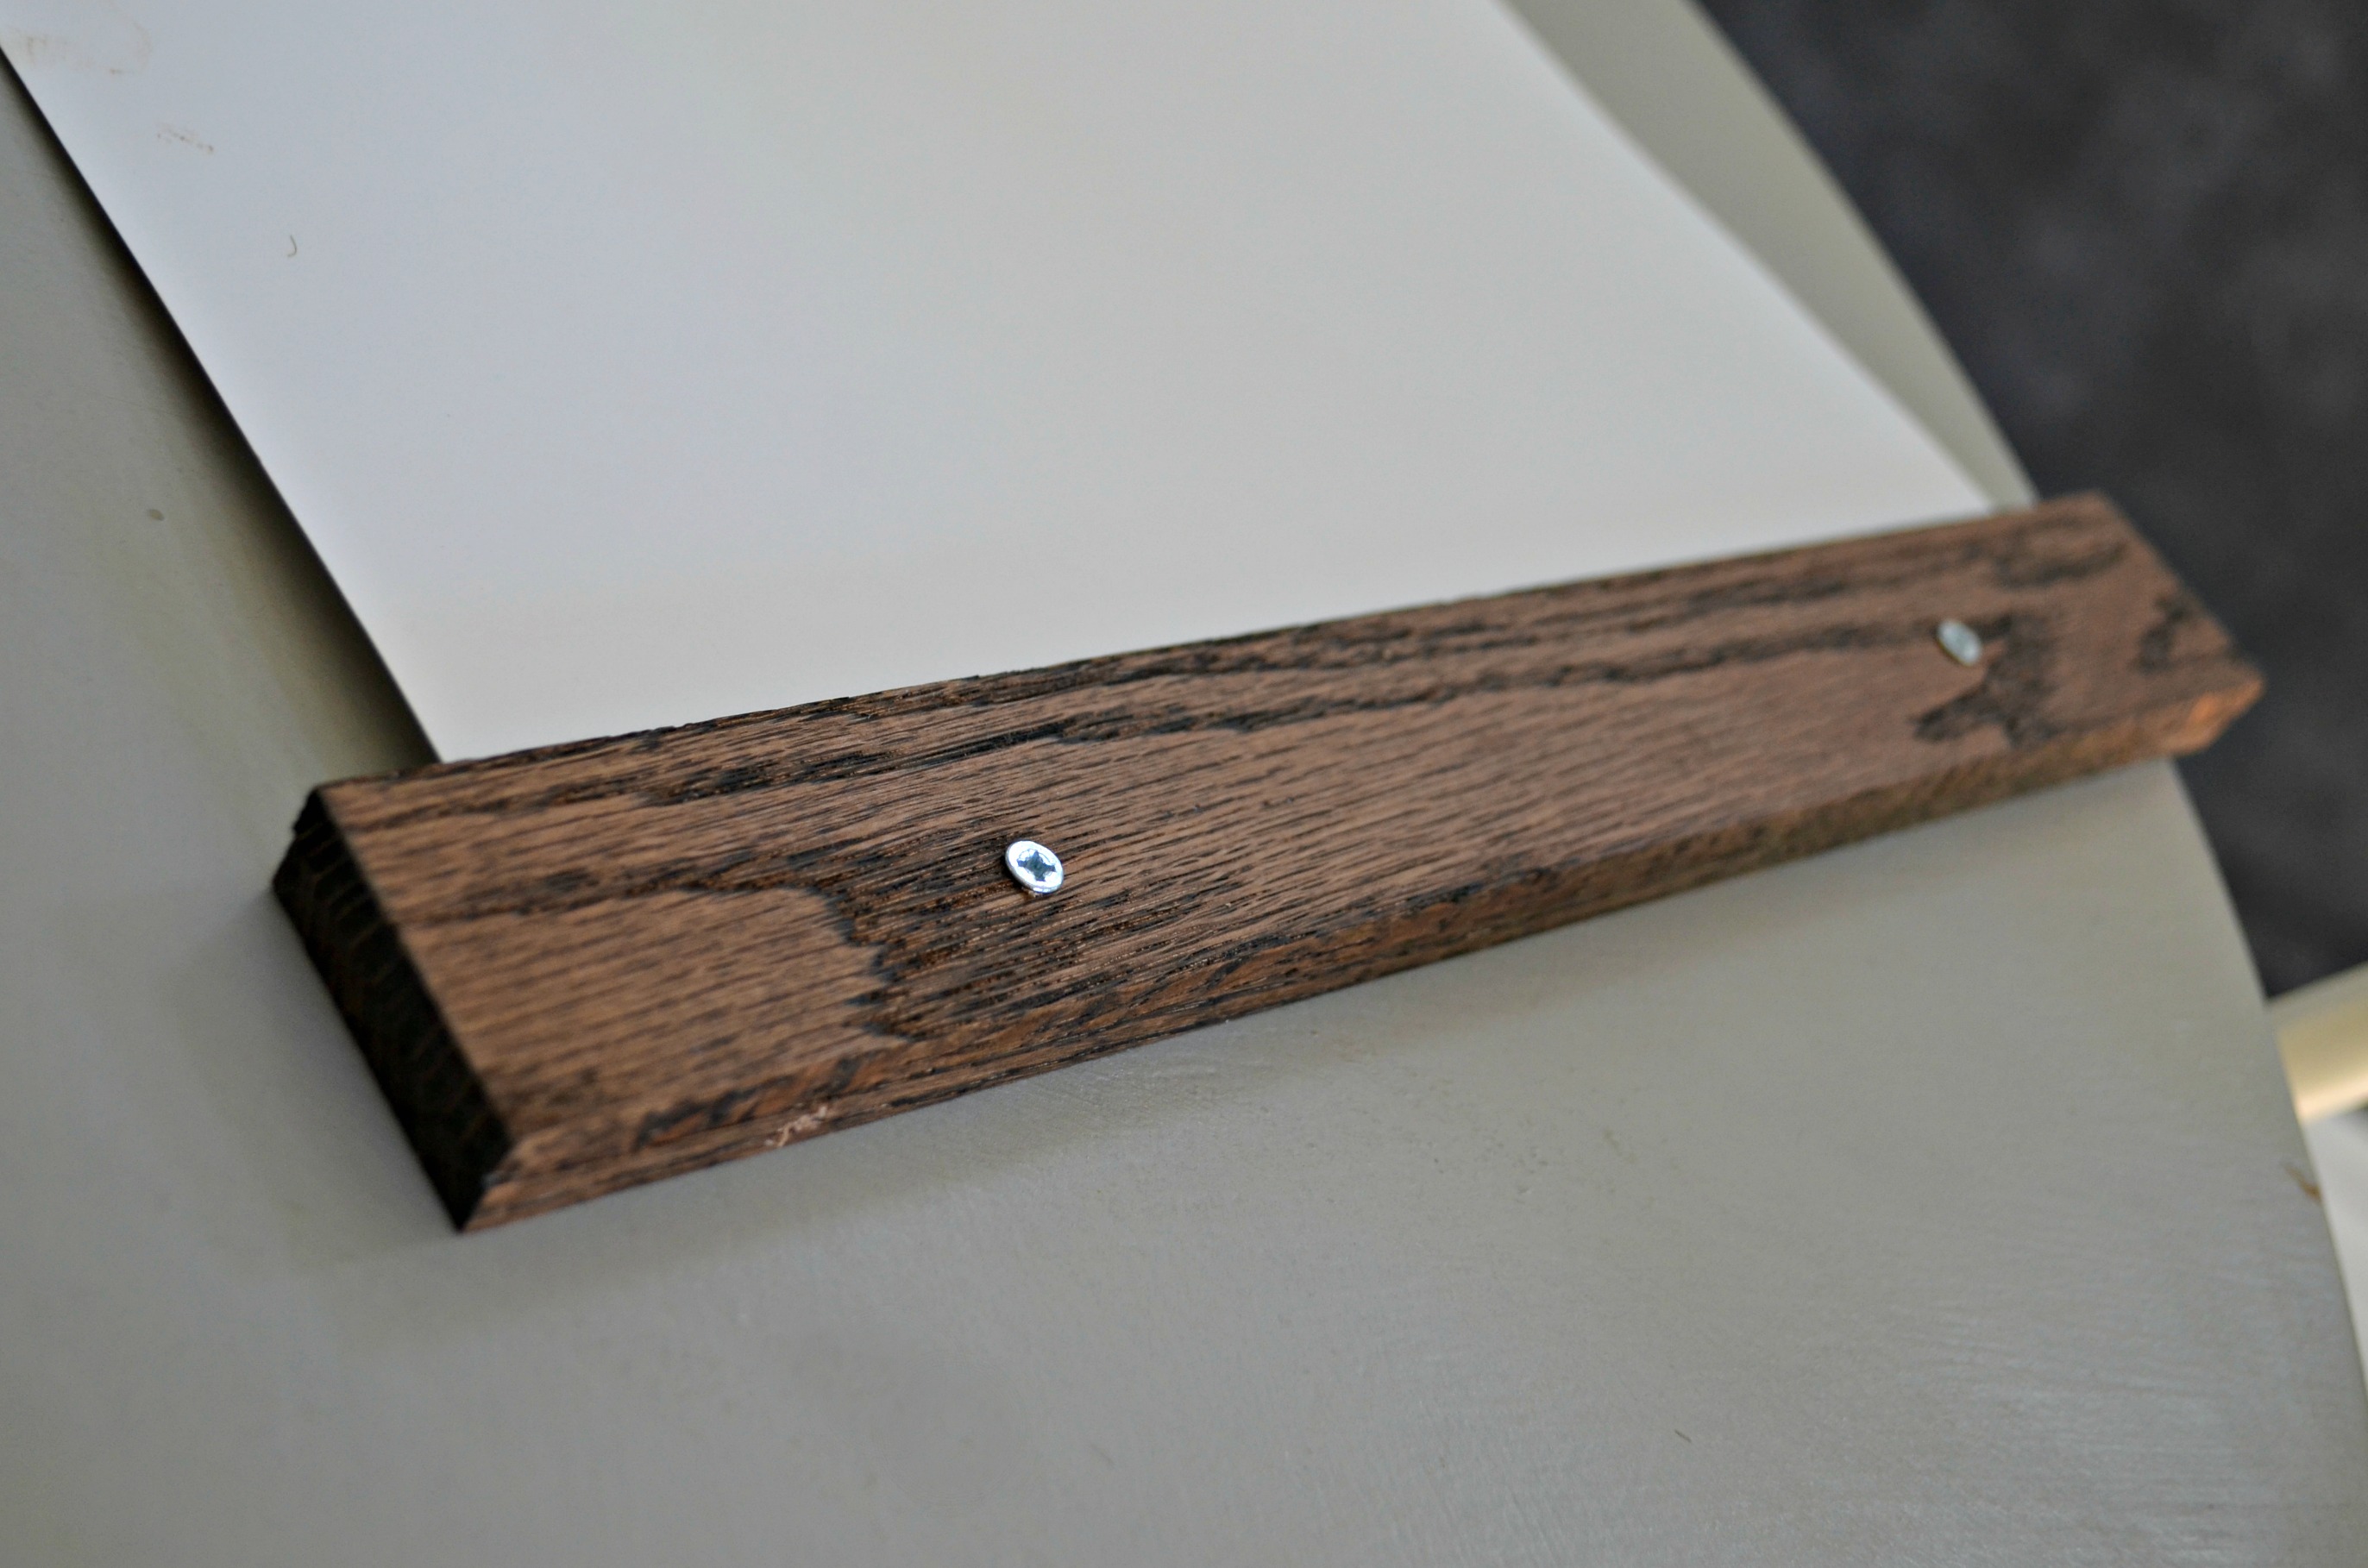
4.) Repeat with the bottom two pieces of wood.
5.) Thread twine through the top eye screws and hang on the wall!
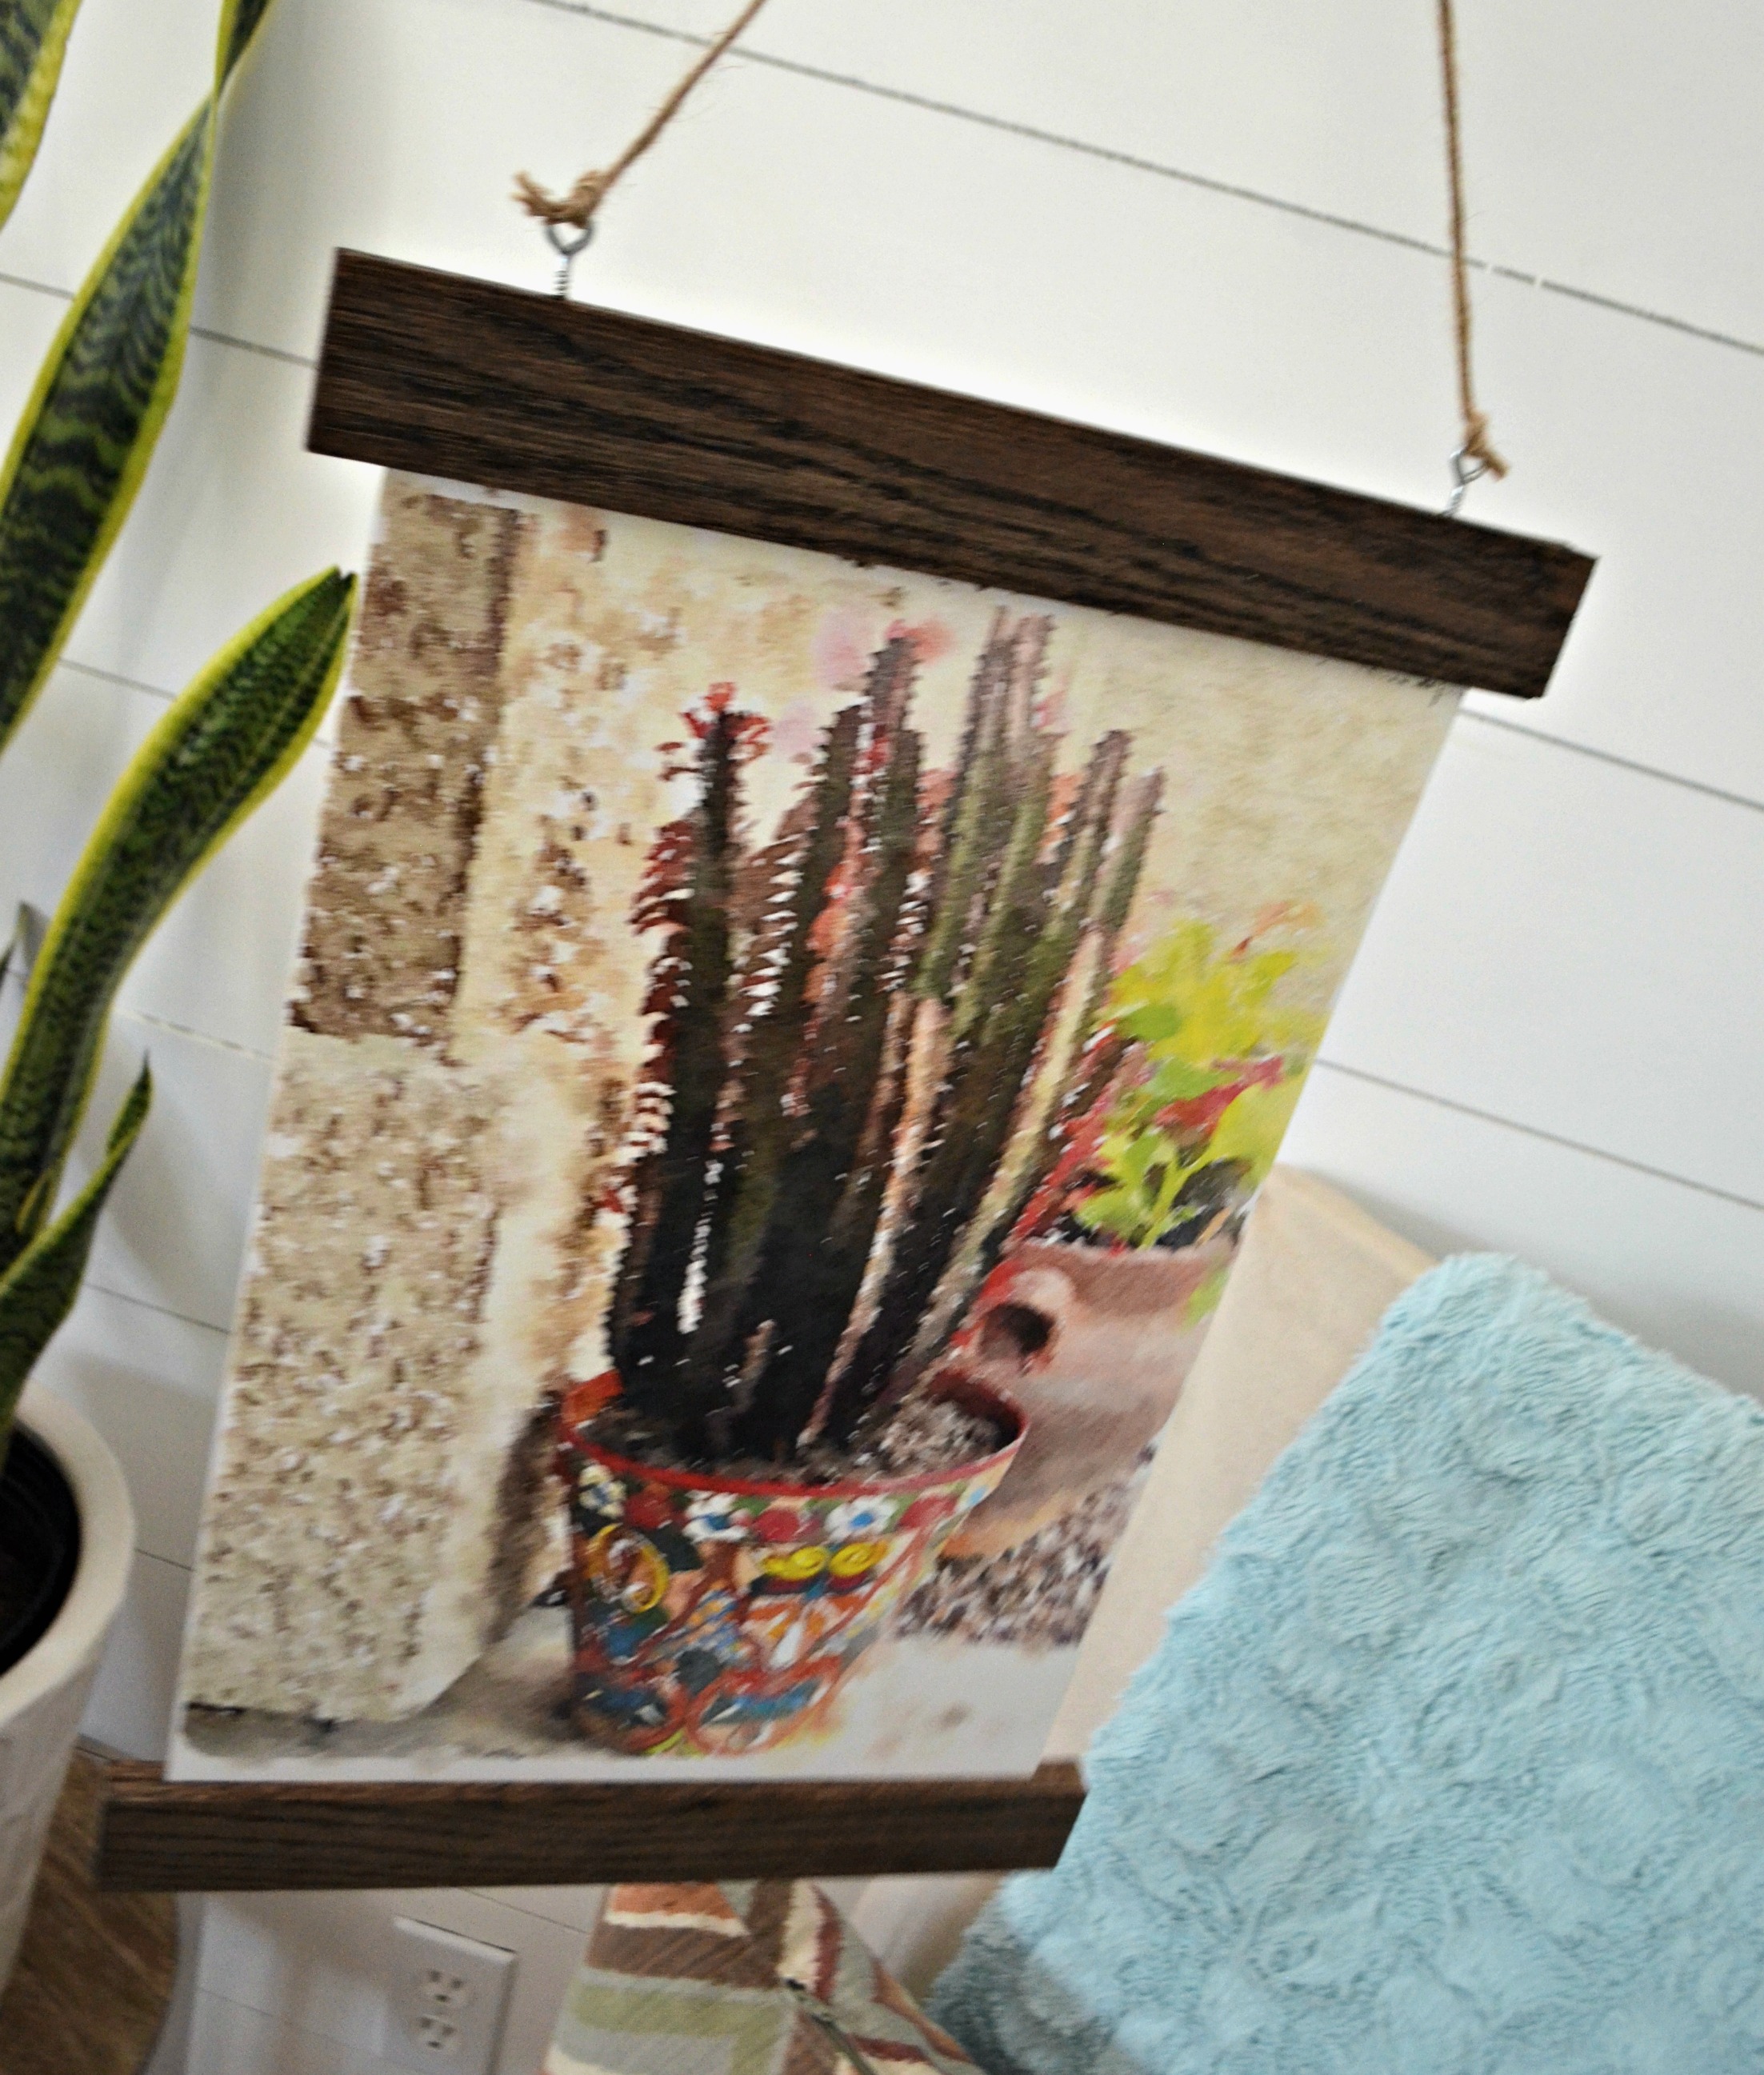
What a cool artistic statement piece!
The best part is this project was only around $10 in supplies, including my print and inexpensive pieces of wood! What a thoughtful gift idea this would make as well if you used a personalized photo or image.
Don’t feel like making a wall hanger yourself?
Here’s a similar magnetic wood frame hanger I spotted on Amazon that’s ready to hang right away!

Adorable!!
Brilliant
Ah thanks Luna!
What a cute idea 🙂
That’s really cool
Thanks so much!
I so wish you were my neighbor!!!
You always do an awesome job of explaining things too!
Aw that’s so sweet! Thanks Jill ❤️
Love DIY stuff and am always excited to see these types of posts. Thanks!
Oh yay! Thanks a bunch for stopping by today.
Help!! I want to know From you all what kind of paint to use on furniture that’s wood to protect from water I bought 3 chairs recliners with Astros logo Texans logo and rockets logo but the water it’s damaging my beautiful chairs need to repaint
Stick with an outdoor enamel base of your choose and I would put about 2-3 coats of polyurethane on them after painting to protect from the elements
You can choose from many different options such as glossy, matte, satin etc
It’s located with the stains in the paint department. HTH
Thanks for this DIY idea, it’s a good one!
You’re so welcome!
I never would have thought a cell phone picture could be turned into a work of art! Well done! You can come decorate my house 🙂