Hang Photos in Seconds Using These Genius Hooks!
Do you struggle to easily hang photos and art on the wall?
I always dread this part of decorating, but I’m so glad I tried these genius hooks! Before starting a new gallery wall, I asked Collin about the best way to hang photos, and she immediately recommended Gorilla and Monkey Hooks!
The Monkey Hook is one of the most innovative and fun-to-use products we’ve ever discovered!
- Its low profile results in a hook that is only nominally visible and makes only a tiny hole.
- The lightweight, super-strong spring steel enables anyone to hang a picture, mirror, or wall accessory of up to 50 lbs. securely – and in just seconds!
- There are NO tools needed. Just use your hands!
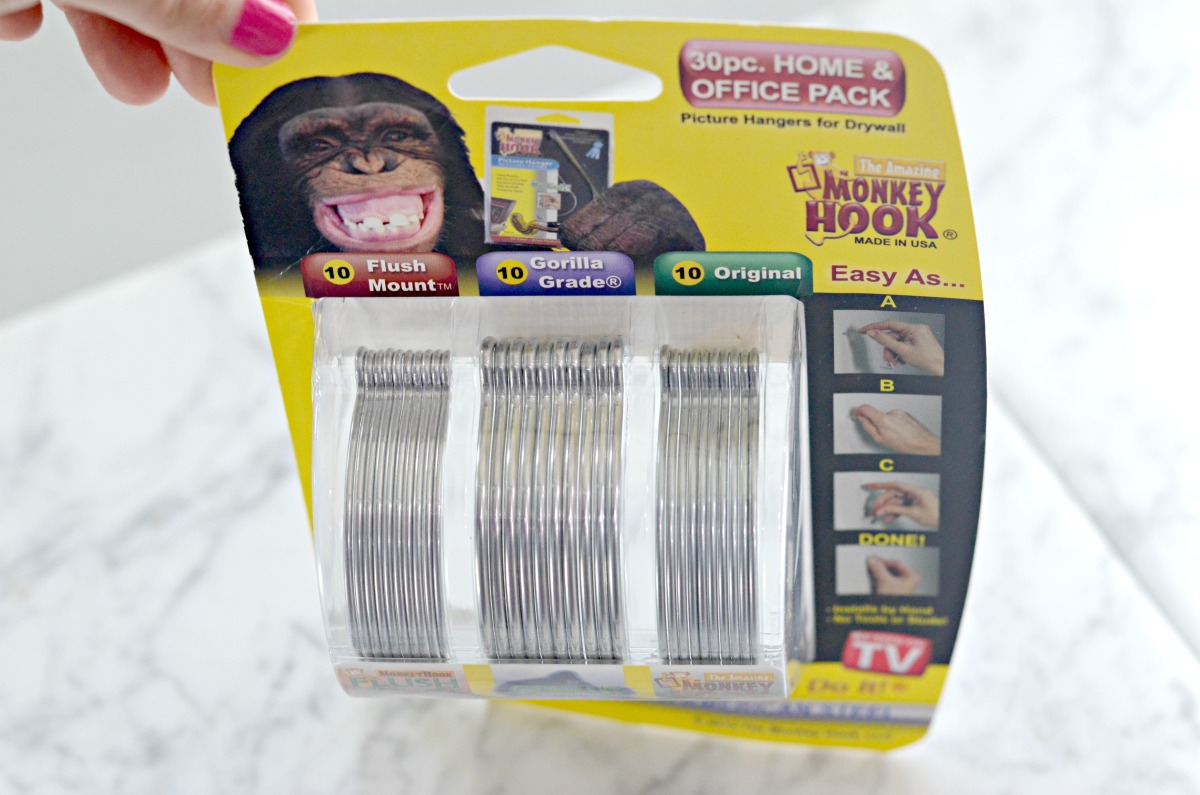
I picked up this handy variety pack from Amazon that comes with:
- TEN original Monkey Hooks for hanging photos and signs weighing up to 20 pounds.
- TEN Gorilla Hooks that can hang heavier items up to 40 pounds.
- TEN Flush Mount hooks for hanging items less than 10 pounds flush to the wall.
What a picture hanging lifesaver!
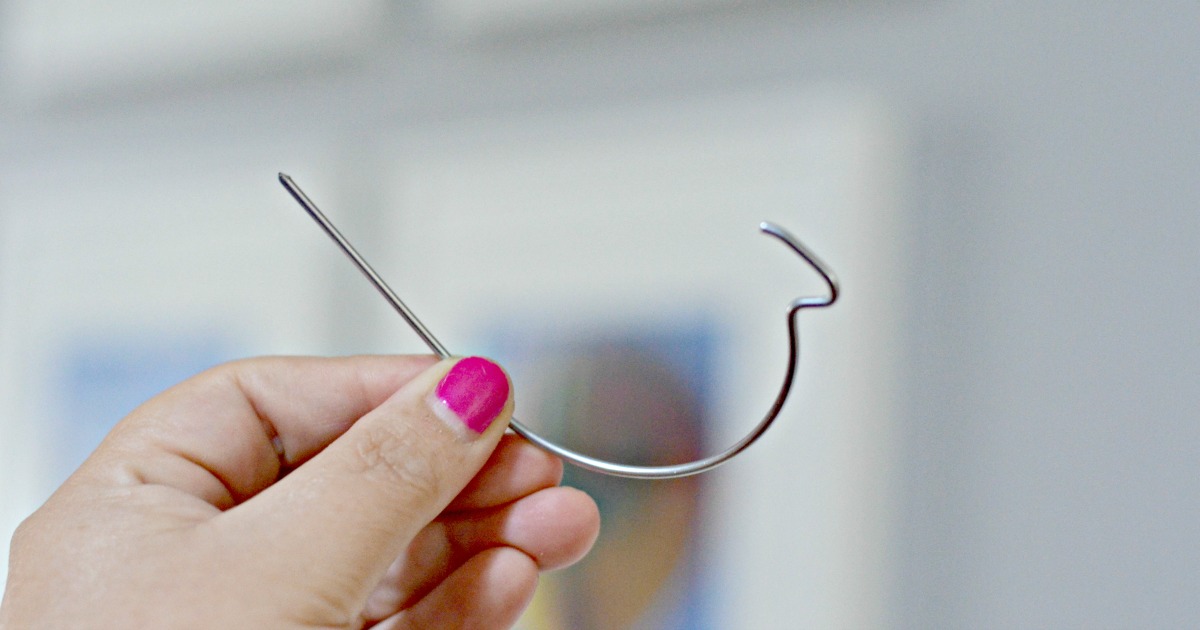
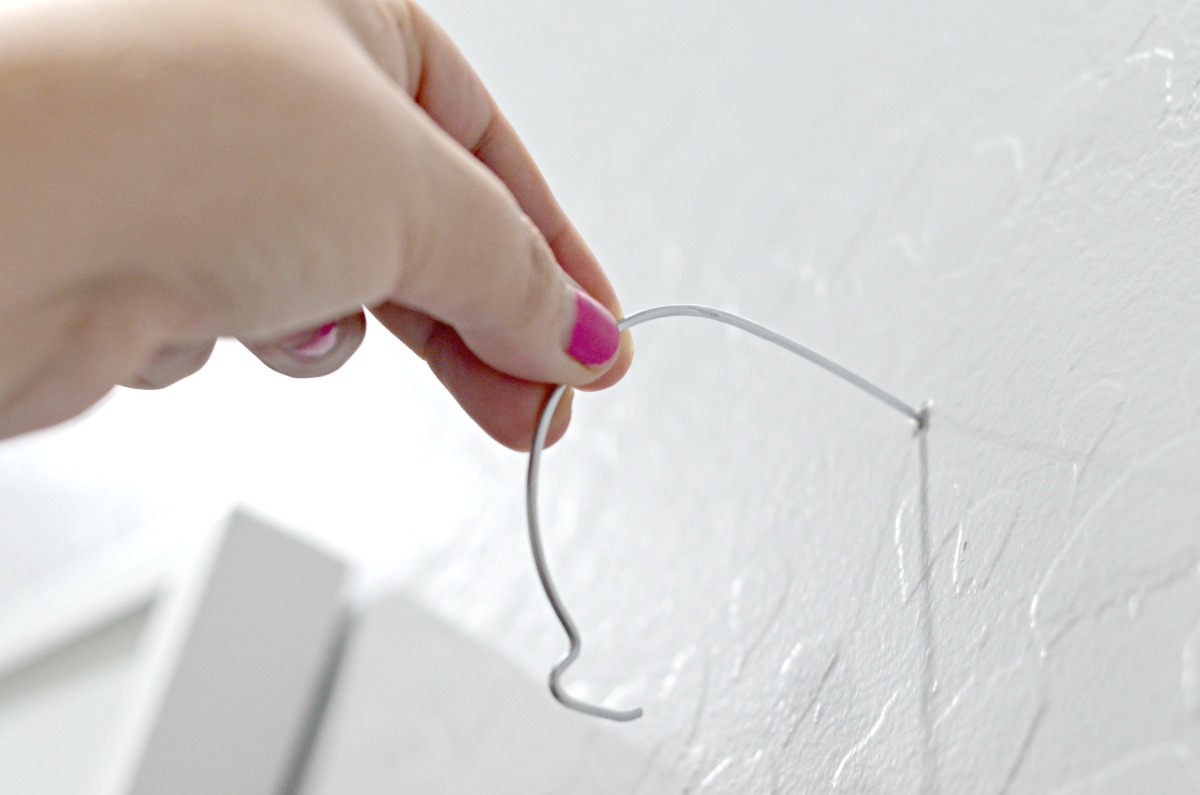
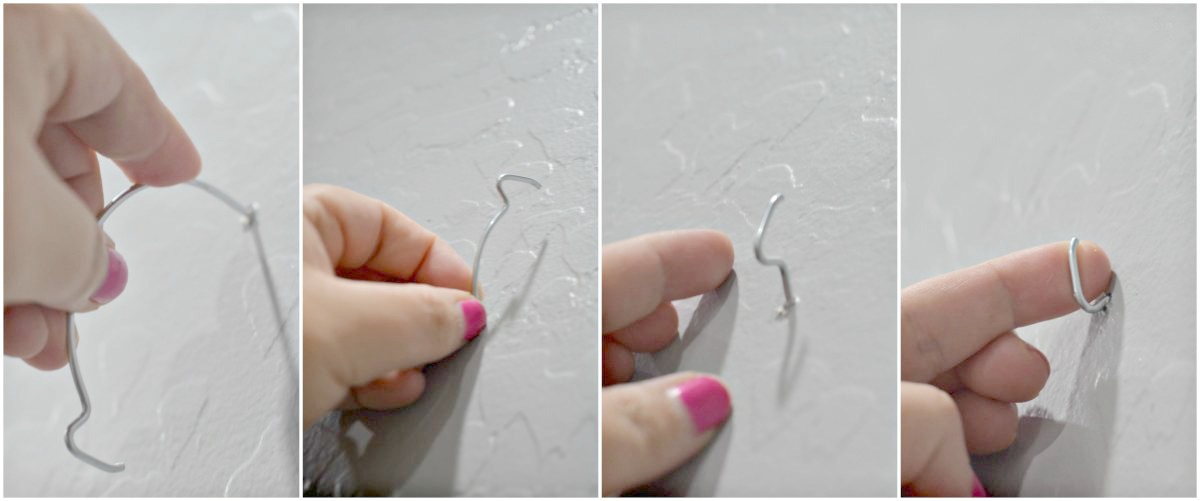
Puncture the drywall with the long end, twist it around to lock, and insert the rest of hook. Make sure the end of the hanger hook is facing up as shown. Then just hang your picture or sign.
Note: Monkey Hooks are meant to hang items conveniently through drywall between studs in the wall. They will not go through studs.
In all honesty, hanging photos, artwork, or signs is one of my least favorite tasks because I’m not patient with it, but it’s also one of my favorite ways to personalize our space!
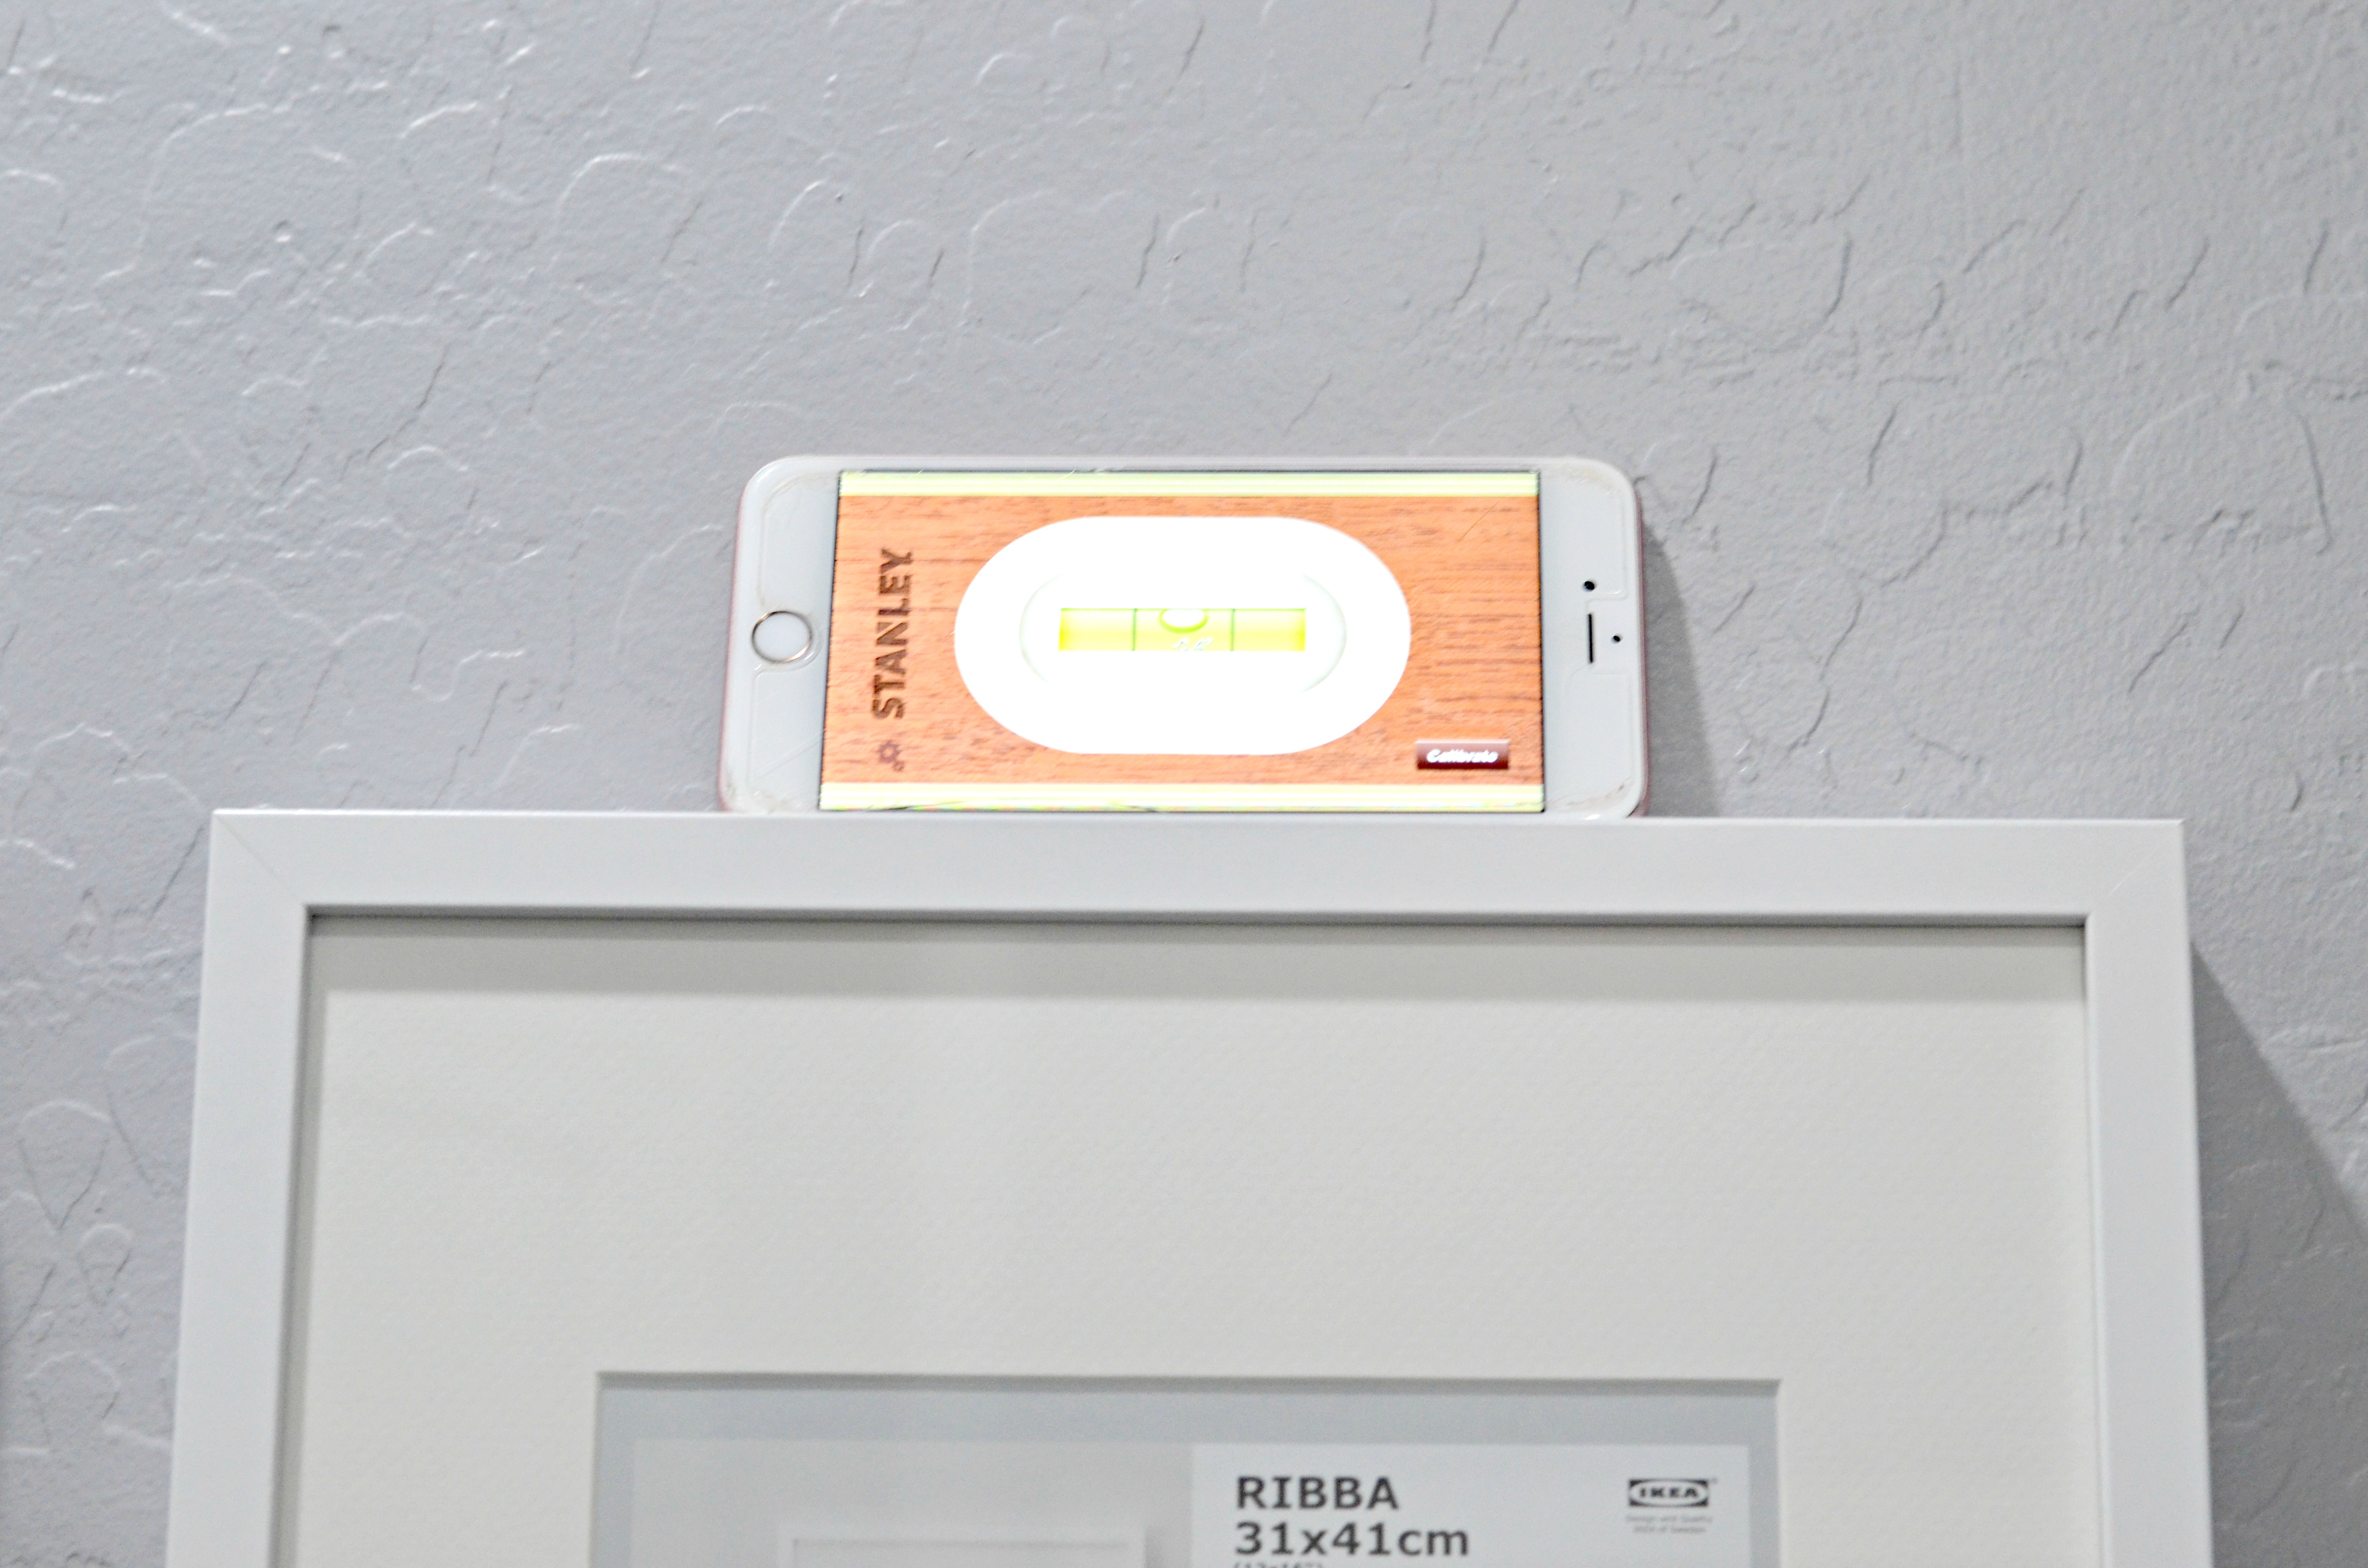
Hip Tip: If you’re just hanging one item, then your cell phone can be used in a pinch with lots of free level tool apps available!
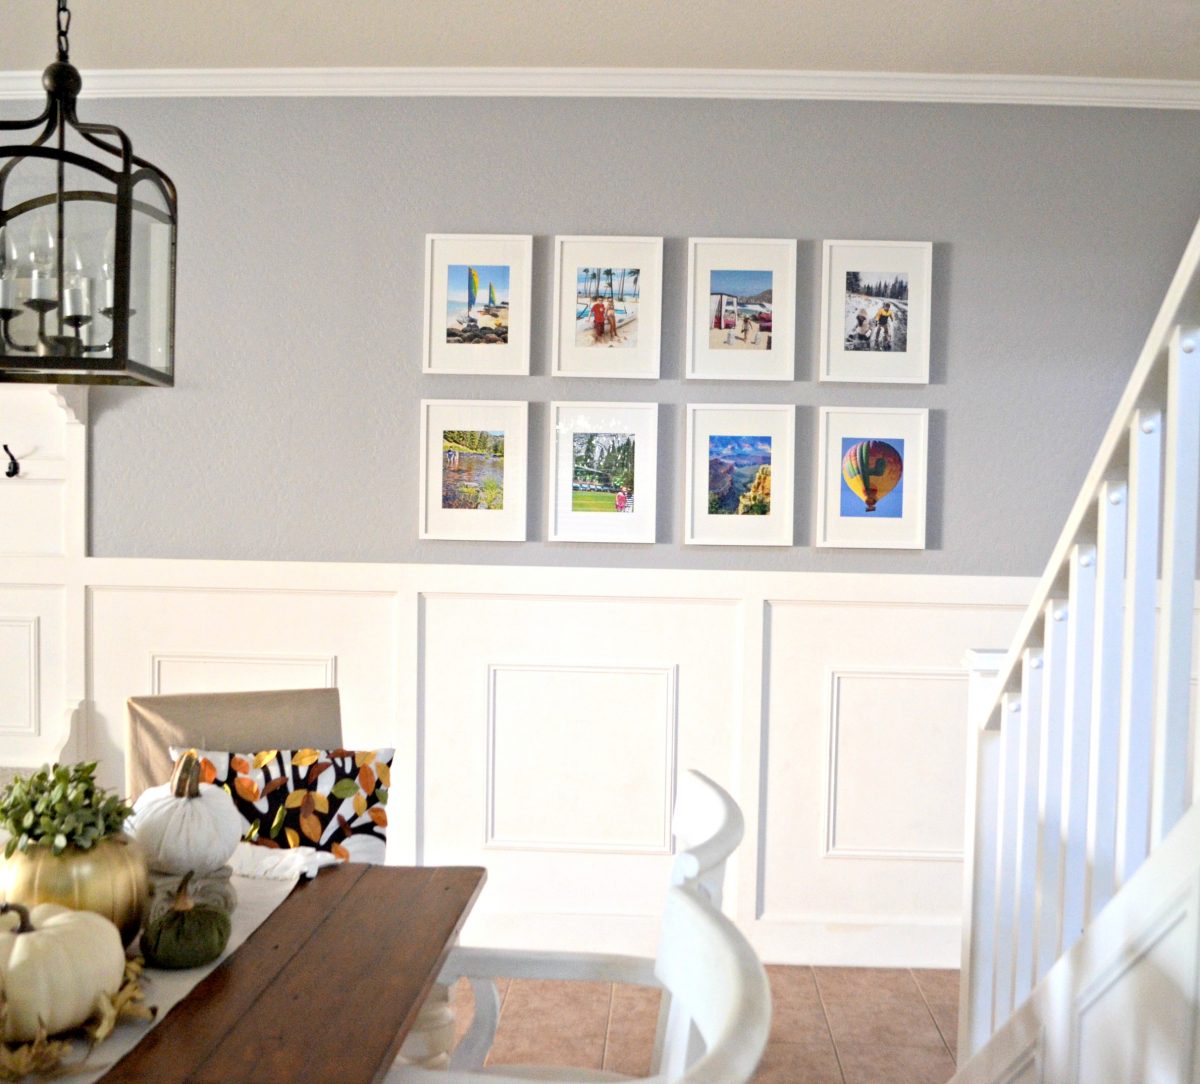
If you’re hanging a bunch of photos in a row, like this gallery wall I completed previously in my home, then a Point & Line Laser Level tool is your best friend. We use this helpful tool to point and draw straight lines using chalk to guide where to hang, and then just easily erase lines when done.
PS: I love using IKEA photo frames because they are inexpensive and clean looking when hung in a group!



I wasn’t a huge fan of these when I went to remove them. They did a lot of wall damage. They are super easy to install but getting them back out of the wall is not so easy in my experience.
Just removed they from my walls when I moved. Personally I didn’t have any problems and zero damage just the small hole it made. I highly recommend these.
You do have to turn them upside down when you remove. I’ve used them in many rentals with no issues.
No issues removing here either. Love these!!!
We had the same issue as far as the damage/large holes left behind.
I’ve been a big fan of these for years! It’s the only way I hang items with picture hooks on the back. Leaves only a tiny hole in the wall instead of a big hole from screw/drywall hanger. Allows me to change position of things on wall when I move around furniture without big noticeable holes. Highly recommend!
Thanks for sharing!
How do
You remove them?
I LOVE these. Smaller holes in walls than using an anchor and nail or screw. And super easy to use, provided you don’t hit a stud.
We’ve used these for years as well. Super easy to use. Never had a problem with damage when removing them.
Good to know, thanks!
I don’t actually use these for hanging – I use them to make holes… specifically for screws. Instead of getting out a drill. I just pop these in the wall (dry wall of course), move them around til the hole is big enough for the screw or molly bolt, and good to go. They’re also great for seeing how far into the drywall you can go (like if there’s a wood stud right there or maybe brick or a cinderblock behind the wall).
Used these for years and they are incredible.
Thanks for sharing Dana!
Huh. I’ve always been so skeptical of these when I’ve seen something similar in Home Depot. Might try them the next time I need to hang pics.