Tips for Styling and Organizing Floating Shelves in 5 Different Rooms
Styling floating shelves or any open concept shelving in your home can seem overwhelming. When things are out in the open for everyone to see, decorating and organizing so each item is placed just right can be difficult. That’s why I’m sharing ideas to decorate and organize your floating shelves for many rooms in your home! Let’s get started!
Please note that my design boards may not be exactly to scale, and keep in mind that every shelf size and style is different. These guides are suggestions meant to help you along your decorating journey.
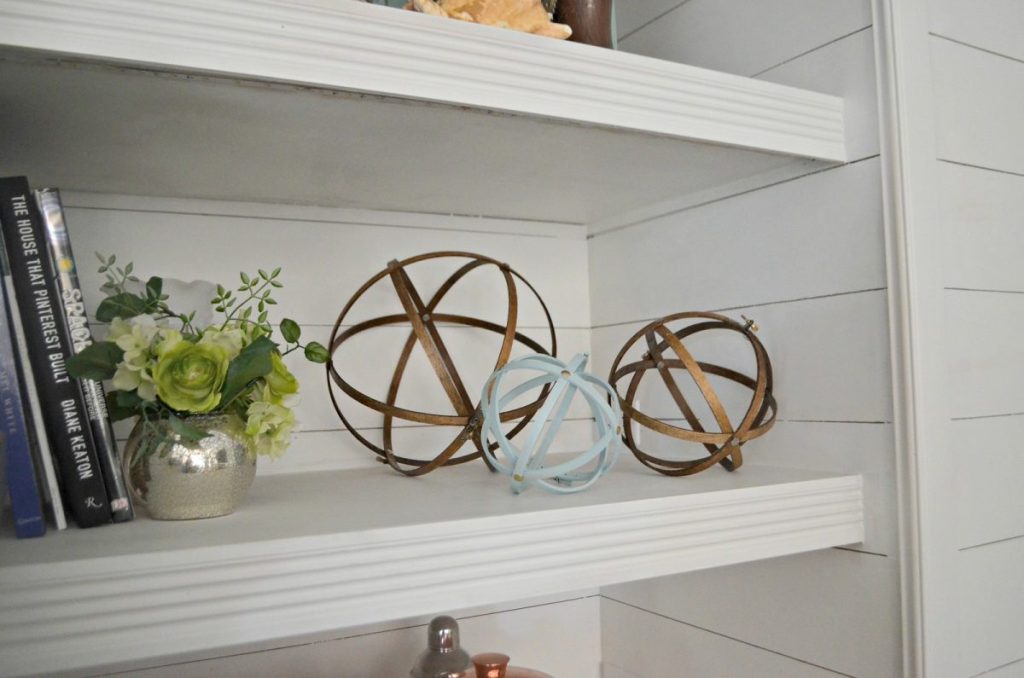
While there’s actually no wrong way to decorate a shelf, here are a few general rules of thumbs to consider:
- Work with odd numbers when you can.
- Create a focal point.
- Stick to a theme and a color palette.
- Create a balance.
- Keep things functional.
- Layer and stack objects & picture frames.
- Be minimal (less is more).
- Only decorate with items you absolutely love.
1. Kitchen shelves
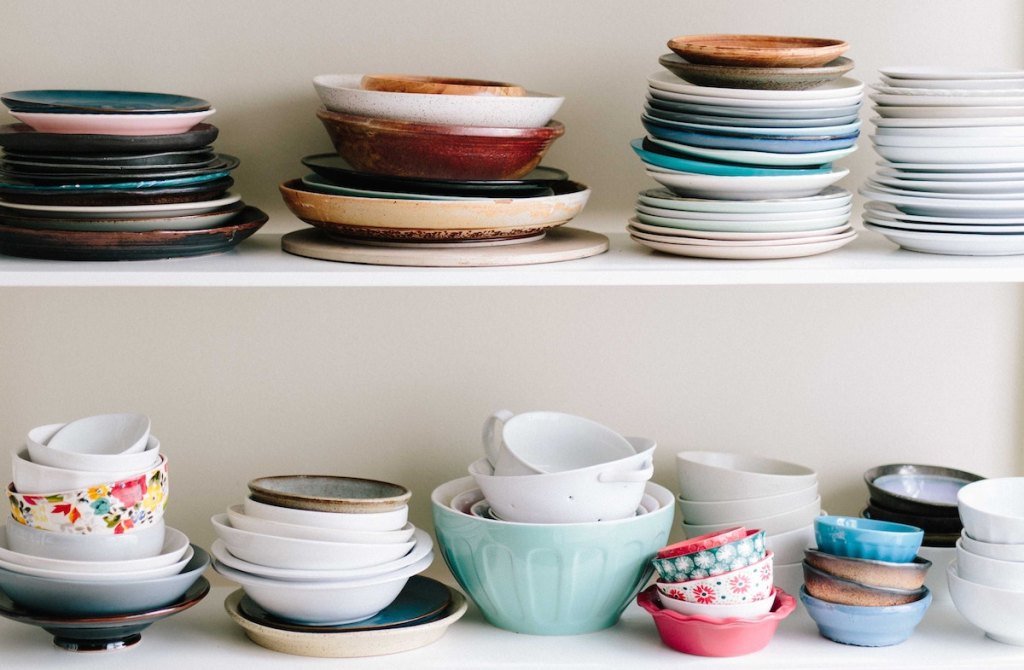
Open concept shelving is a popular design choice for many homeowners renovating on a budget – or you may just love the look of them. Regardless, it’s important to make these shelves functional as well as pretty since you’re going to be looking at them every day!
Bottom shelf:
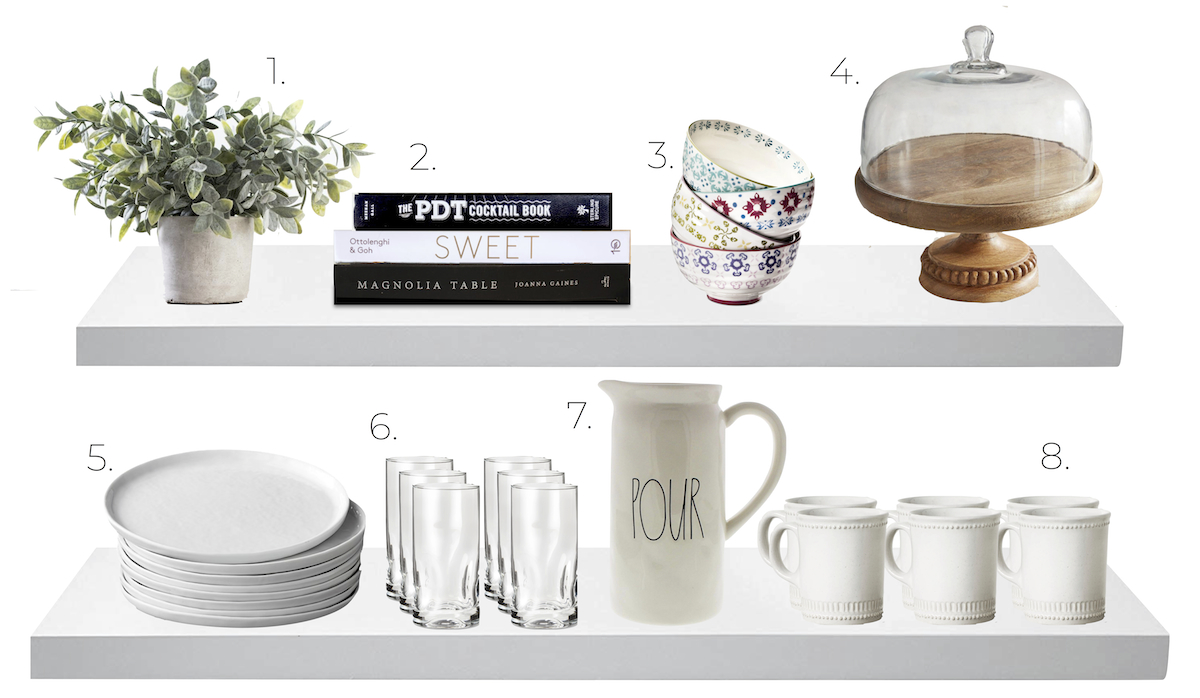
When styling my kitchen shelves, above, I first thought, “What are the most used items in my kitchen I’m likely to grab for on a daily basis?” In my home, I know we use plates for meals, and we’re always grabbing a glass for a refreshing drink or a mug for tea. Therefore, I placed those items on the bottom for easy access. I put a tall pitcher in the middle to create a focal point (plus, it groups well with the glasses). To keep the bottom shelf from looking busy, I separated the drinking glasses by type.
Top shelf:
For higher shelves, I gathered some aesthetically-pleasing, functional pieces we may not reach for often. Since I placed a tall piece in the middle of my bottom shelf, I staggered my tallest item (the cake stand) off center. I placed the other singular item (the plant) on the other end, and I balanced the space by placing groups of bowls and cookbooks in the center.
Hip Tip: Love something from my example? Click below to see where you can scoop one up for your home!
2. Bathroom shelving
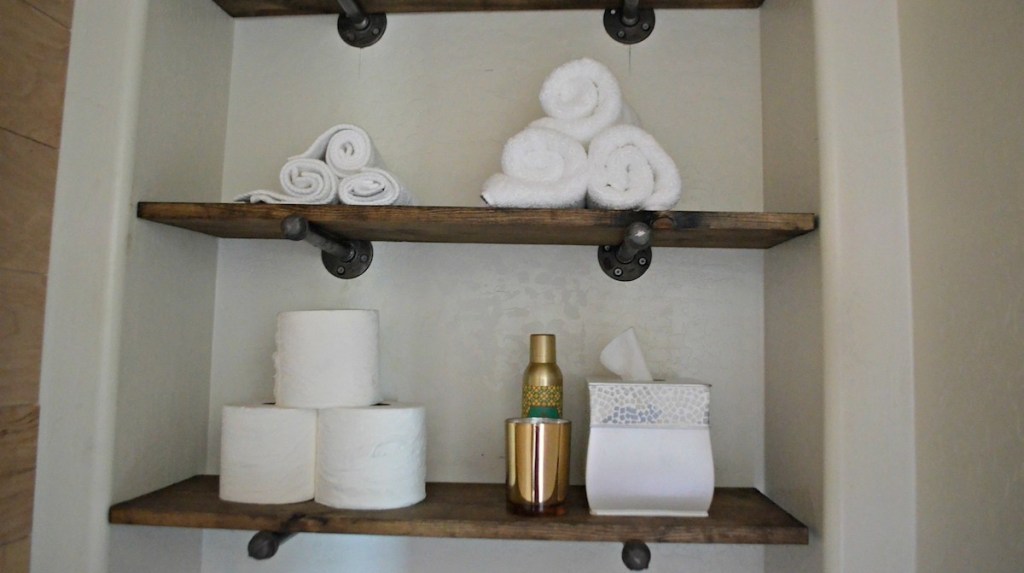
Bathrooms should feel fresh and clean. Whether you make your own shelves or buy them, they’re an easy way to keep daily essentials out in the open and easily accessible when needed.
Bottom shelf:
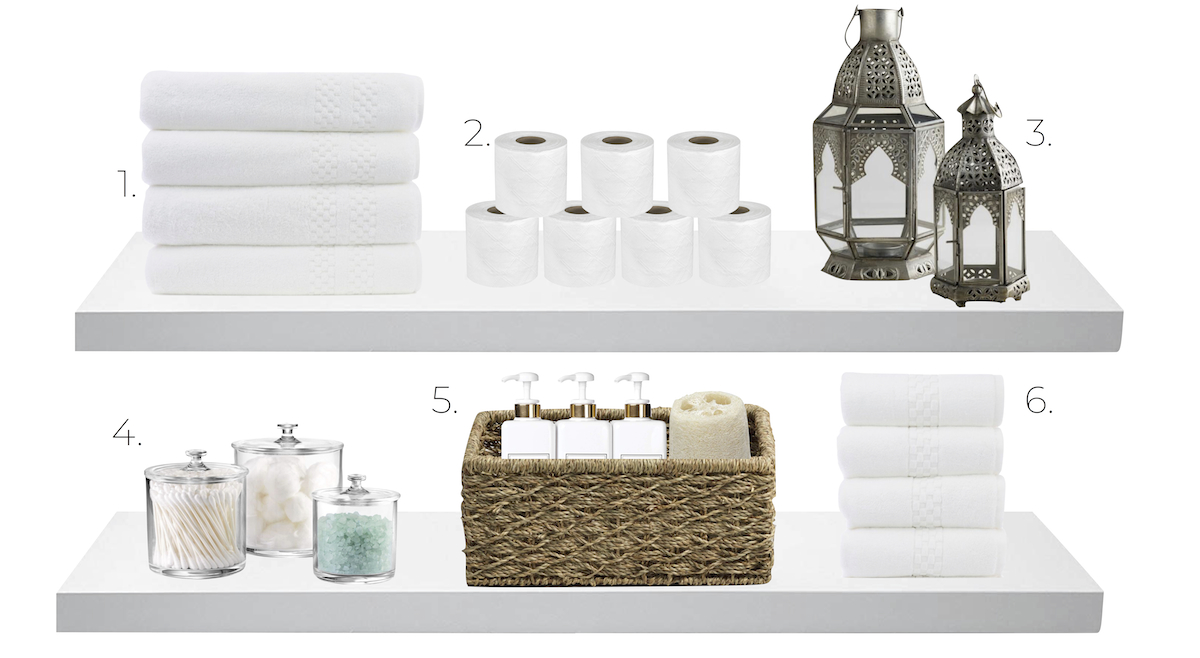
Shelves in my bathroom are typically not any higher than I can reach, so I don’t worry too much about accessibility. Apothecary jars are a great way to beautifully display frequently used items like Q-tips, bath salts, etc. So that my shelf doesn’t look too busy, I placed a long basket where I can stash lotions, hair products, and other essentials that may not be the prettiest of the bunch. Since there was a small amount of space left, I stashed smaller hand towels on the end.
Top shelf:
Bath towels and toilet paper were the first items to go on the top shelf. Folding them neatly and placing toilet paper in a neat stack makes these essential items look much nicer. To add a personal touch and color to this shelf, I added some decorative (but still functional) lanterns. I picked an item that was equal in height to my towels for the other end of the shelf to balance everything.
If you have several, smaller shelves, you can place toilet paper on one shelf, towels on another, apothecary jars by themselves, etc.
Hip Tip: Love something from my example? Click below to see where you can scoop one up for your home!
3. Living and family room shelves
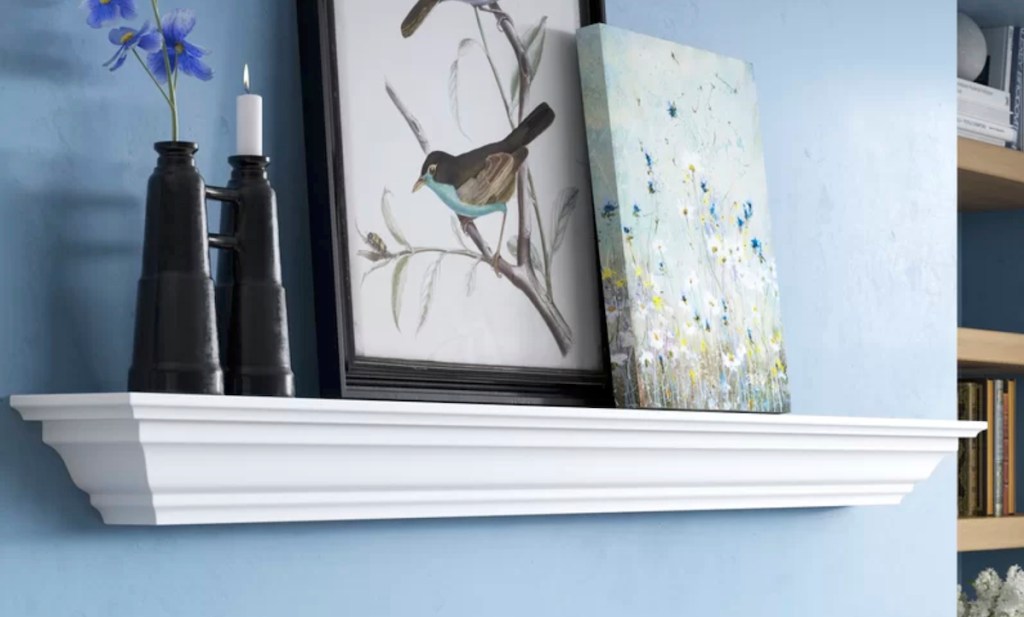
Living room or family room shelves are often used to display artwork or cherished family photos for everyone to see. My favorite way to decorate shelves in an intimate gathering space is to display gallery frames accompanied by some smaller decor that won’t take away from treasured memories.
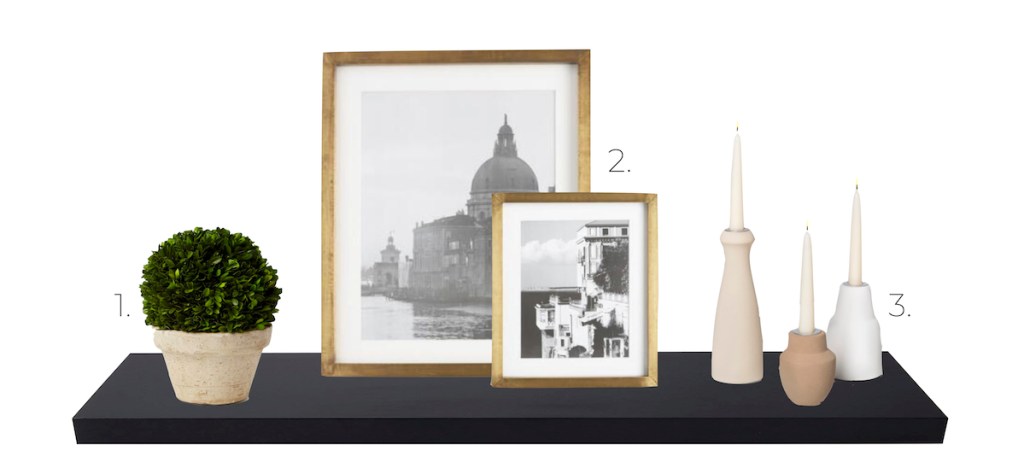
The main shelf:
Layering a large frame slightly off center with one or more smaller frames creates an eye-catching focal point. I placed one large piece of artwork directly in the center. Then I chose two simple decor options for my accents. One is a smaller plant (similar in height to my smaller frame) I placed on the opposite side of the shelf from the candlestick holders. Then I chose taller candlestick holders to help balance the larger frame. Since one candle would look lonely, I chose three (sticking to odd numbers) to complement this shelf.
Hip Tip: Love something from my example? Click below to see where you can scoop one up for your home!
4. Nursery shelving
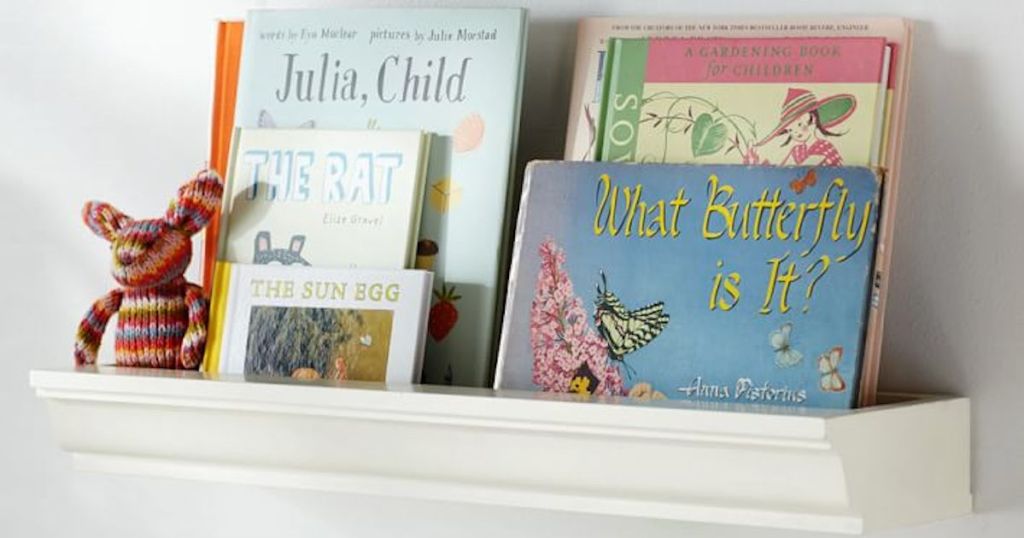
The nursery is many a parent’s favorite room in the house to decorate – and shelves are just one way to show off some cute, new accessories I’ve gathered for my little one (aside from displaying books). This is a space that should feel stress-free and calming, i.e. clutter free – and that includes the shelves! Most baby things tend to be small, so, for this reason, I used smaller shelves to ultimately create a cleaner look.
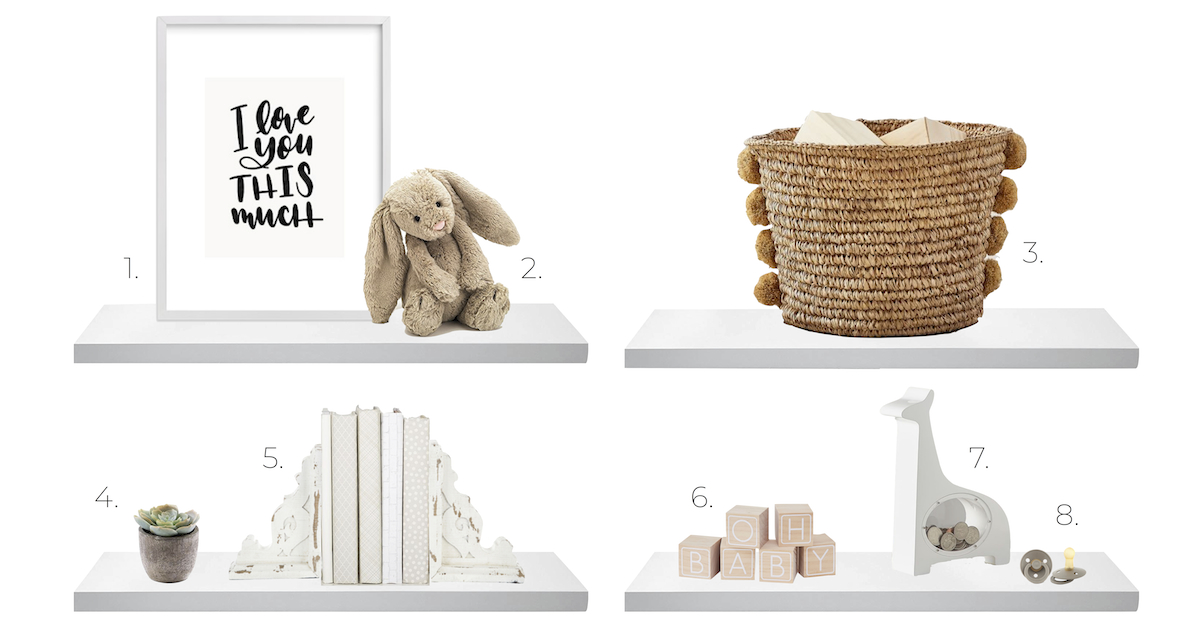
Bottom shelves:
With baby items, I placed my shelves slightly closer together. I chose smaller items to go on the bottom, like favorite books I love reading to my little one, a small plant that’s just as cute as the room it’s in, and some personal touches, like baby blocks and a piggy bank. This would also be a great space to display a sonogram photo or a maternity photo album.
Top shelves:
Since the sky is the limit with top shelves, I saved these for larger items, like a decorative storage basket for blankets or other small essentials. Then I incorporated a larger, framed print. Since the basket was busy-looking, and the print looked lonely on its own, I added a cute stuffed animal.
Hip Tip: Love something from my example? Click below to see where you can scoop one up for your home!
5. Office shelving
Offices are functional workspaces, so I love to use organizers for all of my papers and office supplies. This ensures they’re still easily accessible but will also look pretty when sitting on a shelf.
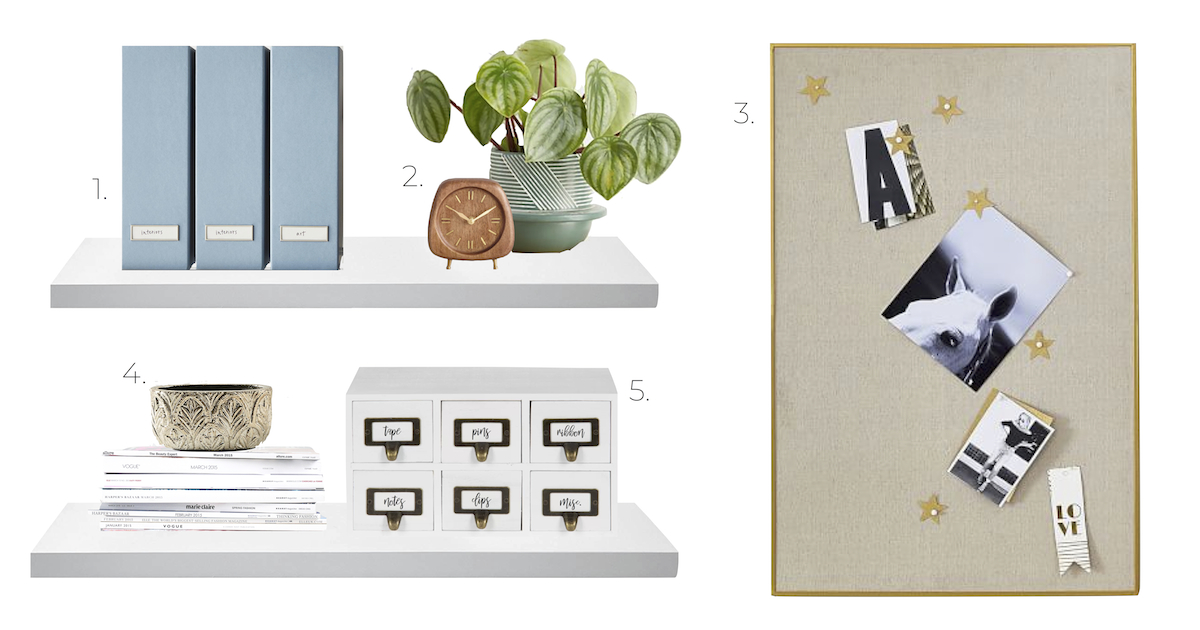
Bottom shelf:
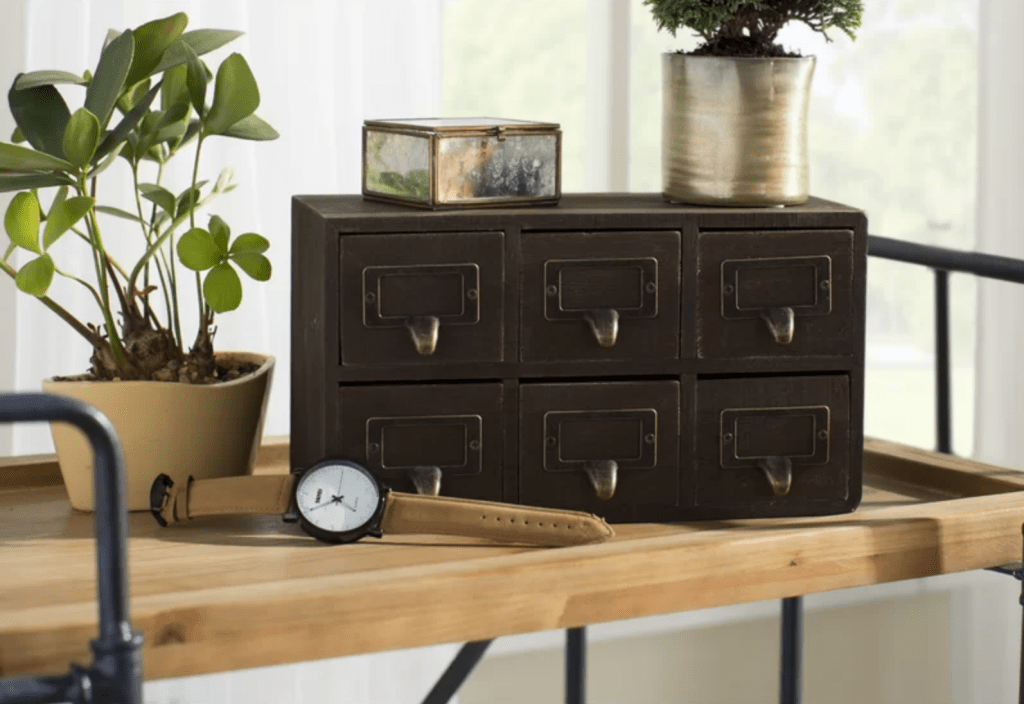
Similar to the kitchen shelves, I placed items I might frequently use on the lower shelves. I found this craftsman style organizer to be perfect for small office supplies. By sticking to my rule of using odd numbers, I placed a unique dish on top of my magazines. This also leveled the items on this shelf and created balance.
Top shelf:
I placed tall magazine holders on the top shelf to easily store papers, notepads, and other flat supplies. I would use as many of these as needed and label them so they can be easily grabbed when needed! To add a personal touch and still achieve my odd number of items, I went green and added a decorative plant and a small clock which I placed in the middle (slightly off center) to create balance with the larger items.
Aside from shelves, I also find a pegboard or pinboard is extremely useful for keeping notes, calendars, and small supplies organized.
Hip Tip: Love something from my example? Click below to see where you can scoop one up for your home!
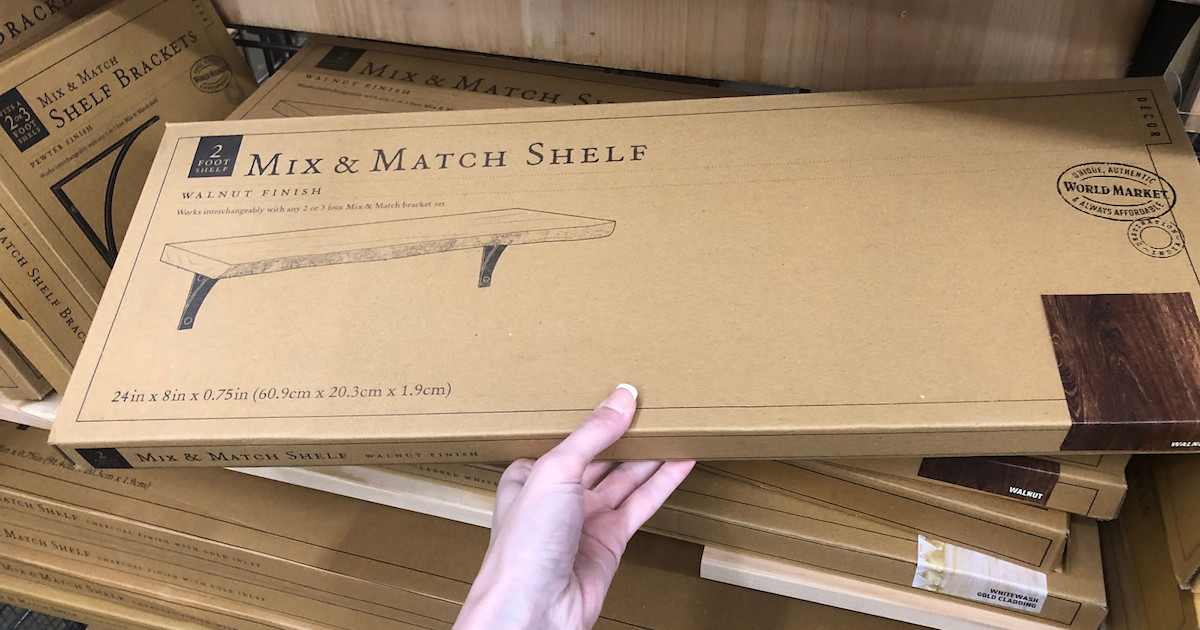
Speaking of floating shelves, check out 10 of our faves!


Comments 0